Beach Themed Sandbox Centerpieces

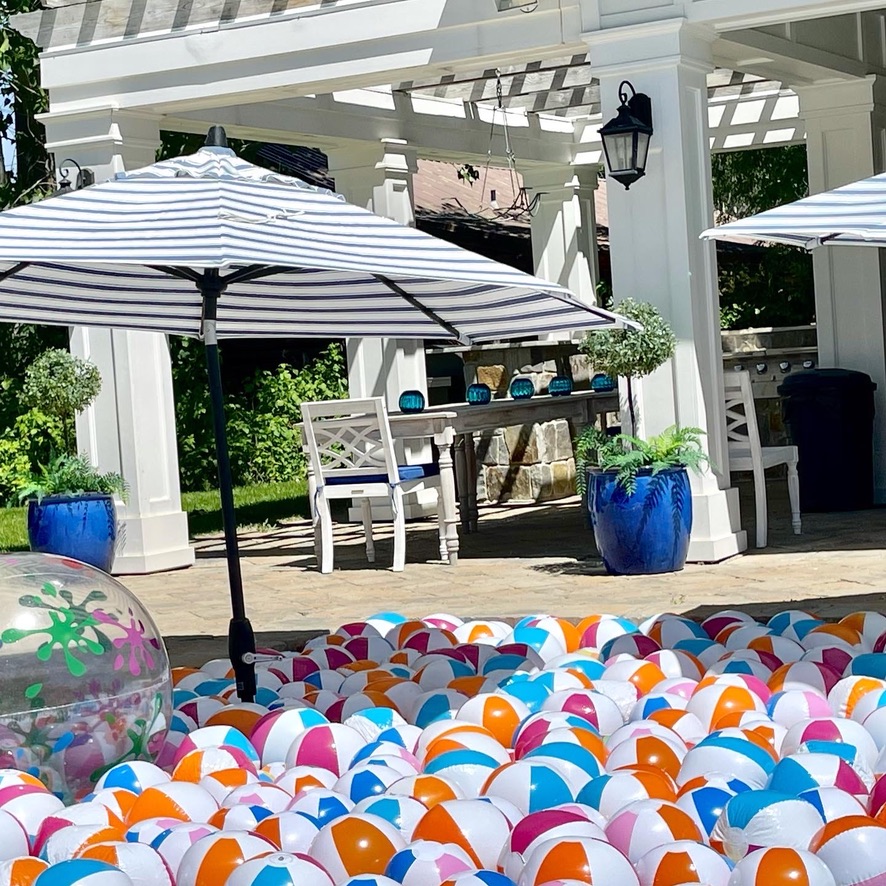
A Beach themed party needs a beach themed centerpiece! No floral arranging skills required for creating this unique and playful summer party Sandbox Centerpiece.
I’m easily distracted, it’s a problem. . .
I go into a store for one thing, just ONE thing. Then, inevitably while on my way to find that ONE thing, I get sidetracked.
Such was the case on the day when I needed some foam core board to back a print I was framing.
I ran into the local Dollar Tree for that one board of foam core. I can’t even remember now if I actually found the boards I went there for? BUT what I did come out with was SO much better!
I got distracted by the fun bright colors of the “summer stuff” aisles. Summer beach toys gave me an idea. And it was a terrific idea!
I’d been noodling in my mind what to to do for table decorations for our upcoming Annual Summer Kickoff party in Huntsville. I realized I’d just scored both a great idea AND a cheap idea, standing right there in the Dollar Tree summer section!
Sandbox Centerpieces. Maybe that’s not a real thing, but they were about to become my thing. . .
I piled my cart, okay. . . maybe it was two carts (but in my defense, their carts ARE extra small) full of the cheap, bright colored summer toys and then headed to Huntsville to create!
I did have to make what I hoped would be one more quick stop. I’d need wooden boxes to hold the sand and corral my treasures.
Lucky for me, Michale’s Craft Store had exactly what I needed. It wasn’t a random stop, it was an educated guess because I’ve bought wooden boxes there before for other centerpieces – so I knew there was a least a chance I’d score some.
The one fail of the day, I forgot to stop for sand. . . . sandboxes need sand.
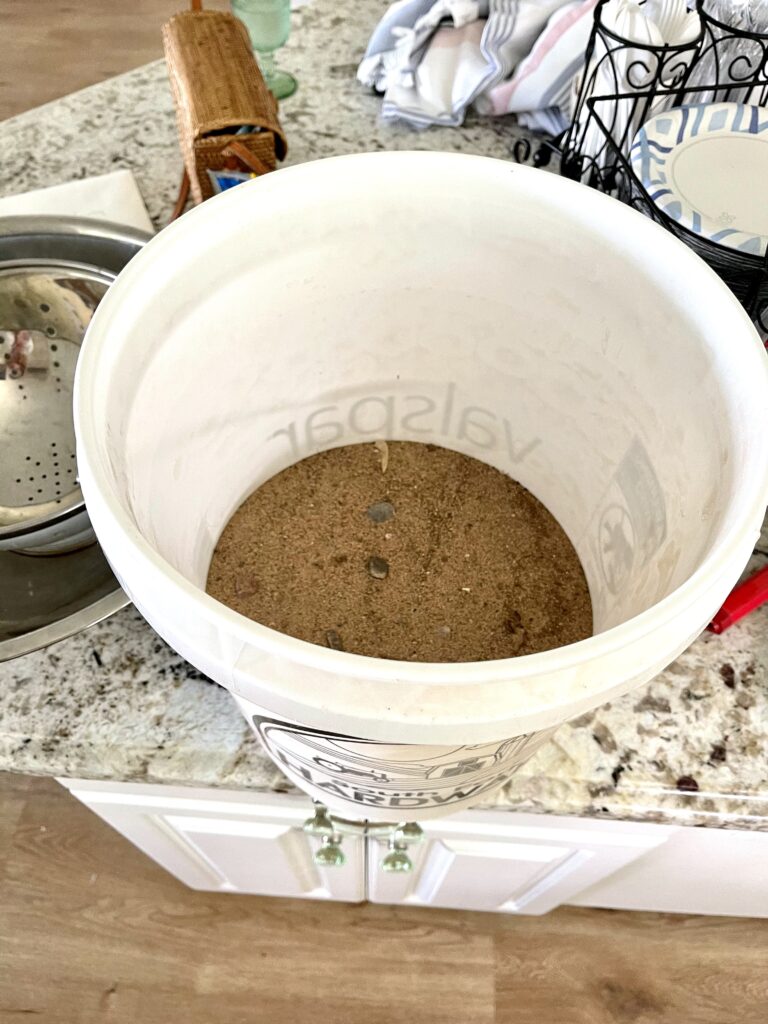
Lucky me, there’s a beach a block from my house in Huntsville. So I sent my daughter and her friends down to the lake with a large bucket to dig me up some sand.
Yikes, not exactly the easiest way to do this, I’m not recommending this method! But when the closest store with sand is 35 minutes away, we make due.
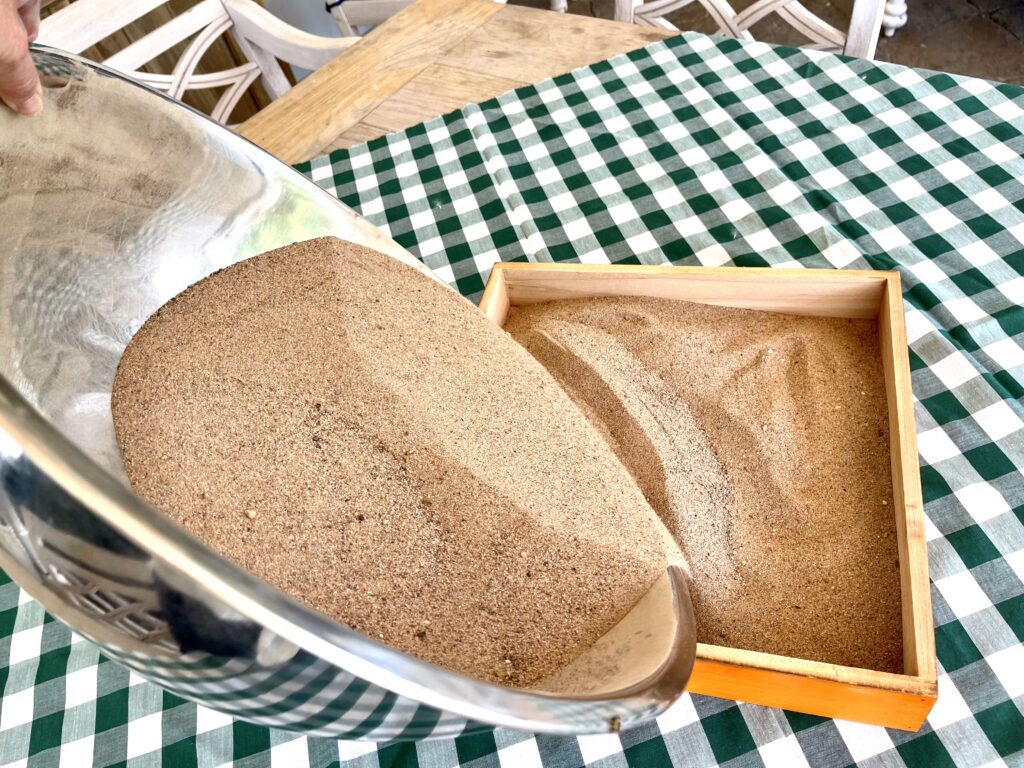
Since the sand wasn’t “clean,” it also had to be sifted . . . . this kept the kids busy for quite awhile, so it turned out to be win after all!
My centerpieces turned out awesome, which led me to another idea . . . and then another . . . and then another . . .
Do you know the book If You Give A Pig A Pancake? It’s the story of my life, you should read it. HERE
7 Tips for Making a Sandbox Centerpiece
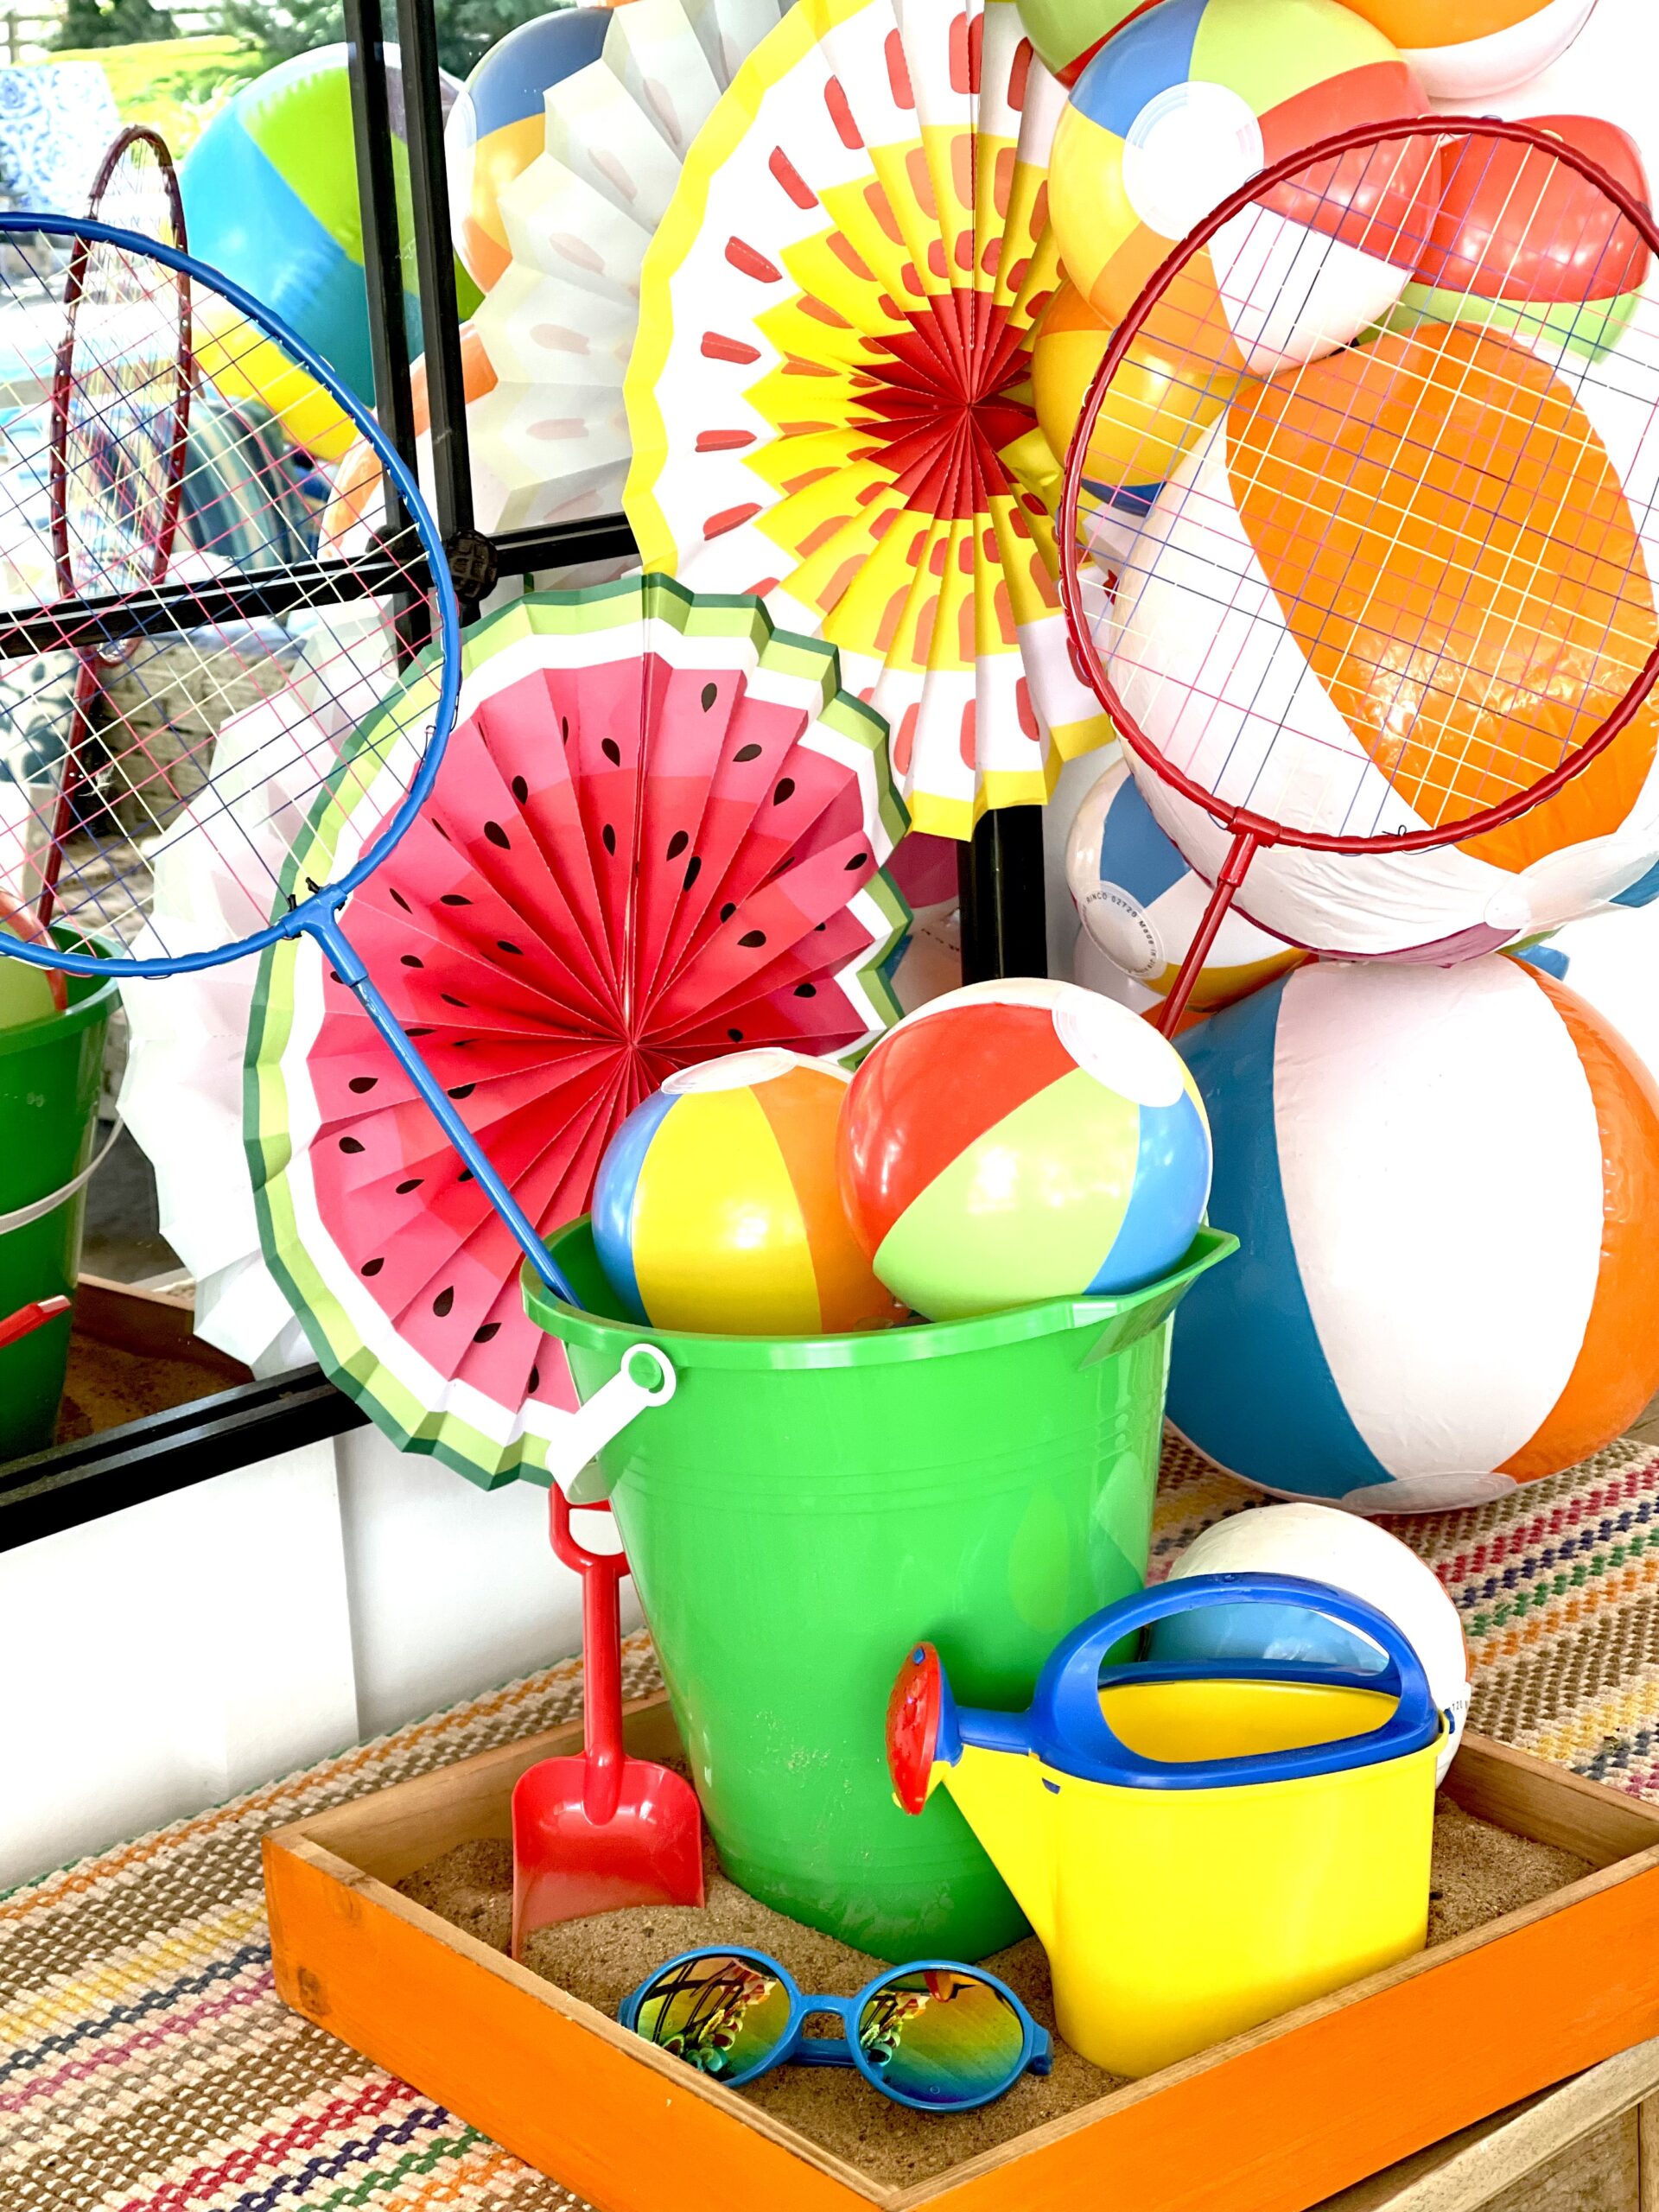
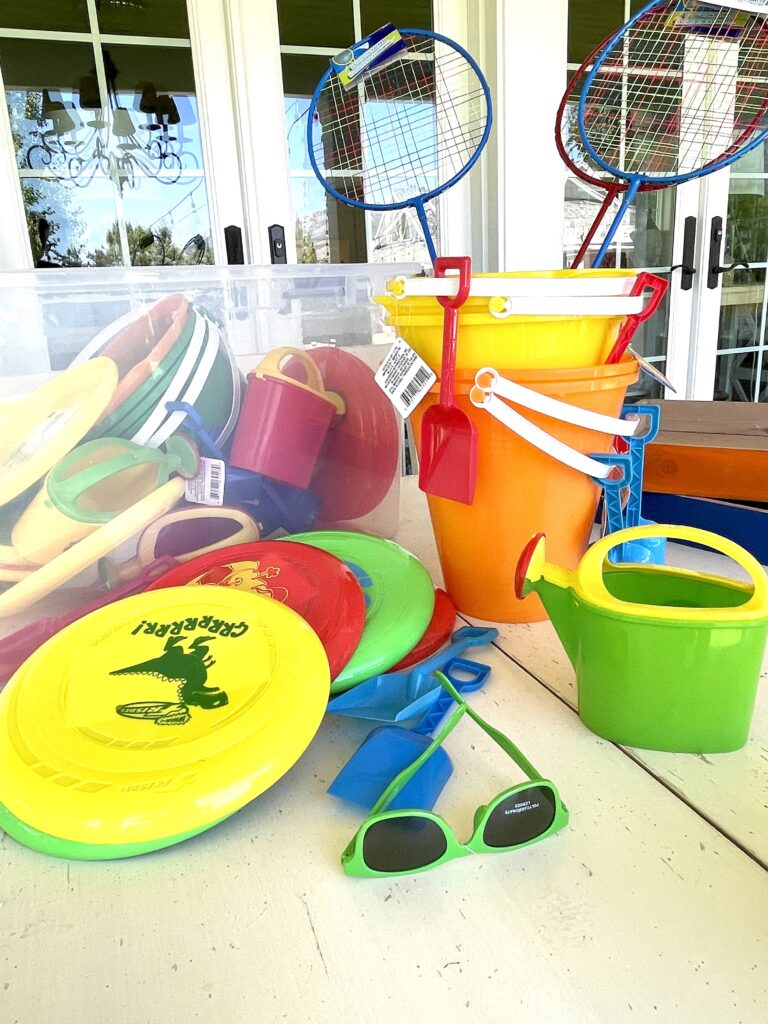
1. Gather a bunch of summer sand or beach toys. I found all of mine at the Dollar Store – It doesn’t get any less expensive than that!
2. Use either a wooden box or high sided tray to hold the sand and corral the sand toys.
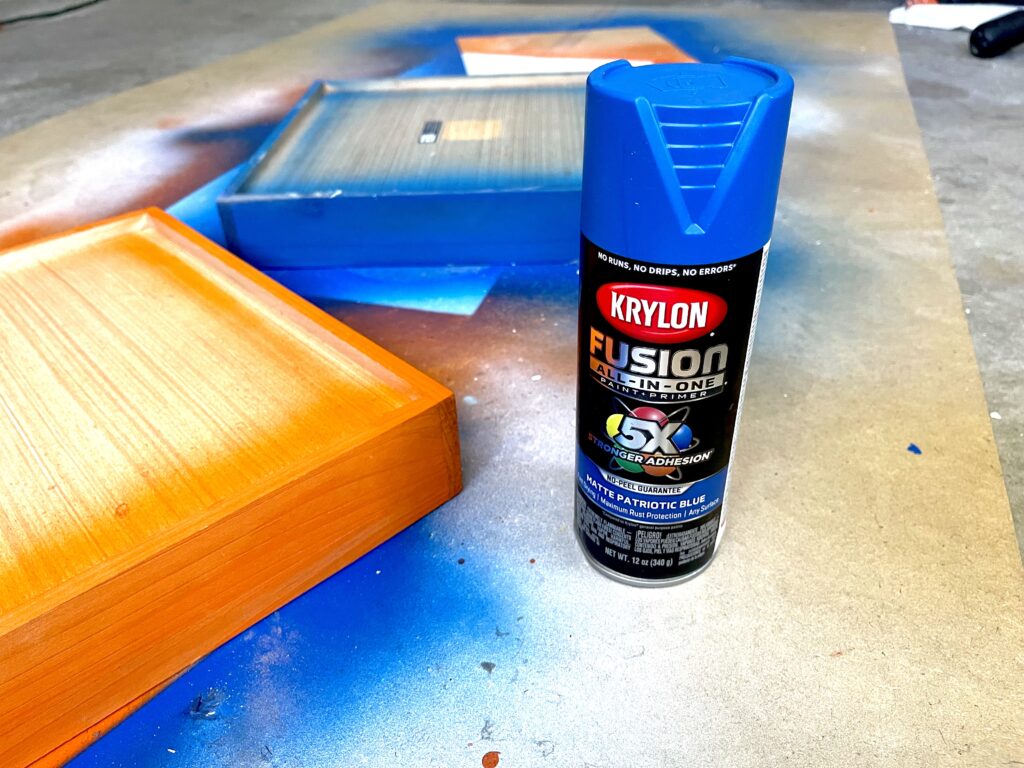
For a little extra flair, I spray painted my wooden boxes in bright colors to match the sand buckets. But this is “extra” and not necessary.
3. Fill the wooden box with sand and then also put just enough sand in the bottom of the beach buckets to give them the weight needed to stay put.
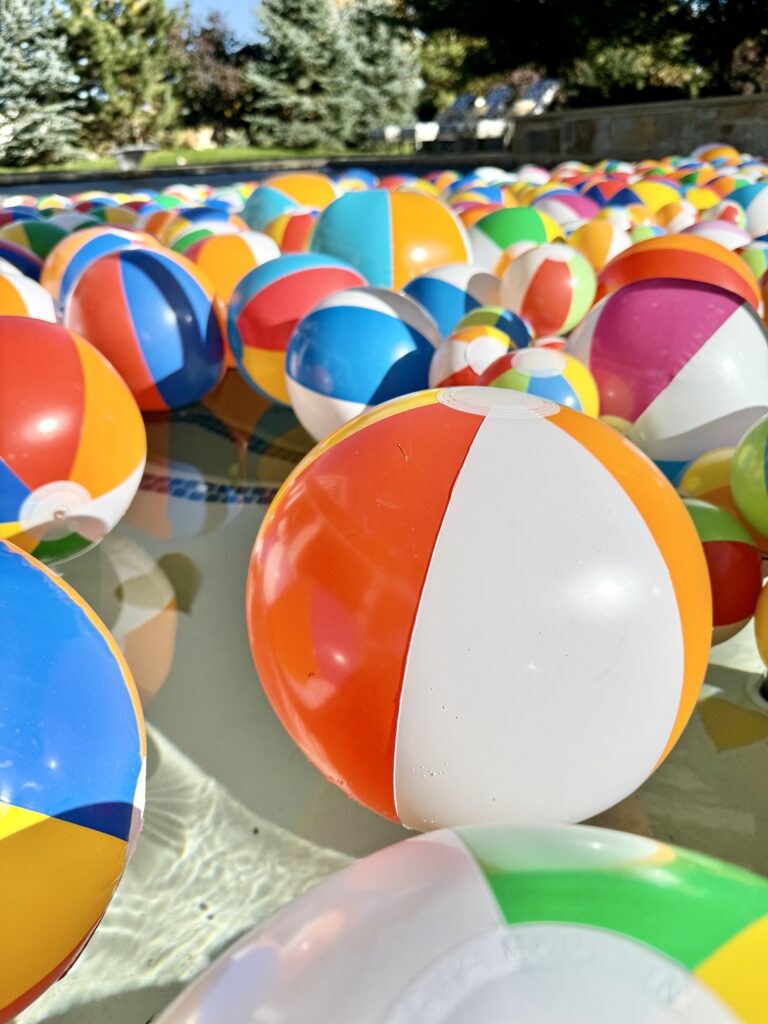
4. Then filled up the buckets with mini beach balls. I used large glue dots on the balls to hold them in place, keep them from falling out or flying away in the inevitable breeze.
5. I created some height and dimension by adding badminton rackets to the buckets. This worked perfectly because although they made my arrangements taller, they were still see through. “See through” is actually important on a table. People want to be able to see each other and converse across the table – which is always super important to consider when creating any table arrangement.
A little side note: If an arrangement is too tall you’ll risk all your work ending up shuffled to another table or even plopped down on the floor. Who knew? Guests actually want to be able to see and talk to each other across the table!

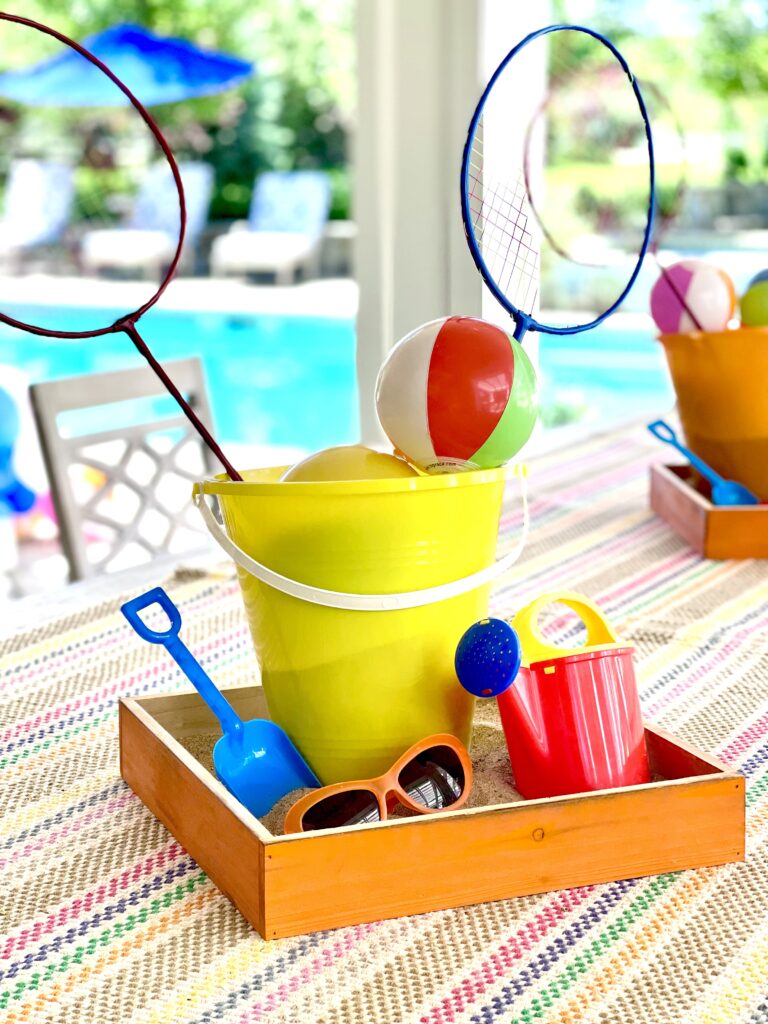
6. I like setting the buckets off center and at a slight angle, creating a more natural, “bucket on the beach” kind of feeling.
7. Scatter the other beach elements, such as shovels, watering cans, sunglasses, frisbee etc, on the sand around the bucket,
Be sure to rotate your creation and view it from all the angles as you do this. You don’t want for there to be an obvious front or back to your arrangement. After all, every guest deserves a nice view to look at!
Extra:
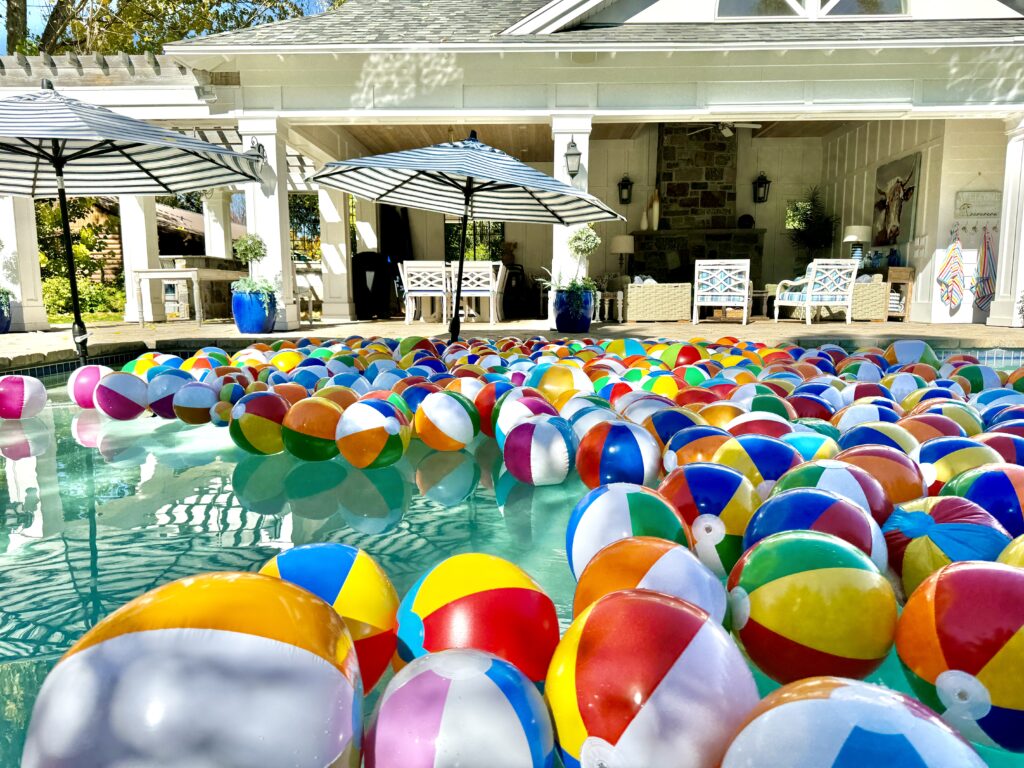
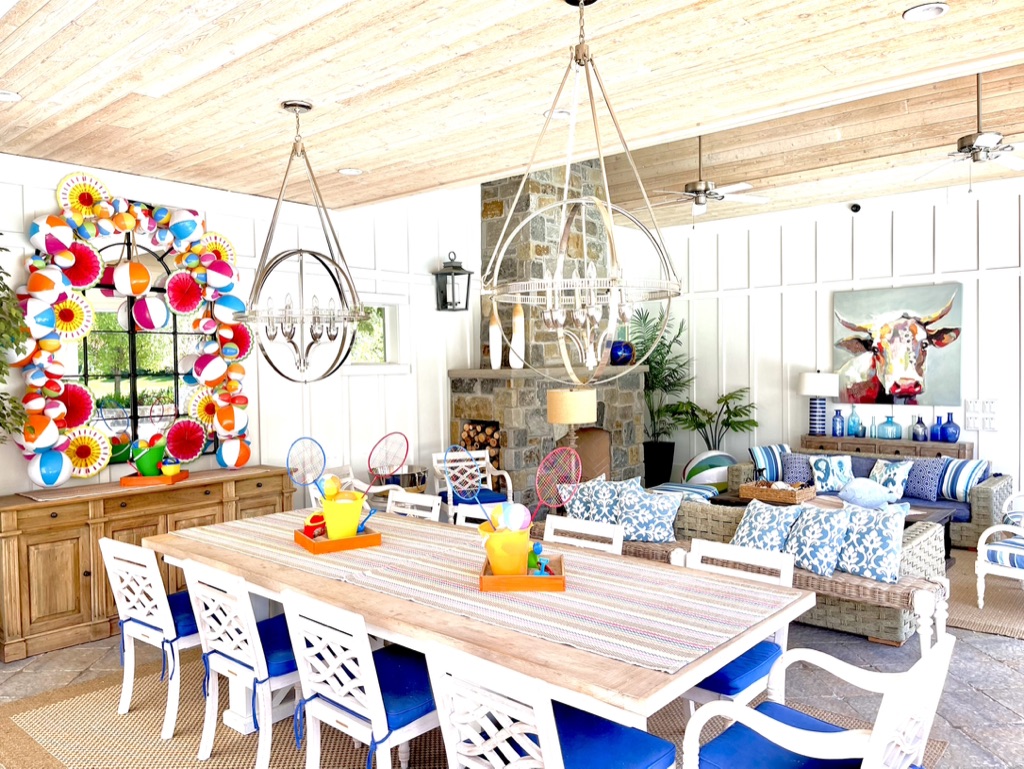
For this theme it could be fun to use cute matching beach towels as your tablecloths or table squares. But alas, I didn’t think of this until later.
Although, I actually LOVE what I did use. I bought these super fun, brightly striped hall runner rugs HERE from my favorite rug company, Dash & Albert to use on my tables – instead of on my floors! Just because something is made for one thing doesn’t mean you can’t use it for something else entirely different
Links:
Wooden Tray/Box HERE
Mini Beach Balls HERE
Sand HERE
Glue Dots HERE
Spray Paint HERE
If You Give A Pig A Pancake Book HERE
Dash & Albert Rug/Runner HERE