Michelle’s 7 Best Christmas Tree Ribbon Tricks

Because I always start with ribbon, here are my 7 Best Christmas Tree Ribbon Tricks. So when I say “start with ribbon,” is it a given that what I mean is . . . once the tree is set up, adequately “fluffed,” and the lights are alllllllll working. And we all know the whole light bit is pretty much the bain of any tree setter-uppers existence. But, once all that part is checked off, then it’s time to dig into the ribbon boxes!
In my Christmas world, the ribbon is the most important player in the game. So important in fact that great ribbon can stand all on its own in the Christmas Tree arena.
When I was first married and we didn’t have a single tree ornament to our name, I decided to invest in some beautiful ribbon. I was sure that our first Christmas Tree could be perfectly wonderful with only just ribbon, and it was.
Then that first year, as soon as Christmas Day was all wrapped up, I hit the clearance sales looking for deals on holiday decorations to be stored away for the next year. This began what has turned into a slightly overly excessive Christmas decor obsession. . . whoops, I meant “collection.” I think I’m up to about 27 large tote boxes. But. . . in my defense. . . although my holiday decorating style might be described as a little bit on the “extra” side, I really and truly DO believe that if I needed to simplify, I could still l pull off a gorgeous tree with only just some strands of great ribbon.
My 7 Best Christmas Tree Ribbon Tricks
- Create Visual Interest by selecting at least 3 different ribbons in varying widths, patterns, colors, styles and/or textures.
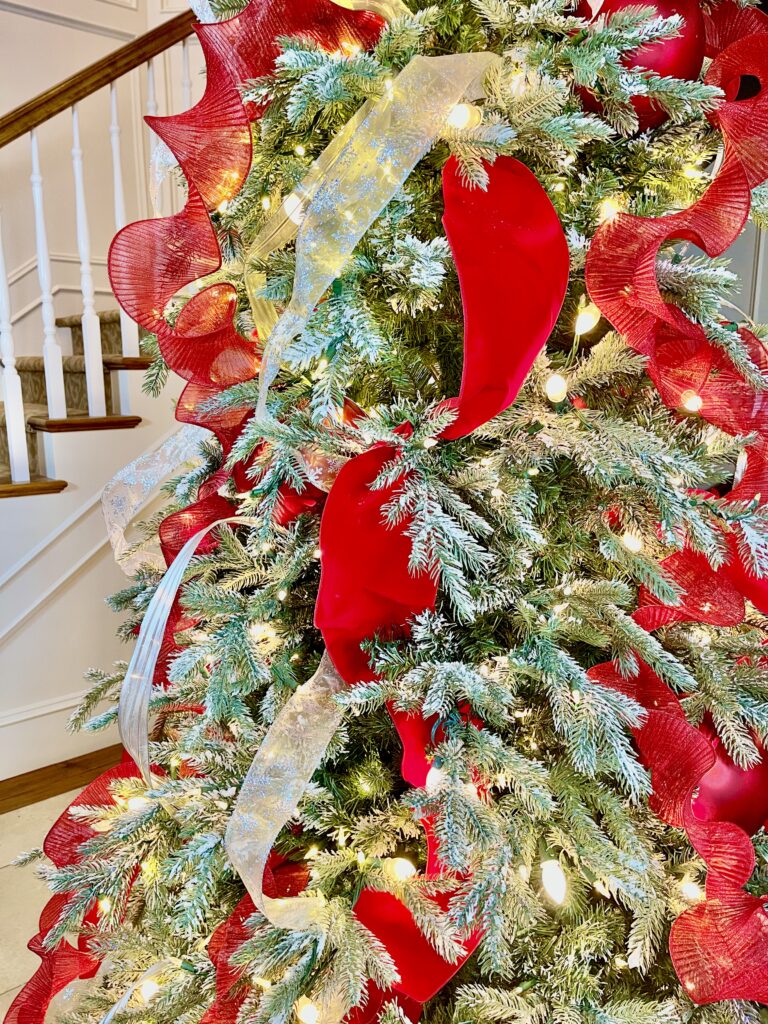
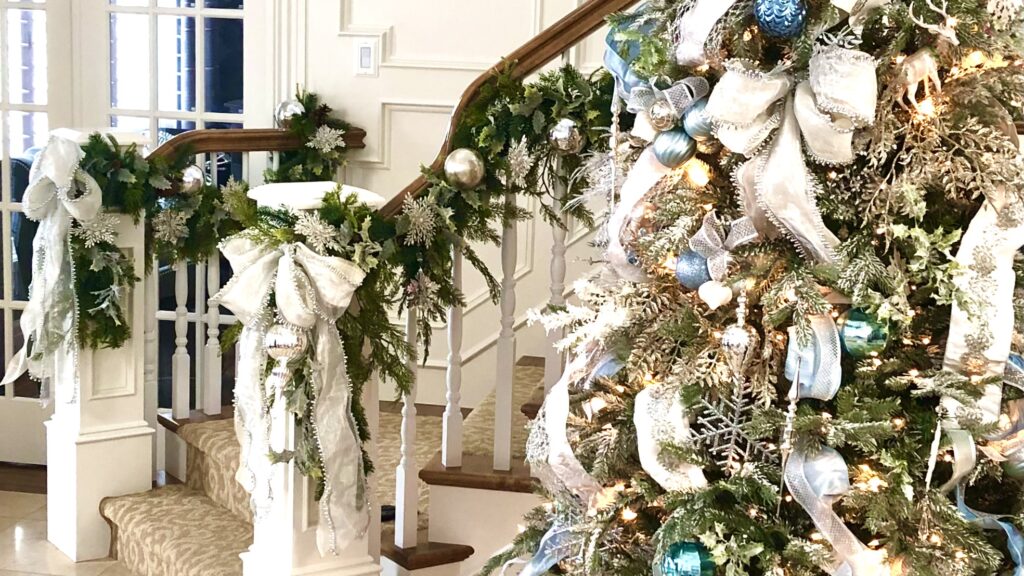
I typically use 6 or more strands of ribbon. Three strands of ribbon surrounding the top of the tree, all starting at slightly different heights near the top 1/ 4 of the tree. Because the tree gets much wider as it goes down to the bottom, I then add 3 new strands of ribbon in between each of my three initial strands. I start these new strands about 1/3 of the way down the tree and incorporate it into the tree the same way I did the first three strands. Often I use different style, color and/or textured ribbon to do these lower strands.
Note: I’m up on a ladder in this video, so my starting point for adding more ribbon strands is higher than it appears in the video. It’s about 1/3 of the way down the tree.
2. Wire the ribbon into a faux tree by using the trees own wire branches.
The wire branches of faux trees makes the perfect way to attach your ribbon to the tree. Just twist a wire branch around the ribbon to hold it in place and also give the ribbon a pretty poof effect.


3. Create rivers of flowing ribbon that appear to cascade down the tree in easy fluid motions.
To achieve an elegant look, avoid the appearance of ribbons just planted on top of the tree branches. To start, tuck strands of ribbon near the top of the tree, twisting the top end of the ribbon securely with a wire branch inside, near the trunk of the tree. Manipulate the ribbon out beyond the tips of the branches in a large-ish poof that feels a bit like a waterfall. Continue to work down the tree, pushing some of the ribbon back in towards the trees trunk and then bringing it back out to the tips again, moving the ribbon in an organic, waterfall like, zig-zaging motion.
Manipulate the ribbon as you go down the tree, twisting, pulling and draping it so that each flow of ribbon looks pretty from all the angles. This takes time, don’t rush through the ribbon part.
Because the tree is narrower at the top and wider at the bottom, the zigs and zags will be smaller towards the top and become larger as you work down the tree. I never cut the ribbon until I’ve draped it all they way through and down to the bottom of the tree.
4. Don’t Crumple the View
I take care to watch how the ribbon looks as it cascades over each branch or pushes back into the center of the tree. I don’t want it to look crumpled or crushed at any point along the ribbon strand. I want the ribbon to look lush and flowing at every single point along the way. This often takes a bit of time as I take care with each inch of ribbon along the way down.
5. Let it Flow
Even at the ends, down at the bottom of the tree, I want the ribbon to look abundant and lush. I let the ribbon drape from the bottom branches of the tree and flow into puddles on the floor or across the lower branches. Cut the ends of the ribbon into tidy 45 degree angles. This helps reduce fraying and looks much nicer than a blunt or jagged cut along the bottom edges of ribbon.

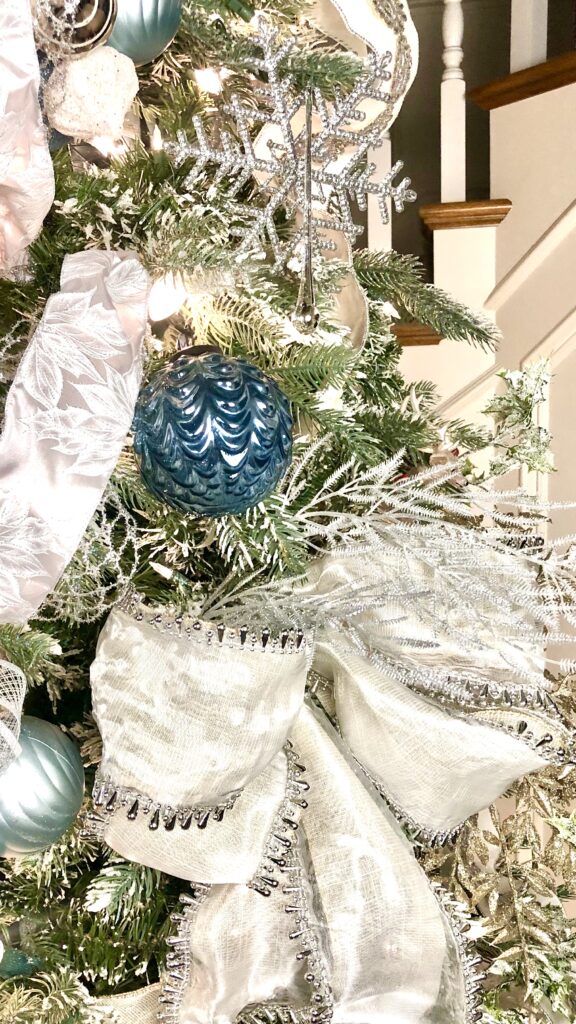
6. Let the ribbon create intentional backdrops for showcasing favorite ornaments.
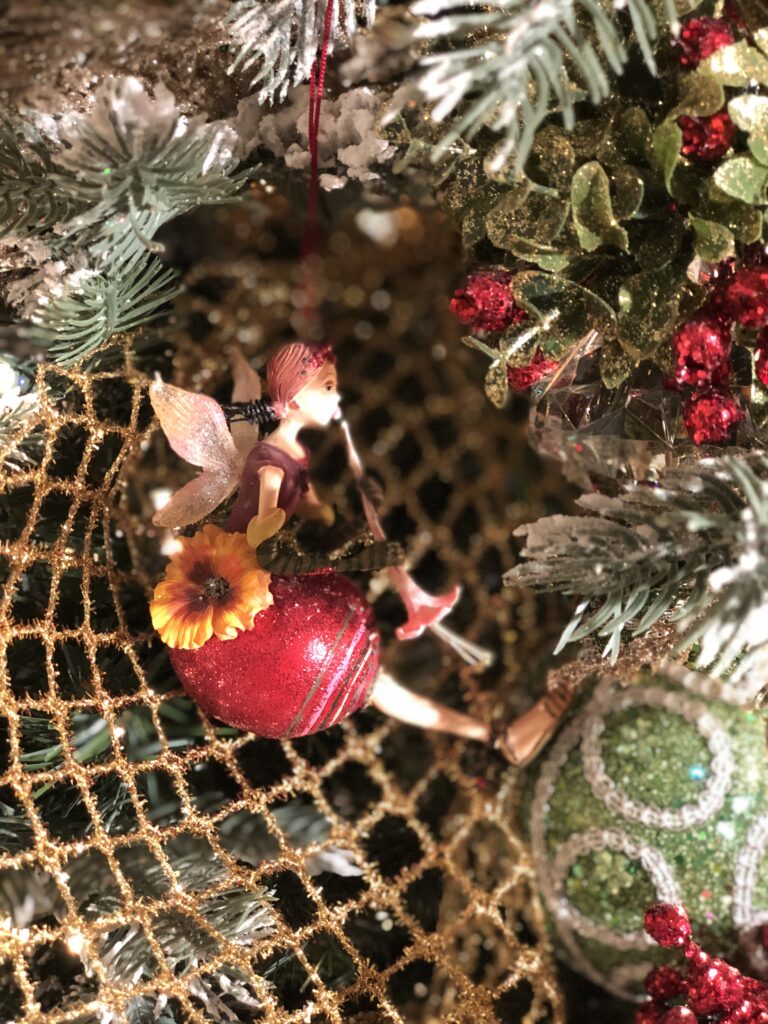
Sometimes favorite ornaments are hard to see with all the busyness of the tree’s branches and ornaments. Special ornaments will stand out if there’s a contrasting ribbon tucked behind them. I look for swaths of ribbon to serve as a frame for the ornaments I place in front of them.

7. Give ’em some pretty little sneak-peaks
Make sure every view is a pretty view. The backside of the ribbon will show in some places, so make it count. Kinda like if (accidentally. . . or not. . . ) a little peak of underwear just might show. . . you’d make darn sure that bra strap is pretty. . . right? Same concept.
I splurged on this gorgeous creamy shantung silk ribbon with silver embroidery and little jewel embellishments. I wanted it to be a star feature in that year’s tree. The front was gorgeous, but the back. . . just ehhh.
To make sure every angle and every view of the my feature ribbon was spectacular, I ran a second, robins egg blue velvet ribbon down the backside of my main ribbon, so even the little sneak peaks of the backside was an elegant surprise.
Bonus Tree Tips:
#1 Avoid creating a bullseye on your tree. Nothing prominent should start, finish or be placed directly in the center or in the middle (1/2 way points) of the tree. A good design rule of thumb is to work in 1/3rds or multiples of 3’s.
#2 If you’d like to add big feature bows, be sure they are large enough to make an impact, and use either 1, 3, or 5 of them in a triangular pattern on the tree. And don’t forget to reference Bonus Tip #1!