My Fabulous Gallery Style Art Wall

One Room Challenge – Week #3
Creating my fabulous gallery art wall was really just about problem solving!
I know. . . a home makeover’s finishing touches are suppose to come last. But what if I want to do the best part first?
I’m a gown woman, I can totally eat my dessert first if I want to!
So I did. I created the fun feature wall that I’ve been dreaming of for a full 3 years. I did it before I’ve reupholstered the sofas, before I’ve ordered the rugs, before I’ve hung the wallpaper, sanded and painted the cabinets, made the new window treatments, wired and hung the new lighting. . . . . .
Yep, before I did any of the critical things in these soon to be remodeled rooms, I ate my cake.
I’m soooo happy! Zero guilt. Zero regret. I’m in love with the way my feature wall turned out.
It’s one of the few projects I’ve tackled that did not have one single unanticipated hiccup. It came off exactly as I’d planned. Now that I’m feeling the effects of a “sugar rush” from the wall project, I have even more energy and excitement for tackling the next 7 weeks of remodel projects.
Let me tell you all about why I wanted to do this art wall, what I did, and of course, how I did it.
Also check out and follow some of the other great remodeling projects happening all over the country at One Room Challenge – Spring 2024, sponsored by Apartment Therapy.
The Why ~
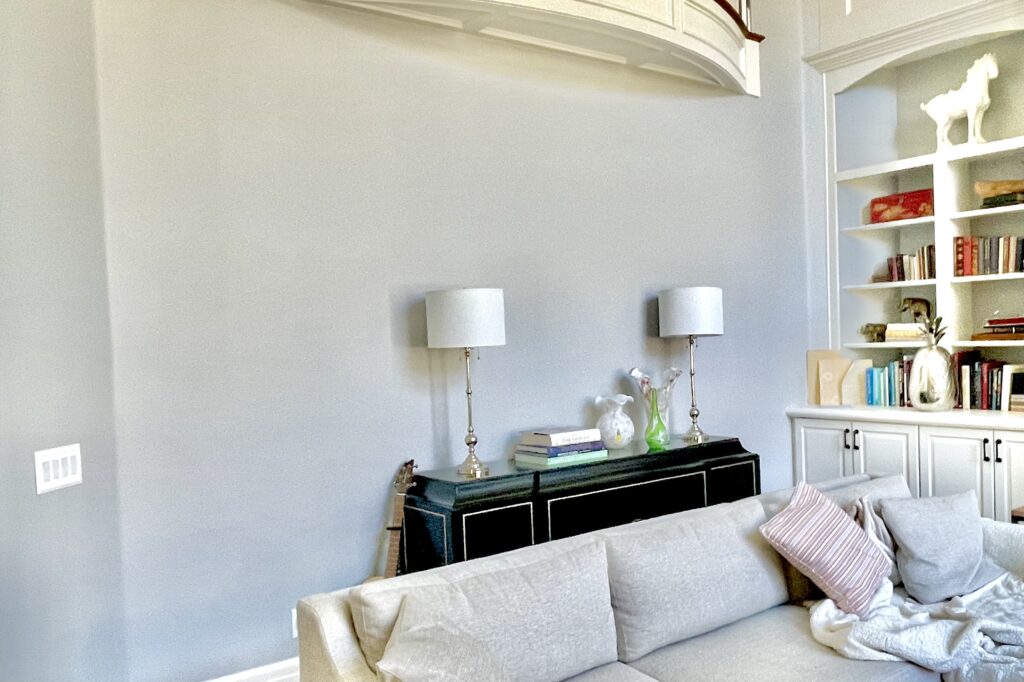
I have a great big bare wall in my family room that no matter what I put on it, still just felt big and bare! I didn’t want to fill it up with huge pieces of art unless I actually loved the art and it meant something to me. Despite looking, I’ve never found anything that met those requirements.
🖼️ I didn’t want a family photo wall because we already have one of those in the home.
🖼️ I didn’t want bookshelves because there are already built in bookshelves in the room.
🖼️ I didn’t want to push the furniture up against the wall because the room is too big for that. If possible, I prefer my sofas to float in the center of a room. Bringing sofas and chairs in close to each other creates a much more intimate and convivial space.
Seating that is too far apart makes it difficult to have relaxing conversations. No one wants to have to yell across the room to be heard. That’s just awkward.
Sometimes the solution to a problem is just sitting right there, staring me in the face, literally every day.
For whatever reason, I didn’t see it.
Turns out my solution was hanging there on the wall of my husband’s office all along.
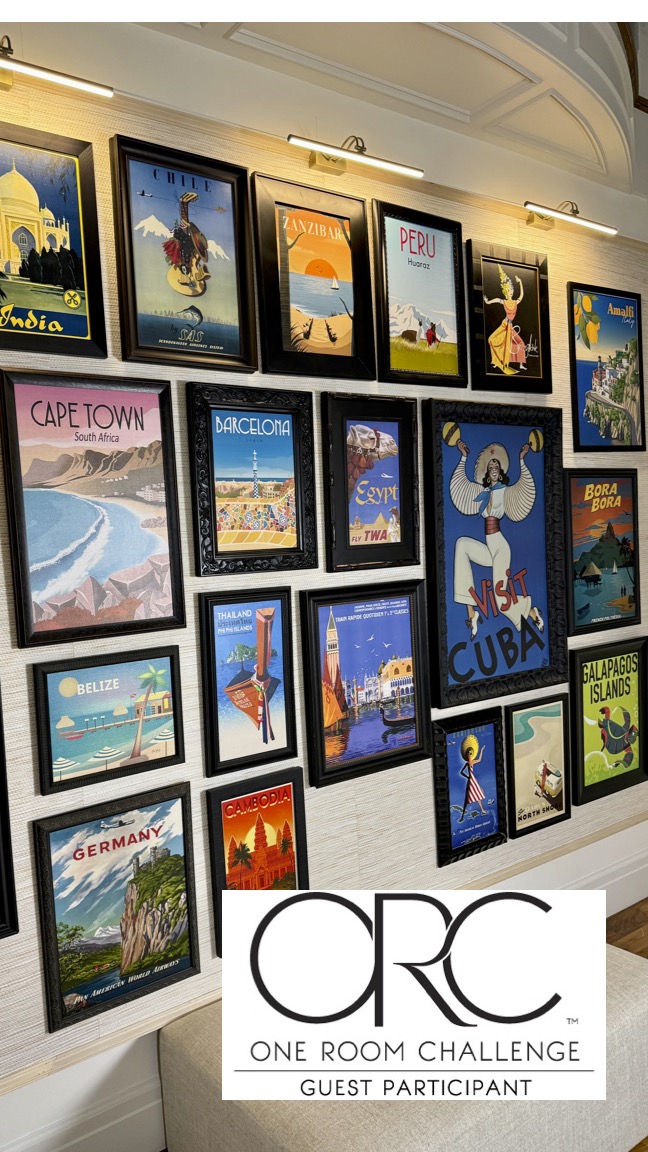
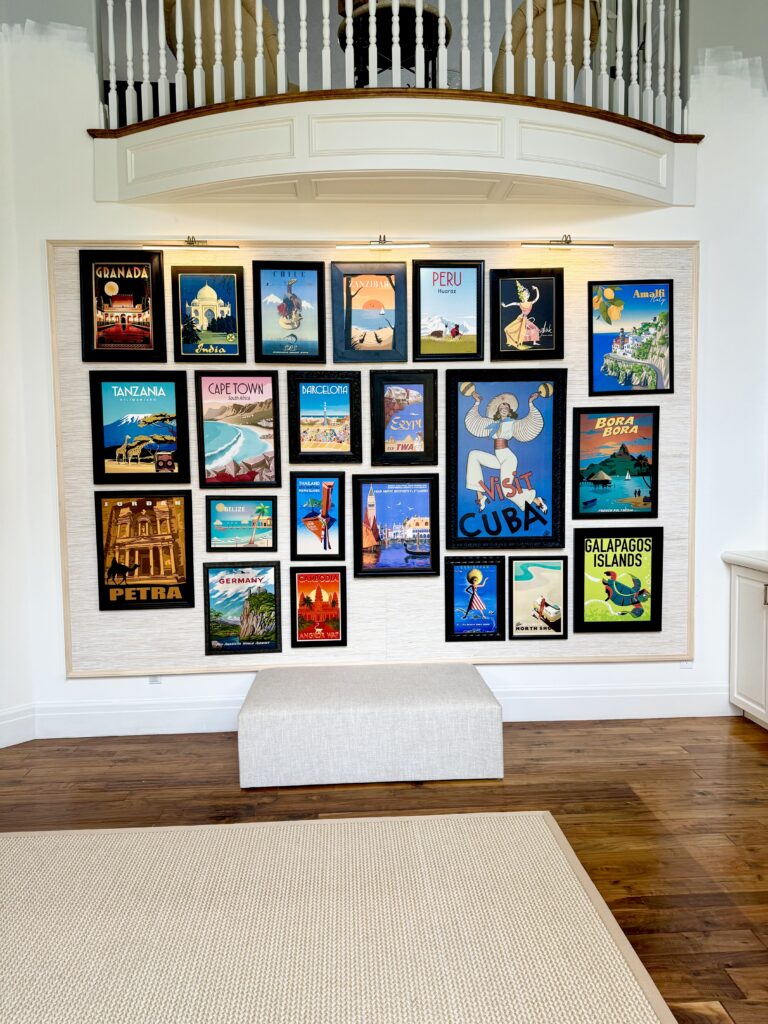
The What ~
We collect vintage, or at least vintage looking, travel posters for the places we travel too. We travel a lot. So we have a lot of posters. A long, long time ago I started framing these travel posters and hanging them on an art wall in Matt’s office. They looked really amazing in there.
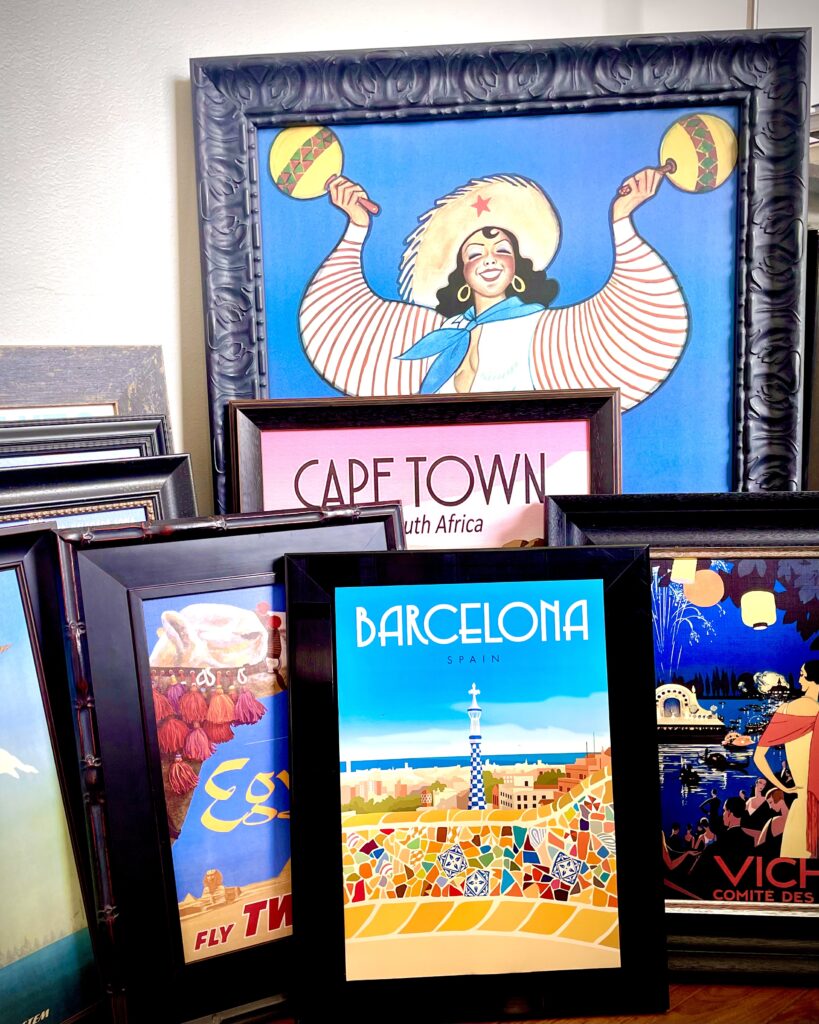

Then we ran out of wall space. As we continue to visit more countries the new additions to our collection have remained rolled up in cardboard tubes, piling up in my studio closet.
I have no idea why it took me so long to figure out that my solution to one problem was actually my solution to many problems in this room! It may have been because the framed travel art wouldn’t look good with the Great-Room as it was. I needed to get of of my box and see ALL the things not how they currently are, but as they can be.
It’s a WIN, WIN, WIN Situation
1. Redecorating the Great-Room allows me to transform the room into a more fun and more comfy space. That’s a win!
Read here all about why this facelift remodel is even happening in the first place. Pretty vs. Comfy
2. Redecorating gives me a place to hang our over abundance of Vintage Travel posters. Another win!
3. The Vintage Posters are an inspiration spring board for the entire makeover, which also solves the problem of what to do with my big bare wall in the Great-Room! Win, Win, Win!
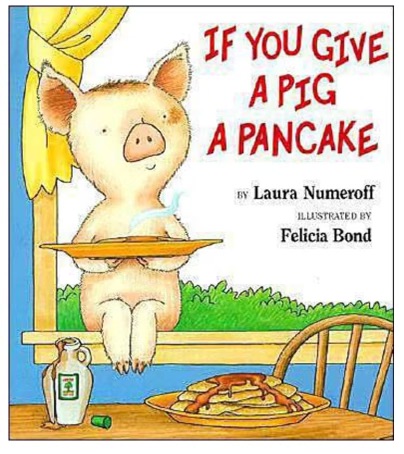
Now my only problem is that I’ve created a new problem . . . what to do with the now bare wall’s in the office since I’ve stolen it’s art? Do you know what happens if you give a pig a pancake. . . .?
The How –
Dimensional Feature Art Wall
Once the lightbulb went on and I decided I’d move the Travel Art Wall to the Great-Room, then a new problem presented itself.
This is something every seasoned designer and remodeler knows. Often one solution leads to yet another problem to be solved. And so on, and so on. Plan on it. Don’t feel discouraged by issues. This is how the best rooms are created!
The bigger the challenges, the more creative you’ll have to get, the more creative you need to be the more ideas you’ll generate, The more ideas you have the more fabulous the end results will become!
My best and most beautiful designs have come out of problems that needed to be solved. Embrace the challenges and turn them into beautiful focal points in your designs.
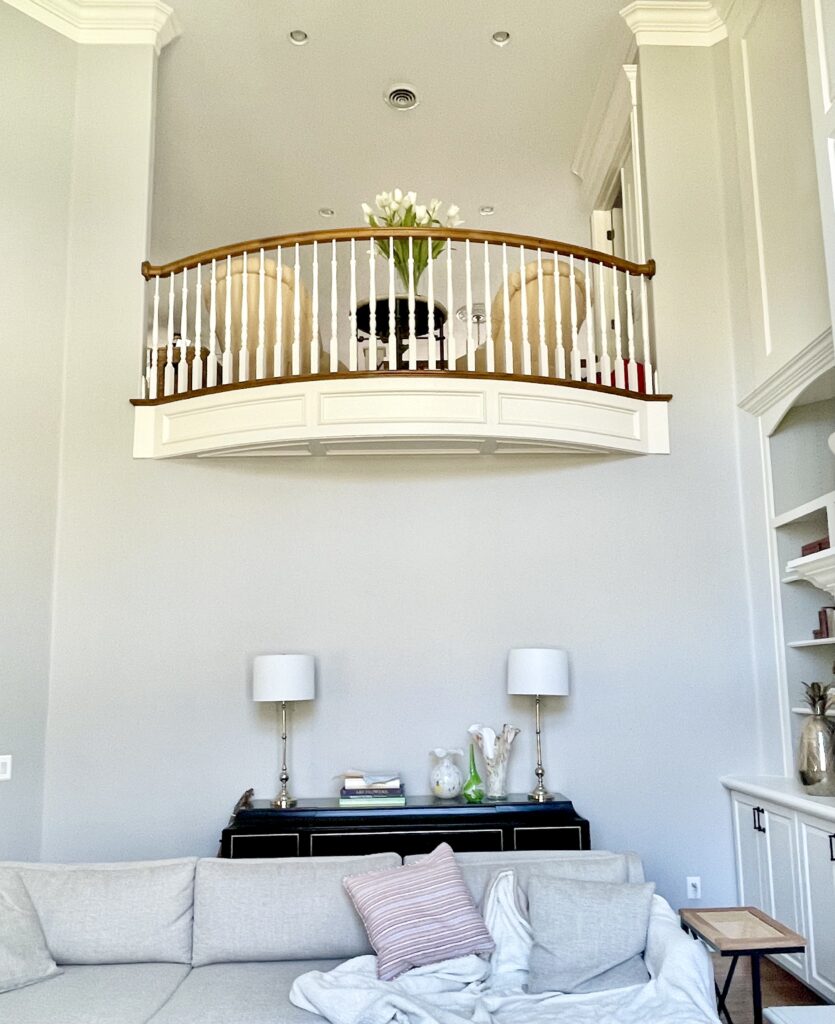
The challenges with this wall are many. In addition to it being so massive and bare, is that it also sits in the shadows. There is a second story balcony that hangs above the wall. The ceilings in the room are 20 feet high, making the canned lights in the ceiling cast awful shadows, leaving much of the room in shade.
Design 101 – A Bit About Overhead Lighting
As a related side note, I don’t use overhead lighting if I can help it. It’s very unflattering in most spaces. Overhead lighting is strictly for task lighting – only. In a kitchen, laundry room or craft room, yes. Everywhere else, just say no to overhead canned lighting.
I go so far as to actually unscrew the bulbs in overhead ceiling lights so that they can’t even be turned on.
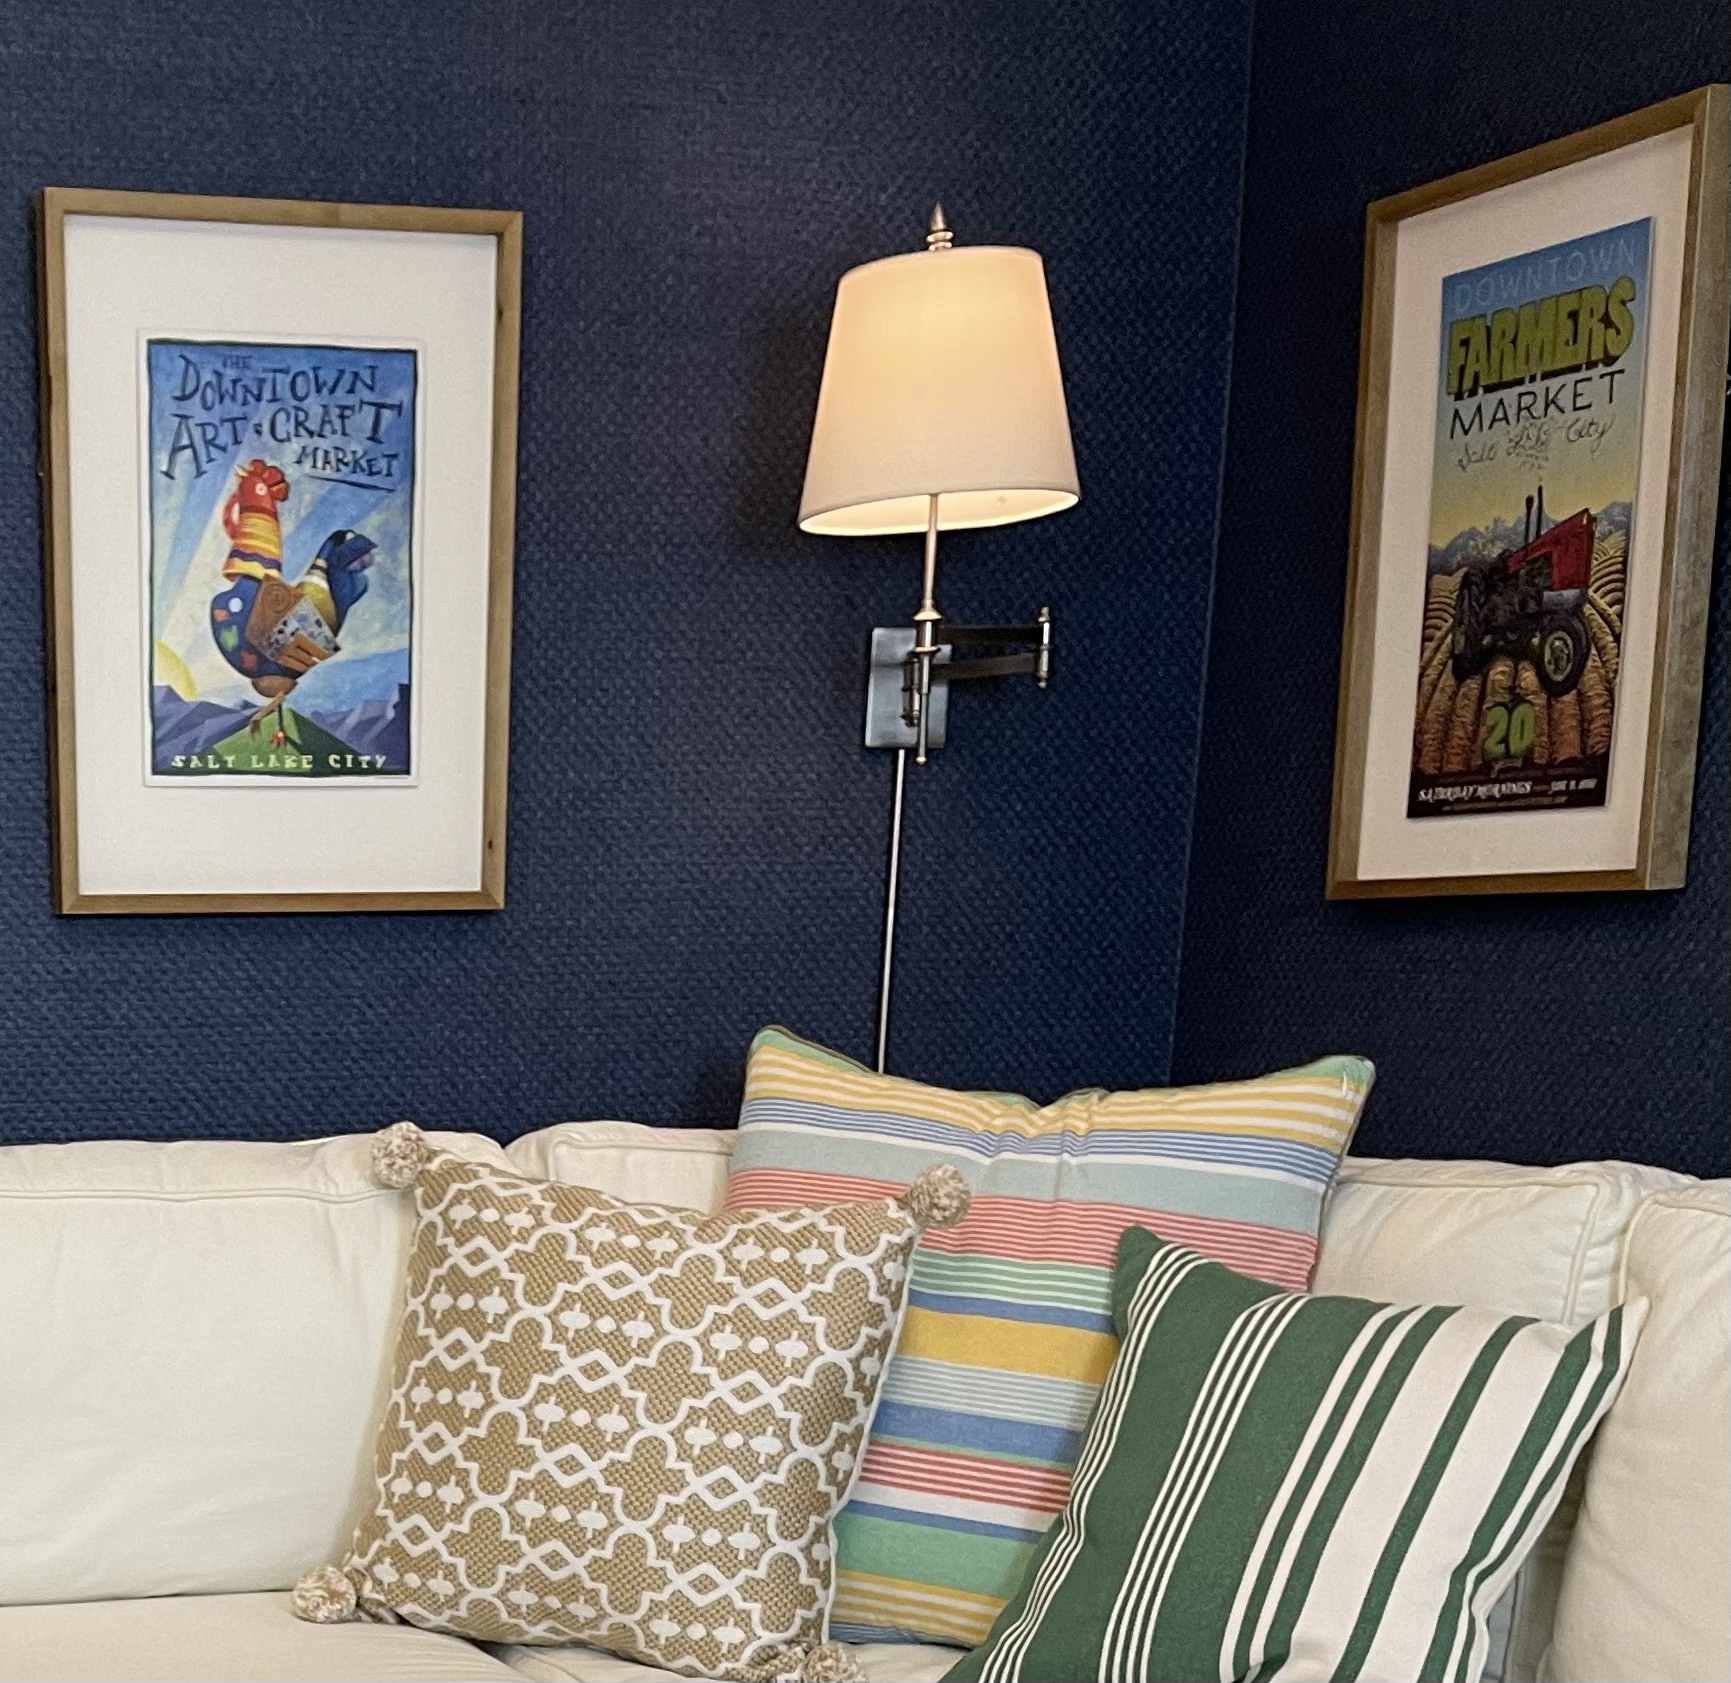
So I’ve know from the get go that I needed to light this wall, otherwise the art on the wall would be lost in shadow after the sun goes down. The whole point of an art wall is for it to be a focal point. It cant be a focal point if it’s hard to see.
To be honest I didn’t want to start tearing into the walls to drag power to where I’d need it. However there are several outlets just above the baseboards. I decided I’d convert hardwire pictures lights into plug lights, avoiding the need to tear up my sheetrock. How to Add a Plug to a Hardwired Light Fixture
However, I also didn’t want the resulting light cords to be visible.
I decided to build out an elevated horizontal platform on which to hang the art, solving four issues all with one simple solution.
4 Problems, One Gallery Art Wall Solution
- Added dimensional interest, visually breaking up the over-large wall.
- Created a confined space for the art frames and wallpaper to reside within so that they wouldn’t feel like they were just floating in a too big space.
- Wallpaper – I wanted to use this great natural woven wallpaper behind the frames. This adds needed texture and warmth in the space. However the walls in this room are 20’ high and have no natural stopping places. The wallpaper I’ve chosen is also not inexpensive.
- The protruding horizontal platform provides a space to hide the needed electrical cords. The cords can fall down between the the wall and and the elevated face of the platform, which also hides the electrical outlets.
I’ve been staring at this wall for years – even once I had a plan, sketches and all the materials stacked up in my garage, I still procrastinated . . . for months! I actually anticipated this was going to be harder than it was!
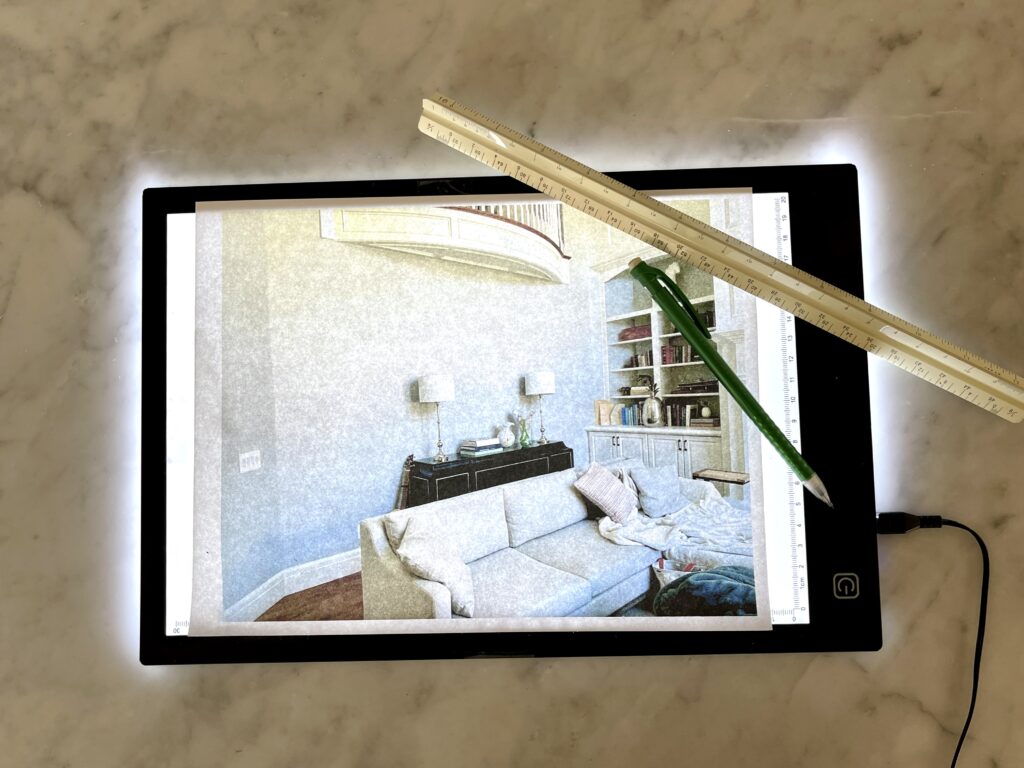
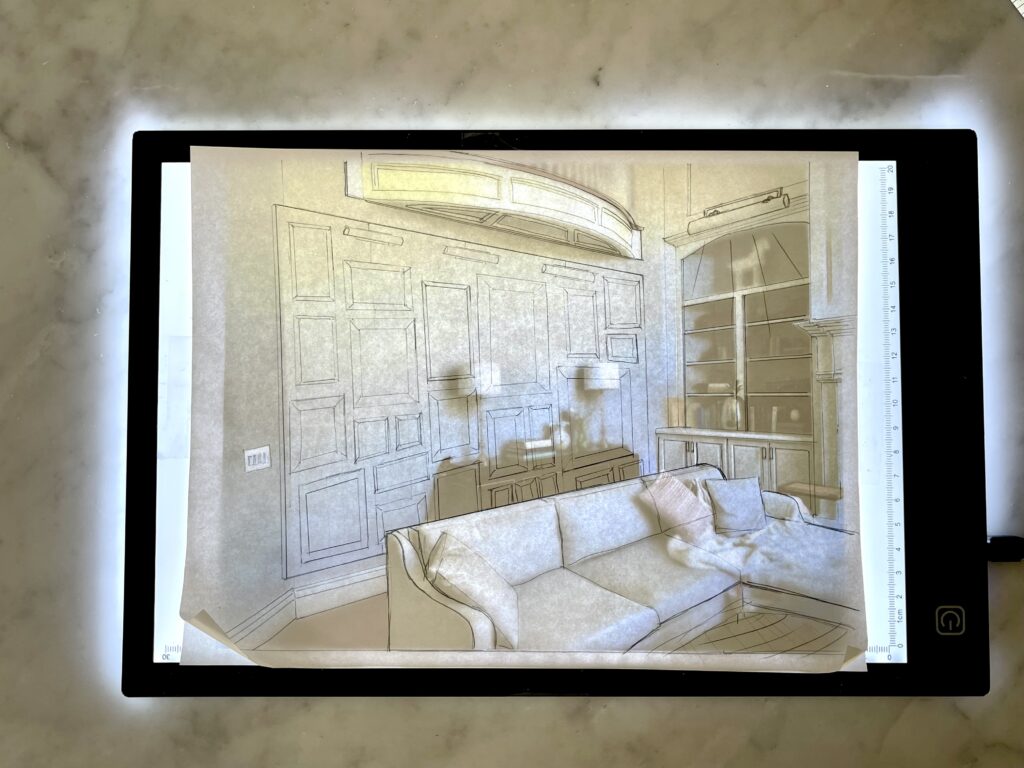
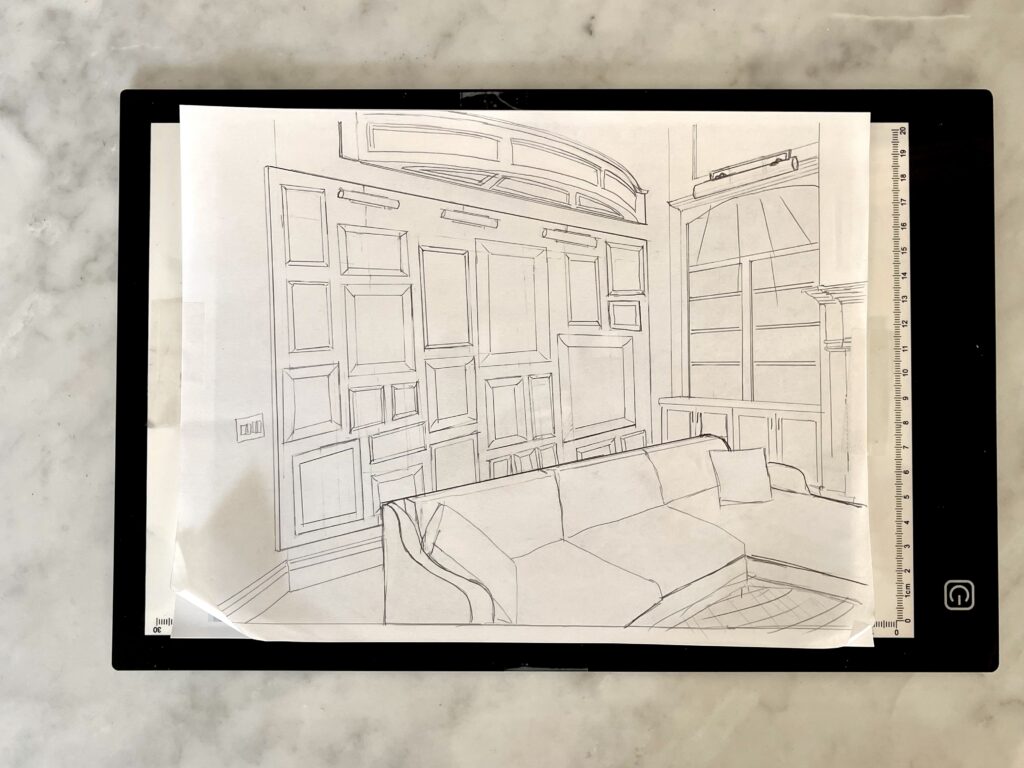
Drafting a plan is the critical first step. I often use a photo of the space, a light pad and tracing paper to pencil out my ideas.
I’d planned to hang just a couple strips of wallpaper that evening before I went to bed – then suddenly on a whim I found myself cutting and hanging boards instead. I stayed up until 3:30am working on it. This is how I roll. . . once I start I get fixated. I can’t stop until it’s done!
For directions and full tutorial on How I Created an Elevated Horizontal Platform click HERE
For Full Tutorials on how to Create Custom Frames Using Thrifted Frames HERE and Upscaling My Art Prints with Mod Podge HERE
Also, learn how to Convert a Hardwired Light Into a Light With a Plug HERE
Where to buy these great wireless Art Lights HERE