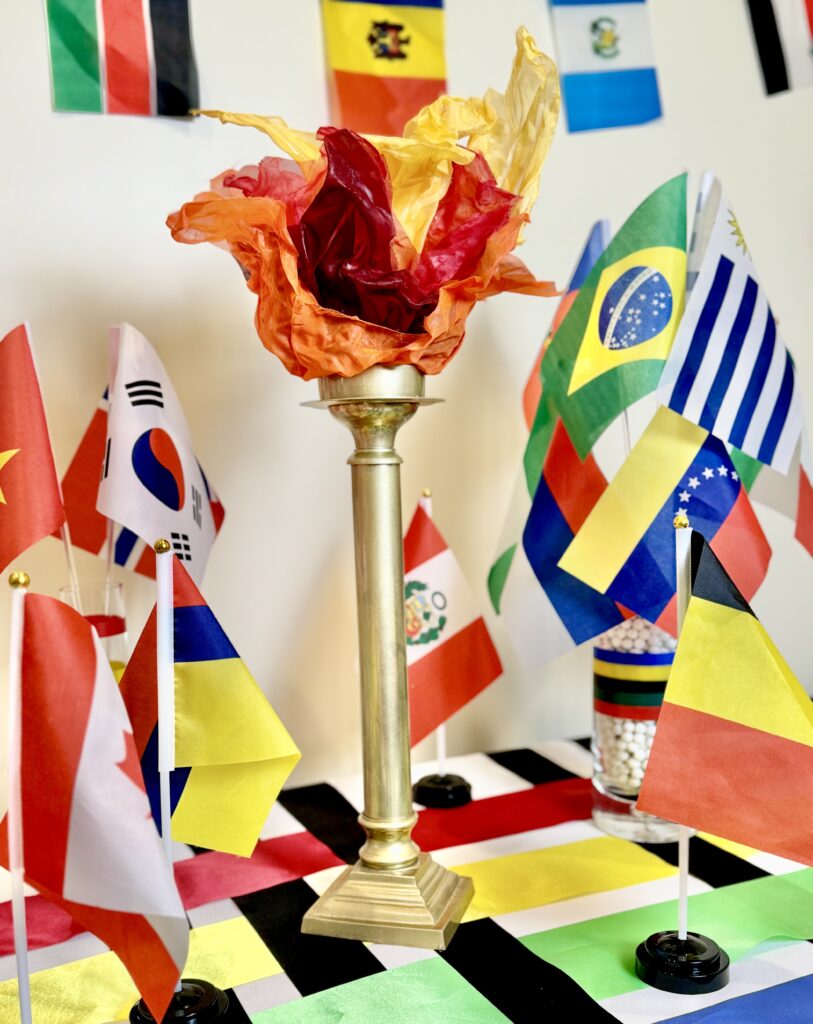
Make Your Own Faux Fire Olympic Torch

Make Fire. . . faux fire that is! I’m getting into the Olympic spirit by decorating my home with some homemade DIY Olympic decor, including a faux fire Olympic Torch.
I decided we needed an Olympic torch in order to properly celebrate the next 2 weeks of Olympic event watching! Adding a torch to the Olympic themed decor I’ve been creating was a no-brainer.
Well. . . at least the idea was a no-brainer. The actual execution of this idea turned out to be more of a brain teaser. How to make fire? FAUX fire I mean? Making real fire is easy, faux fire . . . not so much!
For days I noodled on, and discarded, a variety of different ideas for how to achieve faux fire. Then one day I was researching some Halloween ideas for an upcoming fall project. . . and lightbulbs went off!
Have you ever made, or at least seen, Halloween ghosts made from cheesecloth and cornstarch? Could this also work for making fire out of sheer fabrics?
I dashed to the fabric store, picked out 4 colors of lightweight, sheer fabric and got to work!
It was easy, so easy it made me giddy! Here’s how you too can make your own faux fire and your own Olympic torch.
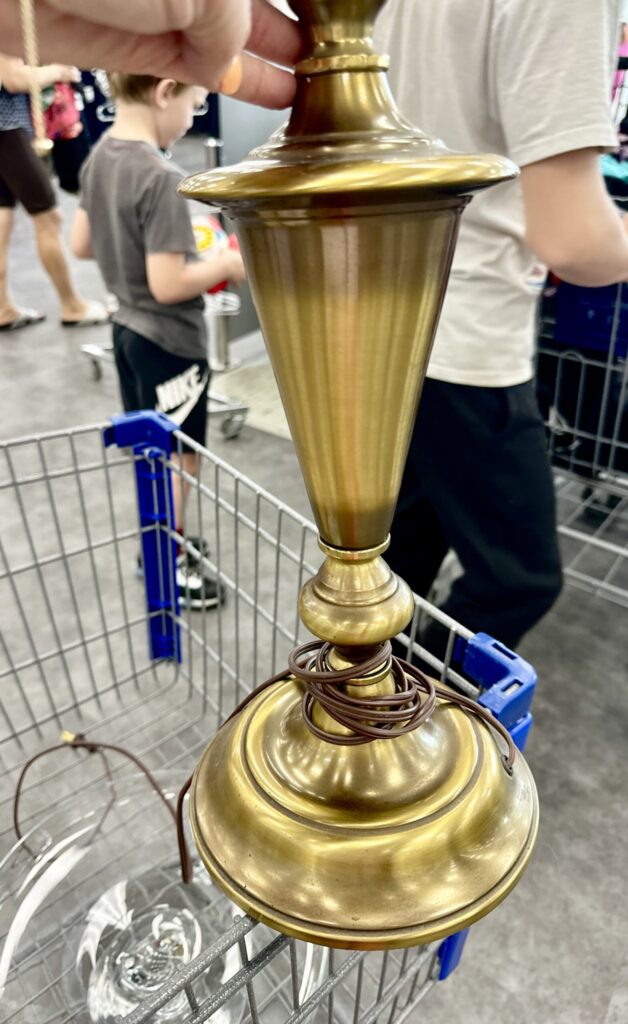
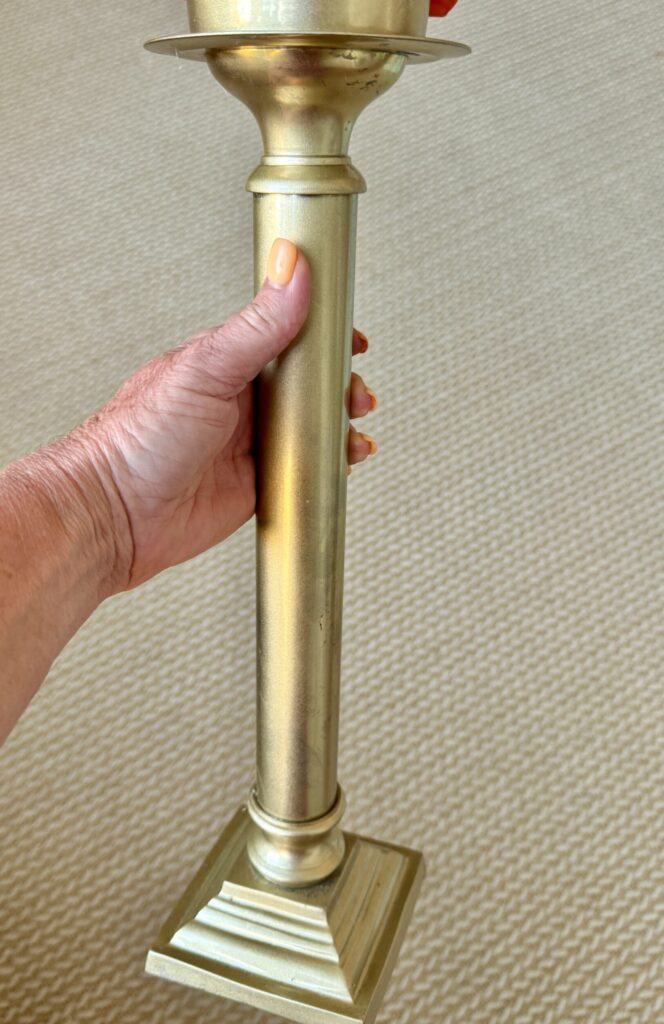
BUT, before you can make fire, you’ll need a torch to put that fire into! When looking for something to use as a torch just focus on shape. You can spray paint anything gold. Before I settled on the candlestick I used, I found a couple of lamps at a thrift store that also would have worked great! I could have just pulled the electrical out and they would have been awesome torches! Get creative and think outside the box!
Faux Fire Olympic Torch Tutorial:
Supplies:
- Sheer Fabrics in Reds, Oranges & Yellows. (I purchased 1/3 yards of 4 different color fabrics.)
- Corn Starch
- Aluminum Foil
- A variety of vases and/or drinking glasses
- Gold Candlestick (shaped like a torch might look)
- Sauce Pan
- Baking Sheet pans
- Hot Glue Gun
- Silicone Finger Protectors HERE (optional, but I highly recommend!)
- Scissors
Instructions:
Starch Sauce –
The starch “sauce” is made using a 1 tablespoon to 1 cup ratio. One tablespoon of cornstarch for every one cup of water. For my torch I made 2 cups of the starch sauce.
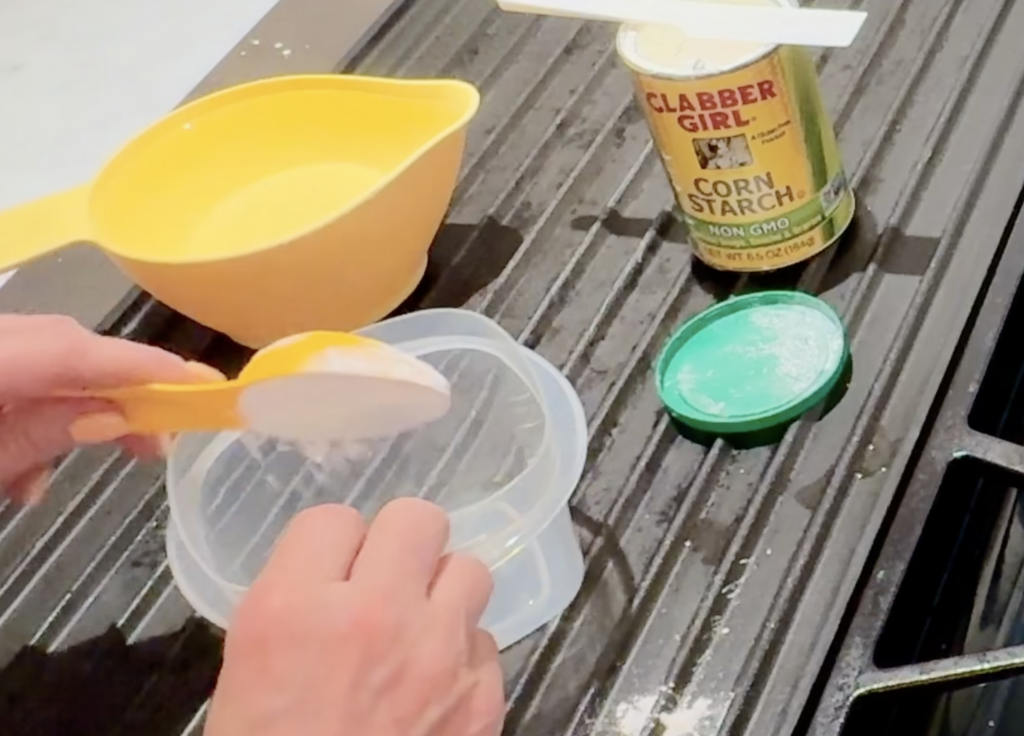
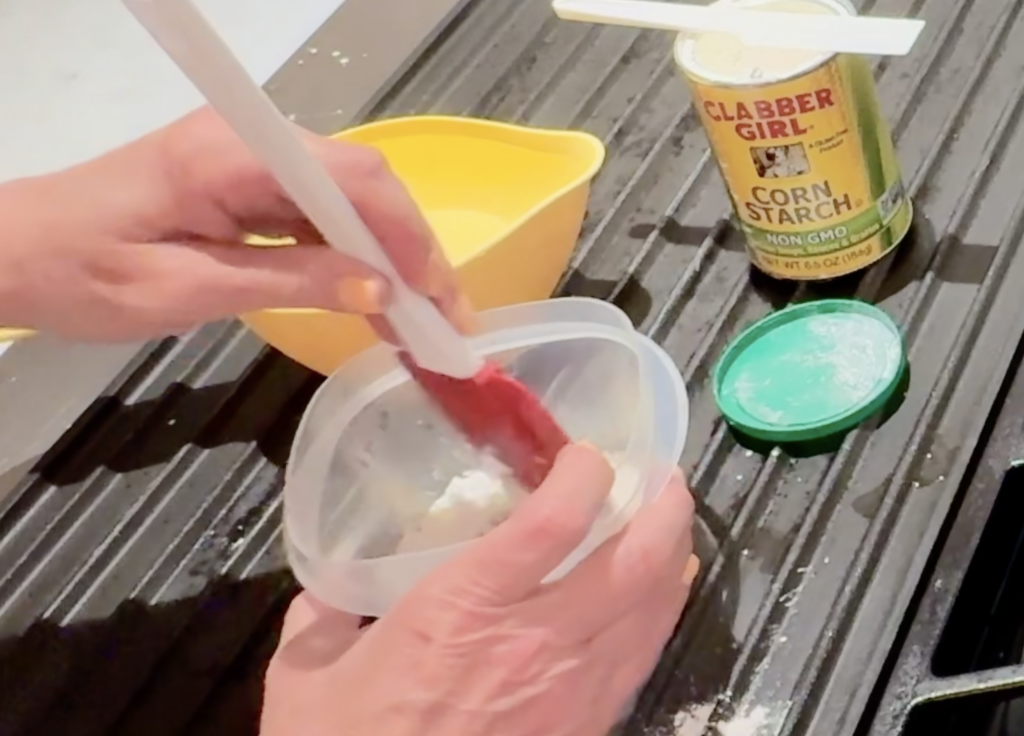
Make the starch mixture much like you would thicken gravy. Measure out the desired amount of water into a sauce pan. Next pour the cornstarch into a separate small bowl. Now add just a tiny bit of water, taken from the measured water in the saucepan. Mix until a smooth paste forms. Again, add another tiny amount of water and stir until smooth. Do this process several more times, making sure the mixture is smooth and free from lumps each time.
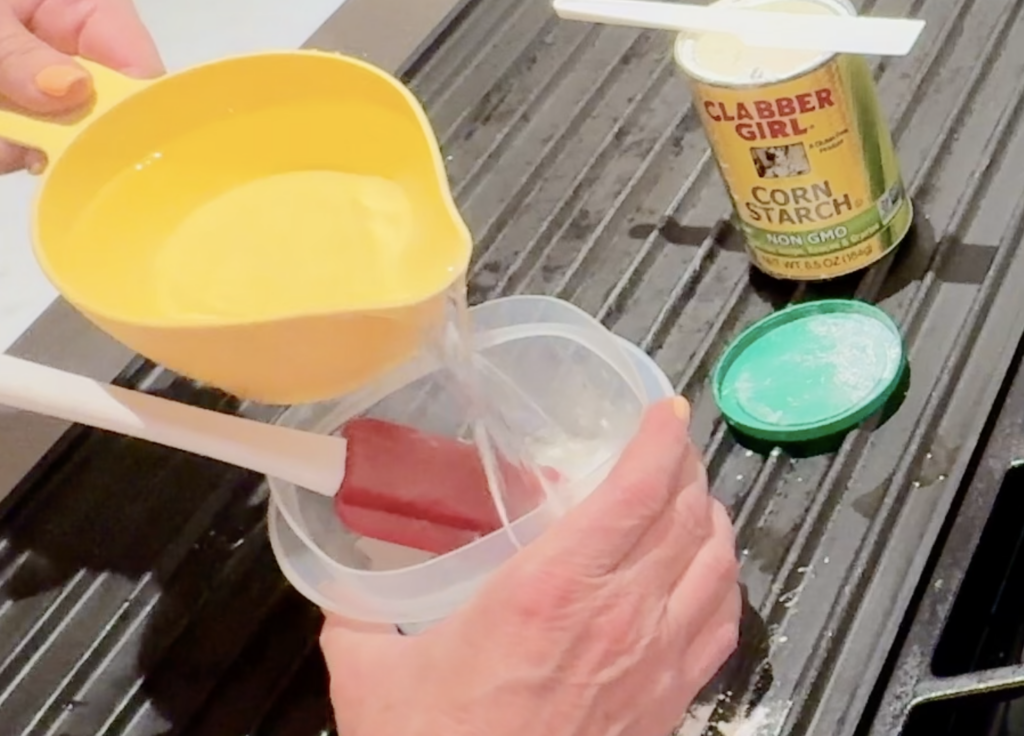
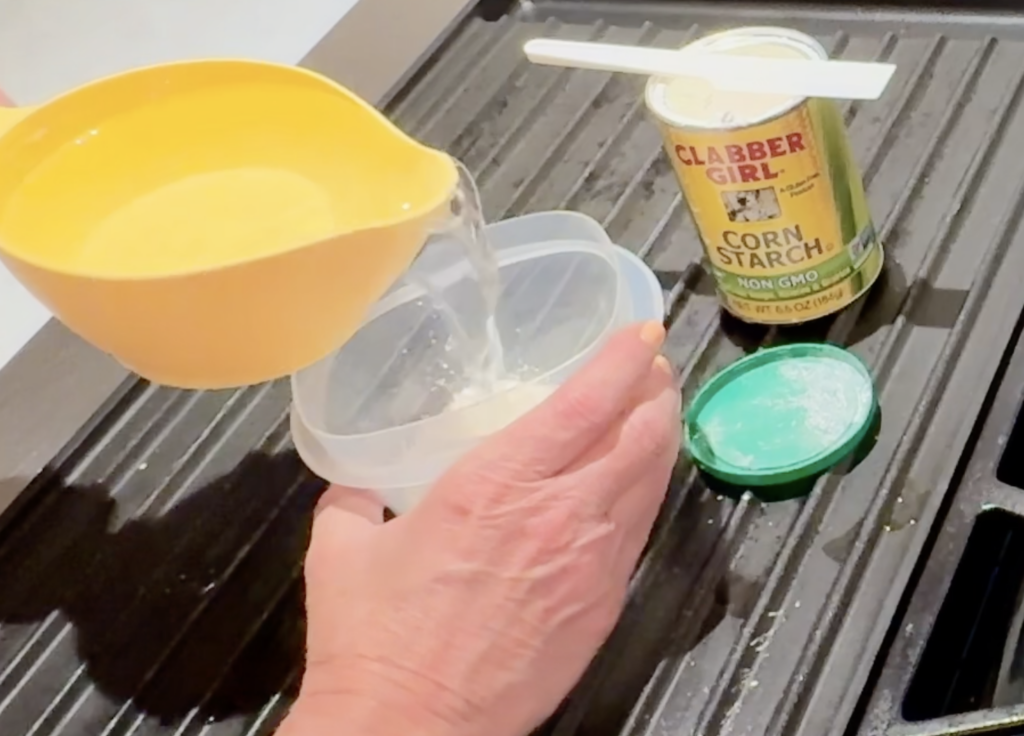
Once you’ve added enough water to bowl of cornstarch so that the mixture is now runny, rather than paste like, pour the cornstarch mixture into the pan of remaining water. This process is important, as it prevents the mixture from being lumpy and difficult to use for our purposes.

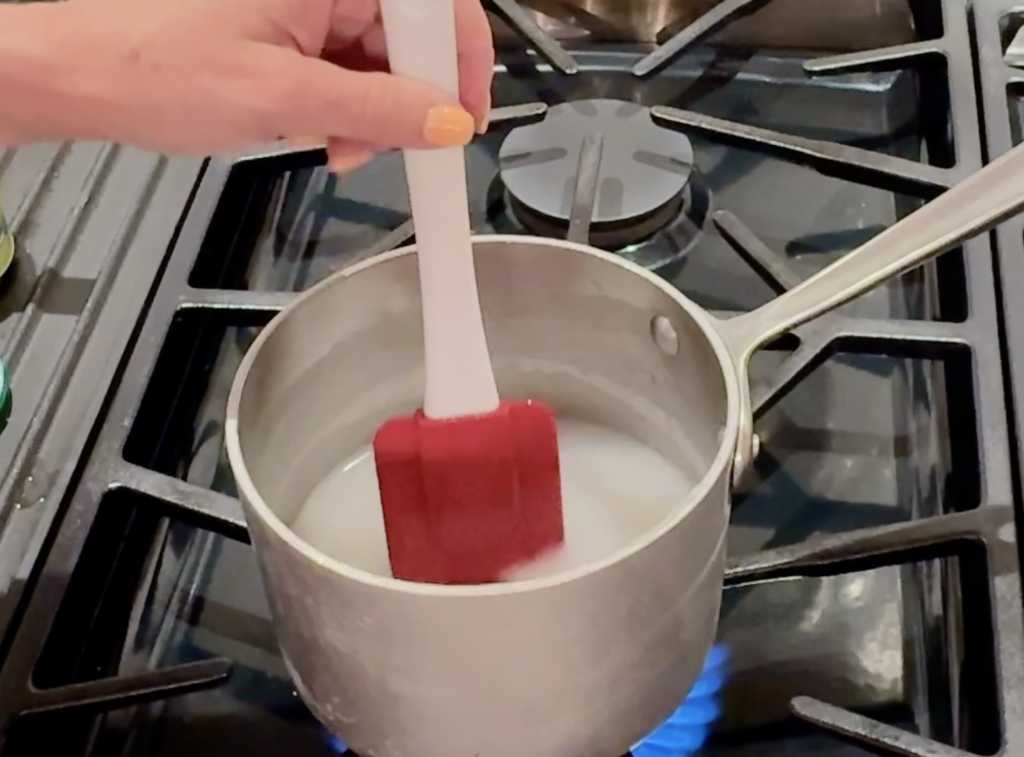
Place the pan of cornstarch and water mixture on the stove on medium-high heat. Stir constantly until the mixture comes to a low boil and begins to thicken (about 3-4 minutes). Remove from heat and allow to completely cool before using.
Note: You can store the Starch Sauce in an airtight container for 2 or more weeks.
Shapes & Molds –
I used a variety of glass vases, drinking glasses and aluminum foil shapes as molds to drape and shape my fabric strips. Collect a bunch of different shapes and sizes. I also used baking/cookie sheets as a place to set my fabric shapes for drying and hardening.

Tear Fabric Strips –
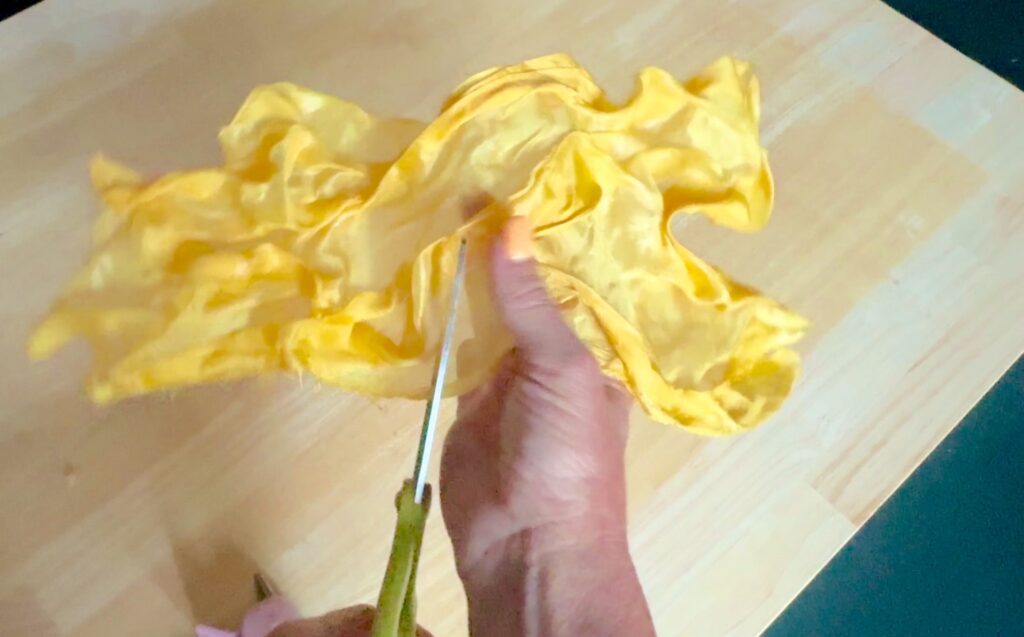
Take your fabric and snip a small cut into the edge with fabric scissors. The cut should be at the width you want to use for this particular drape of fire.
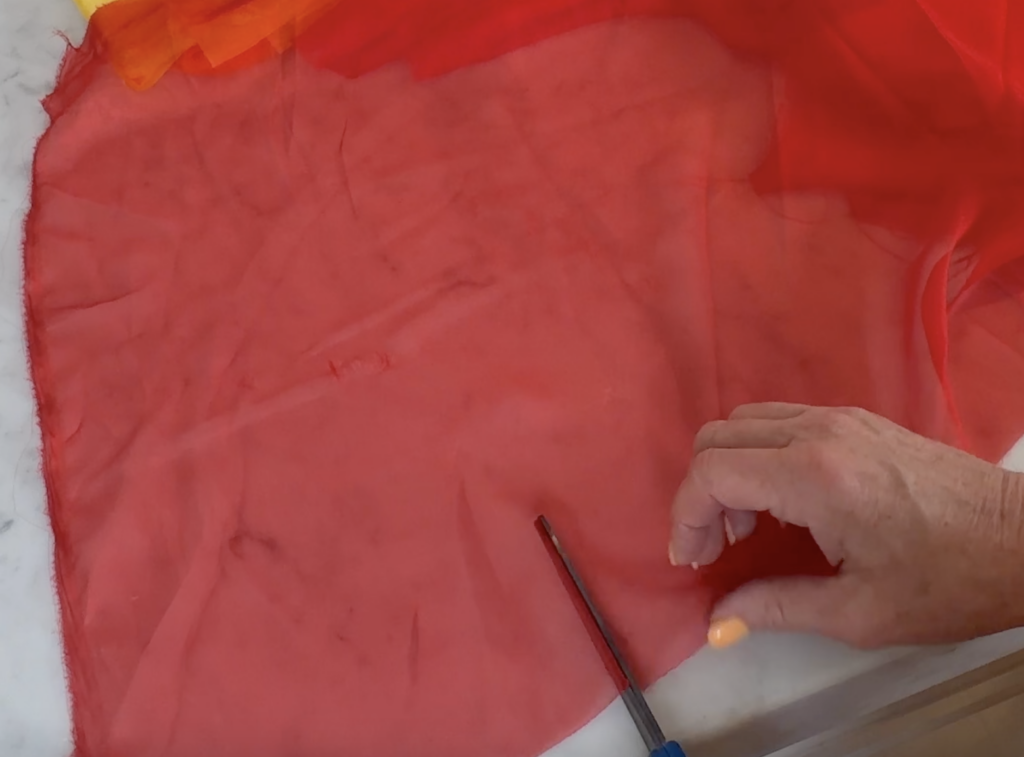
Pick up the fabric and with your hands, tear the fabric from the cut line all way across the width or length of fabric. I prefer “cutting” fabric this way because it’s more accurate and creates a smooth, perfectly straight cut line. I also particularly like this method for this project because the edges frey just bit, creating an even better illusion of fire when it drys.
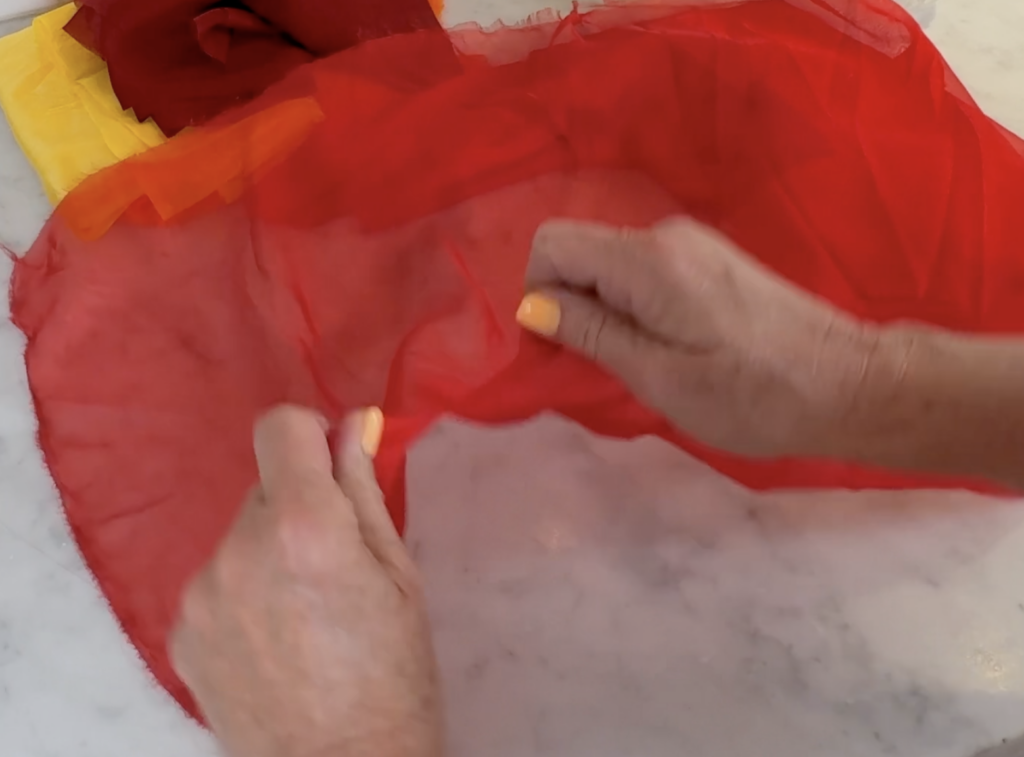
For this project I tore fabric strips in randomly different widths and lengths.
Note: Did you know tearing fabric in this way will give you a perfectly straight cut line? You can use this method for cutting perfectly straight fabric on many different kinds of fabric! It works for cutting both the length or width (the warp or the weft) of the fabric. This handy little trick does not typically work on most home dec fabric, knits, or heavier woven fabrics.
Dip Fabric Strips –
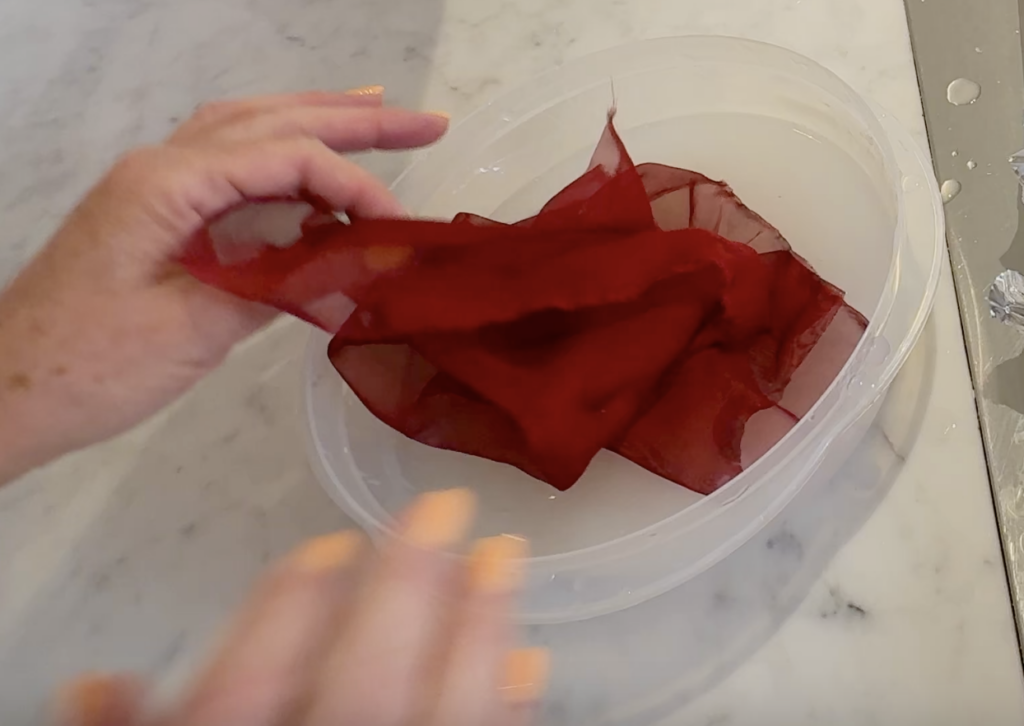
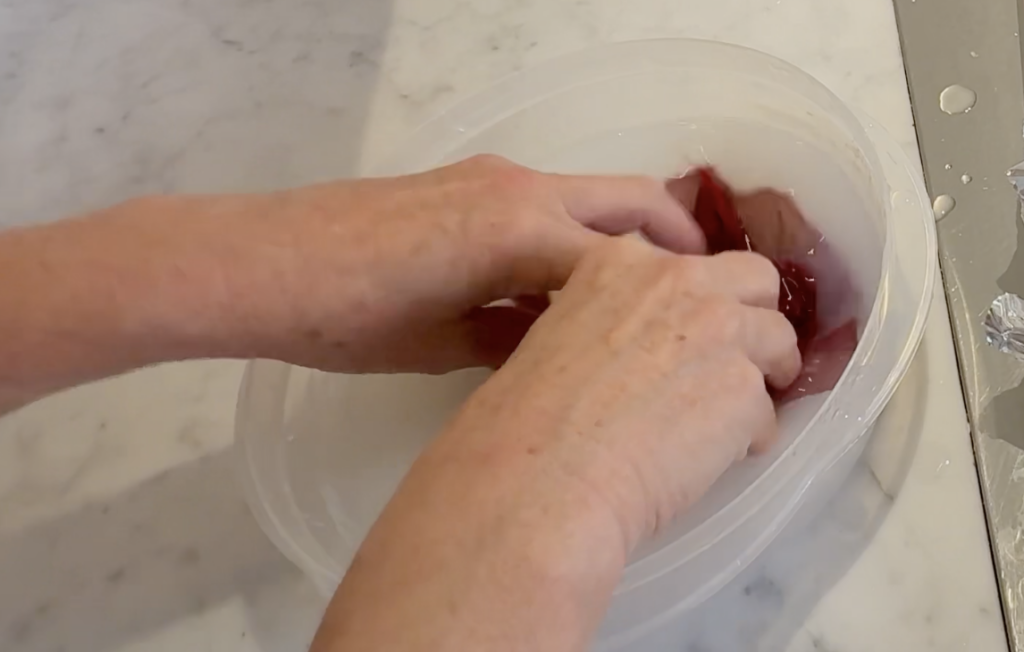
Once your Starch Sauce has cooled to room temperature it will be thicker. You can now place each fabric strip (do one at a time) in your bowl of Starch Sauce. Soak the fabric well in the sauce. Squeeze the excess starch off of the fabric as you pull it from the sauce. However, be sure you don’t remove too much of the sauce from the fabric. You’ll want it to still be wet and goopy, just not sloppy goopy. You’ll see as you work with it. Perfecting how much to leave on and how much to squeeze off is a bit of a trial and error process. The more starch you leave on the more stiffly it will dry.

Create Fire Shapes –
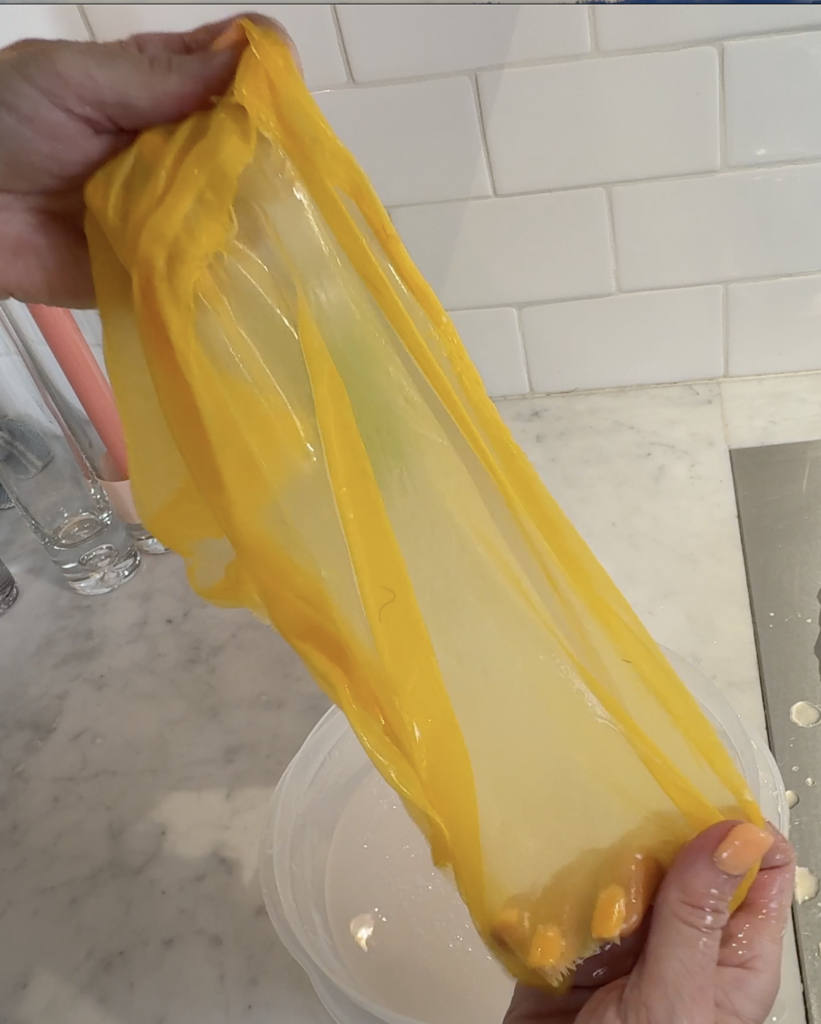
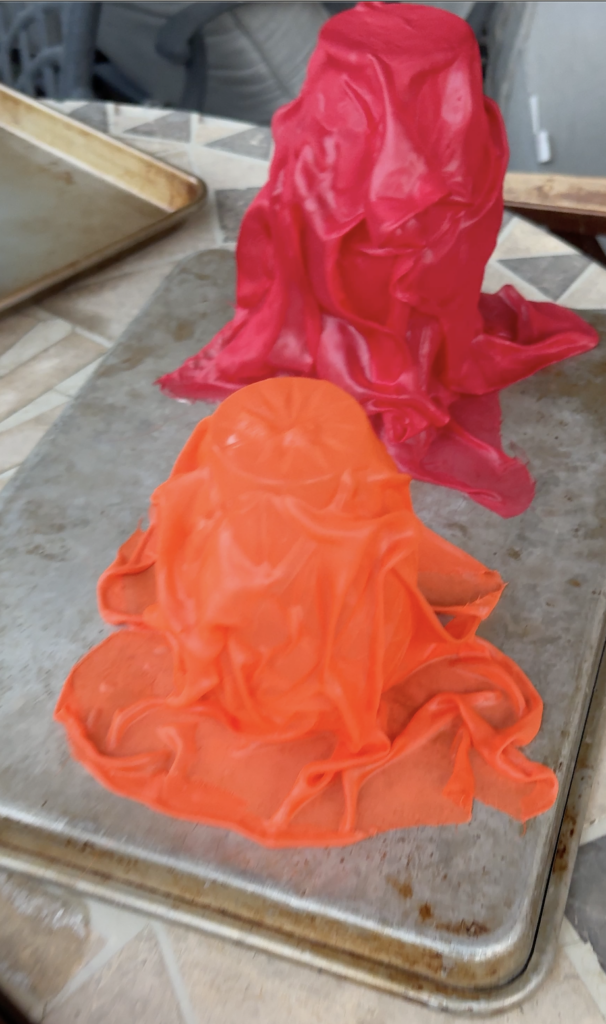
Tulip Shaped Fire Cups: I started with two longer & wider strips of fabric in different colors. I chose a red and a yellow fabric for this part.
I used two vases that both had a hurricane lantern shape. Then I placed the two vases on top of a baking sheet. I then draped each vase all the way around with starch sauced pieces of fabric; one with yellow fabric and one with red fabric. By doing this I created a kind of tulip cupped shape out of each color of fabric. I shaped the fabric so that it hugged the shape of the vase and then spilled out onto the baking sheet below.
I also made sure, before I started, that the base of the vases I used for this part of the fire would fit nicely into the candlestick I had selected to use as my “torch.”
Fire Pieces: Next I used a variety of additional vases and drinking glasses as a base to drape the different color strips of fabric over. Some were cup shaped, most were not.
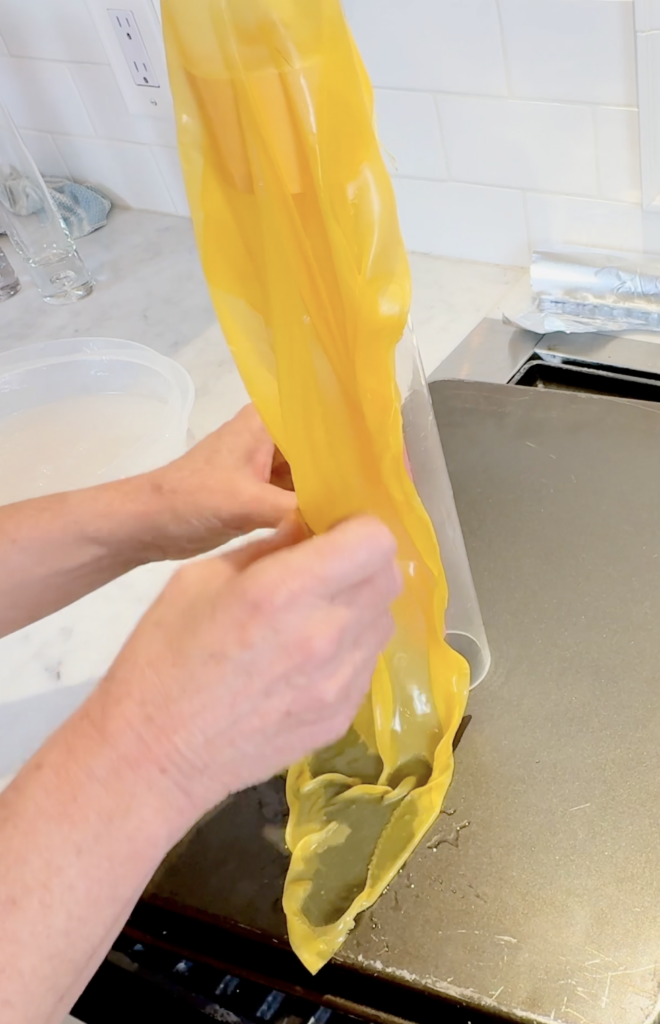
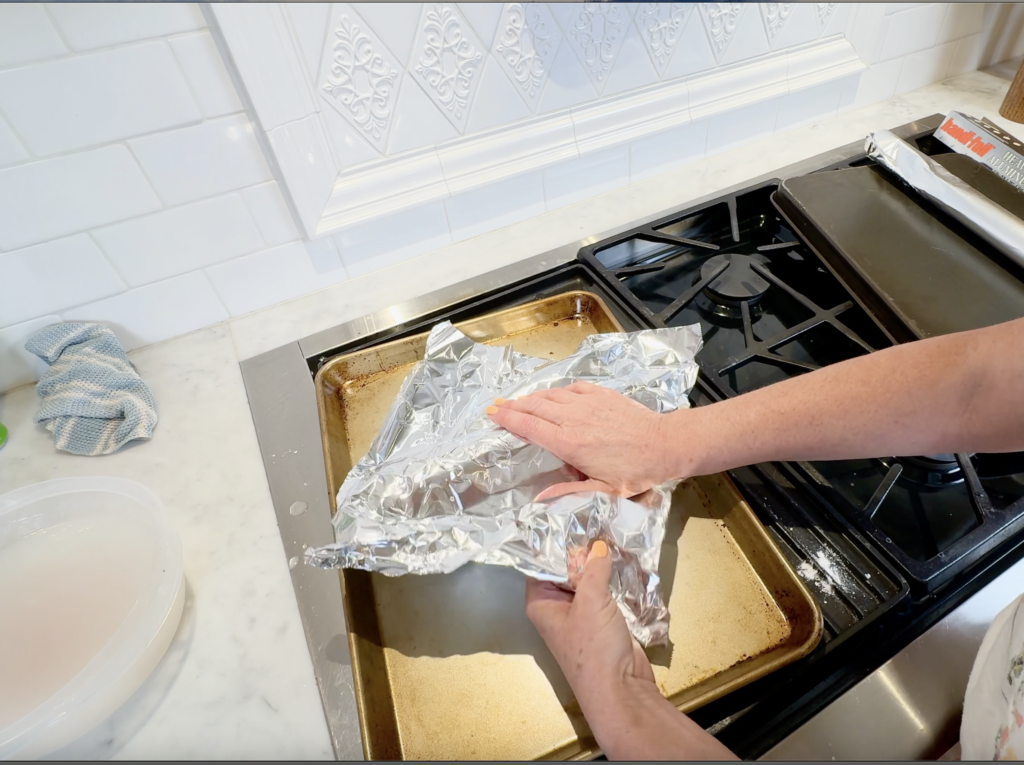
I also shaped sheets of aluminum foil and then draped, bunched and shaped the fabrics into what I thought looked like strands of “dancing fire.”
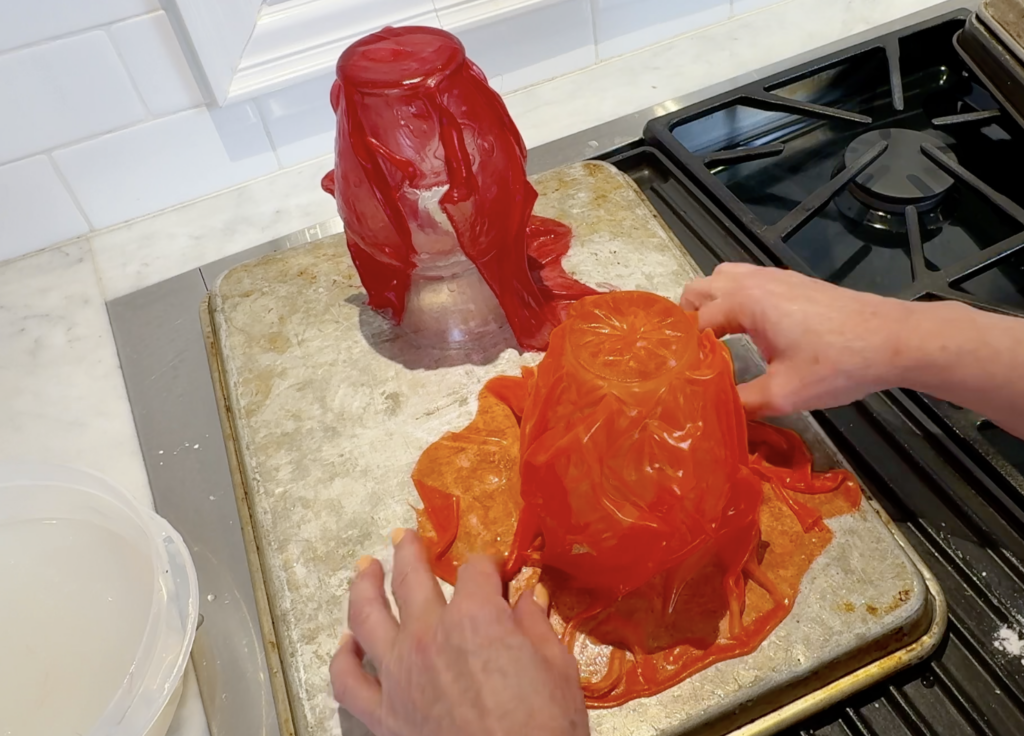
Let it Dry and Stiffen: I put all of the fabric filled baking sheets out on my back porch where it was hot and dry in the heat of Utah Summer. Let them dry completely. Drying time is going to depend on where you live, how hot and how humid it is where you are. Mine dried completely in less than 6 hours. BUT it’s very hot and very dry in July where I live.
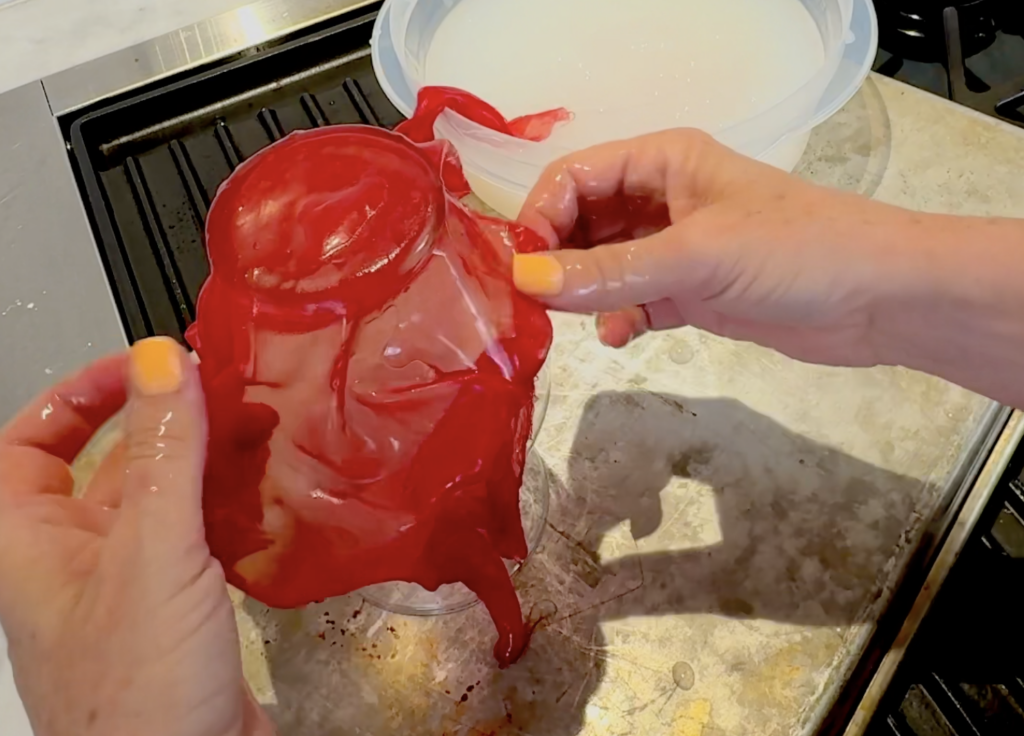
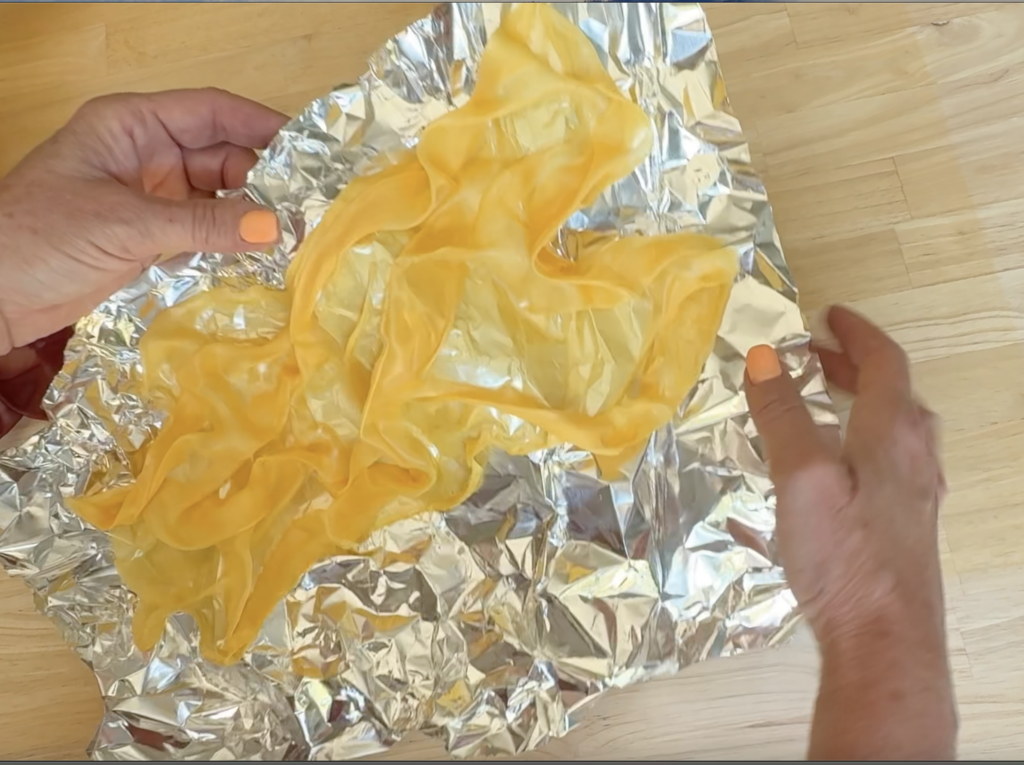
Remove the Stiff Fabric from the Glasses & Foil:
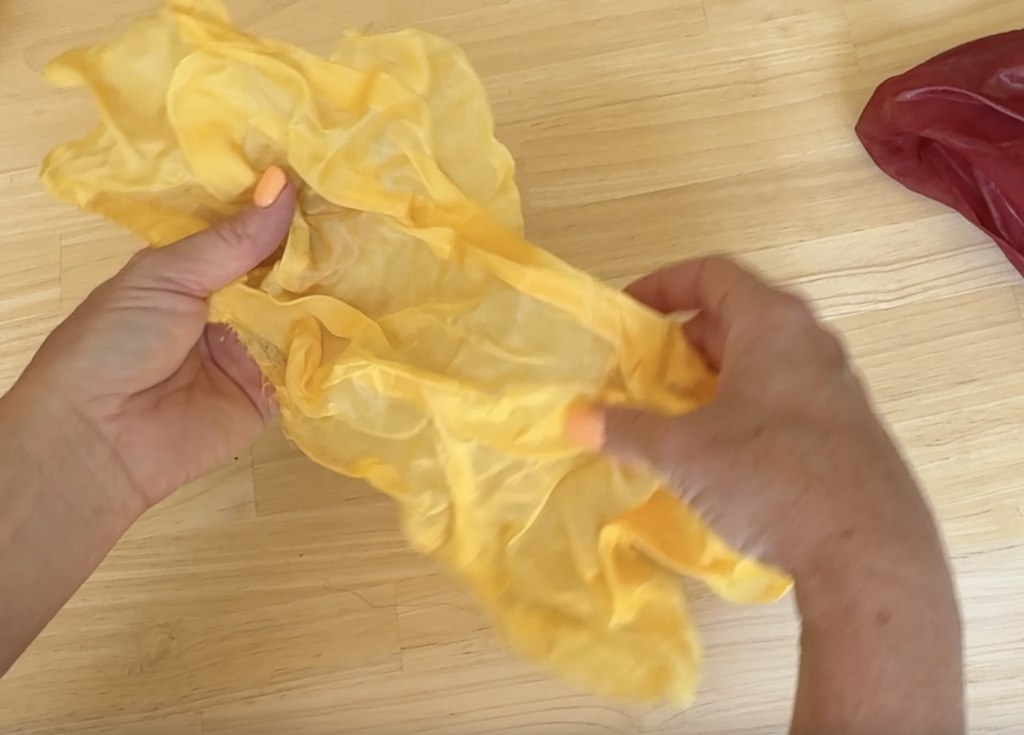
The dried fabric will/should be stiff, but not hard. Meaning you should be able to gently (very gently) pull the fabric away from the glass and foil molds you created. Be careful not to pull out the shapes you created. It should be forgiving, however don’t aggressively pull or tear them loose, as you may lose the shapes you worked to create.
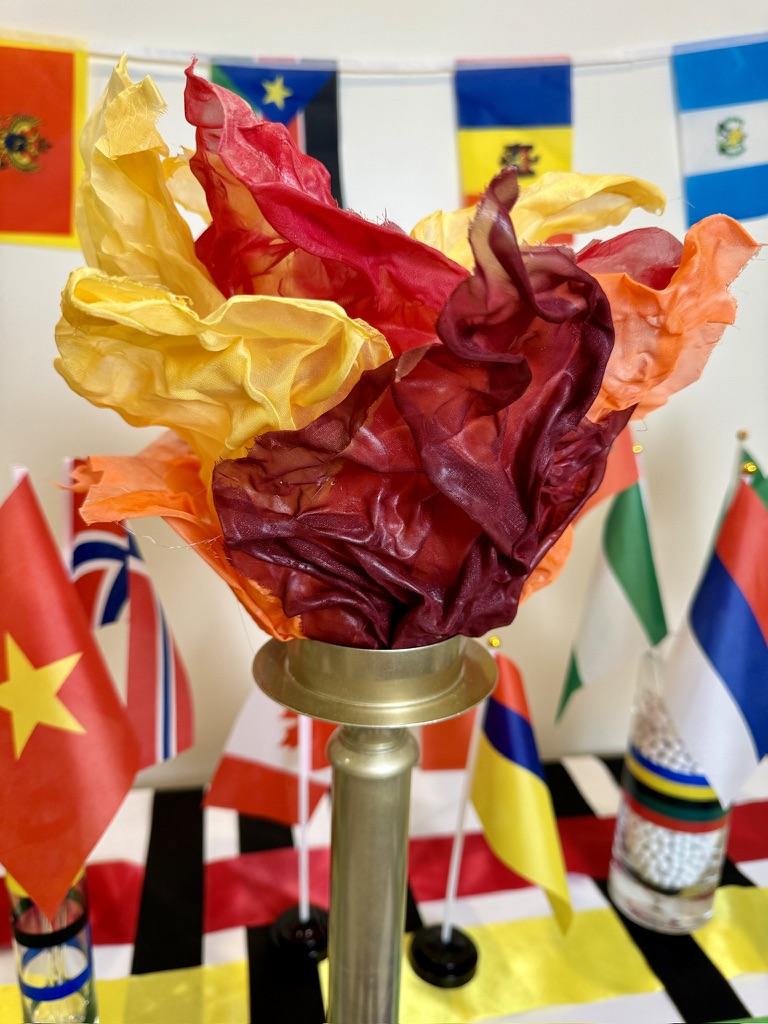
Build a Fire –
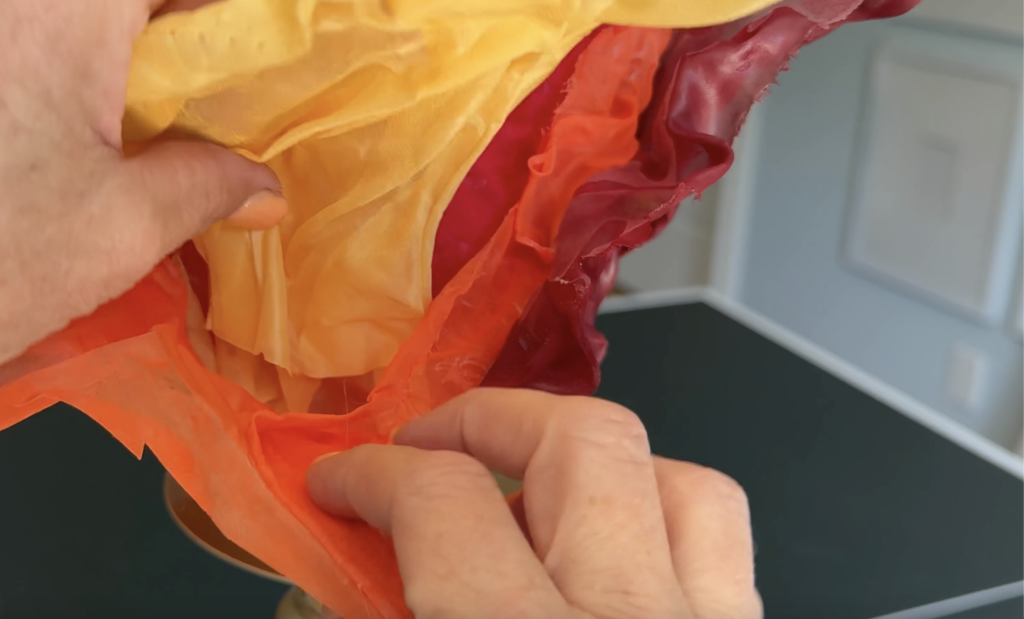
Place one of the fabric tulip shaped cups you created inside the other tulip shaped cup of fabric. Move them around and position them to get the look of flames that you want.

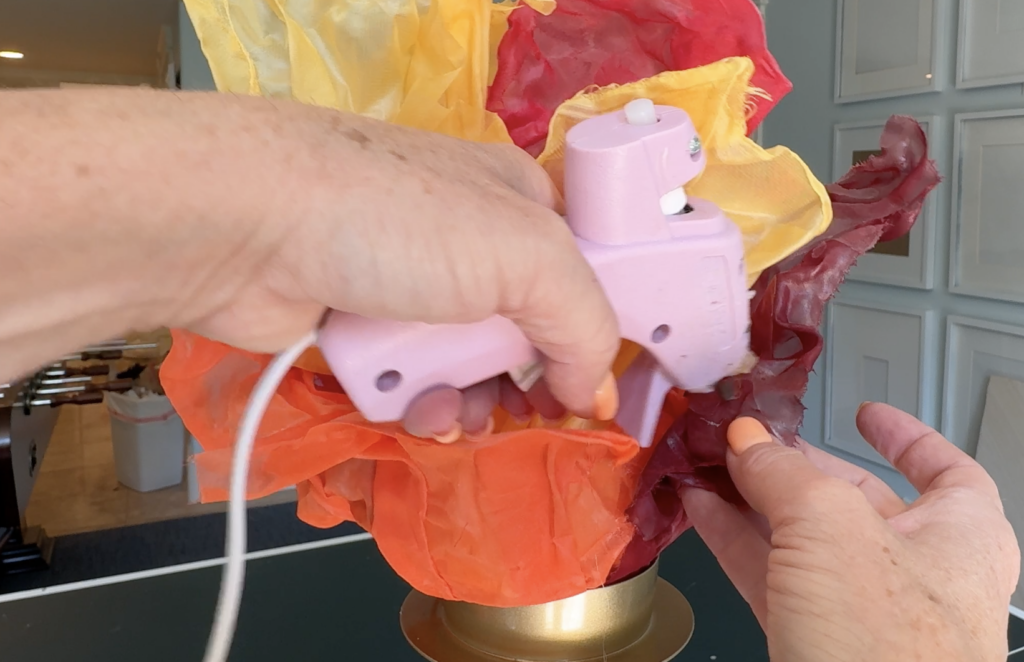
Next, taking the gold candlestick you have selected as your torch, begin with the two fabric cups you made first. Using hot glue and a glue gun, add a generous amount of hot glue to the top of the candlestick. Next, place the two stacked fabric cups on the candlestick and hold in place until it cools and dries. (Note: I use these finger protectors to keep from burning the heck outta my fingers while doing this project HERE).

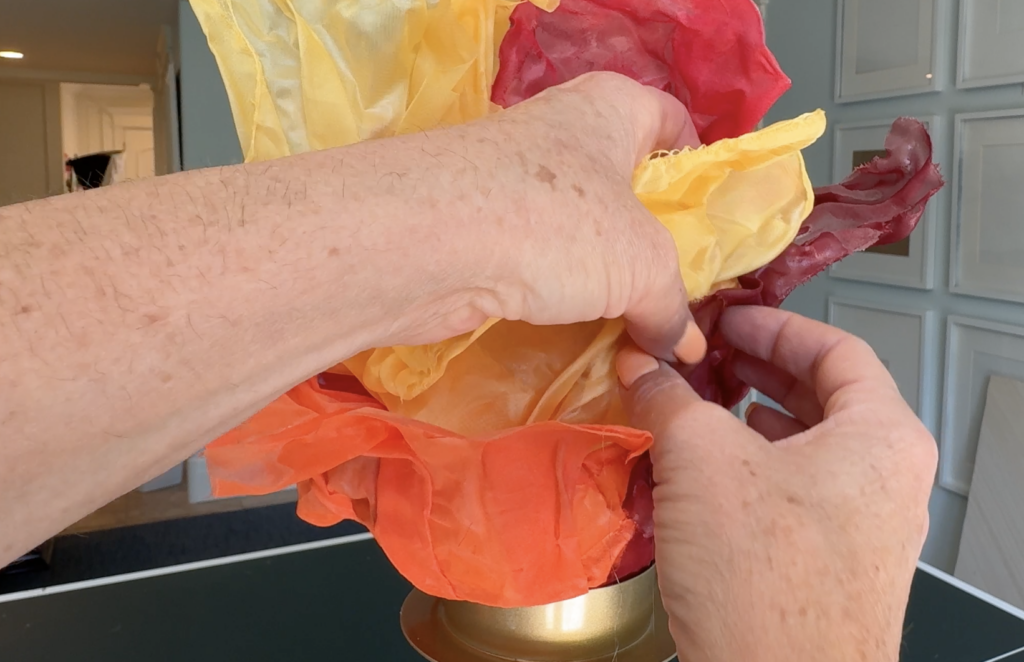
Using the hot glue, just start adding more strips of “fabric fire” to the torch. Now keep adding and building on until your happy with the look your Faux Fire Torch!
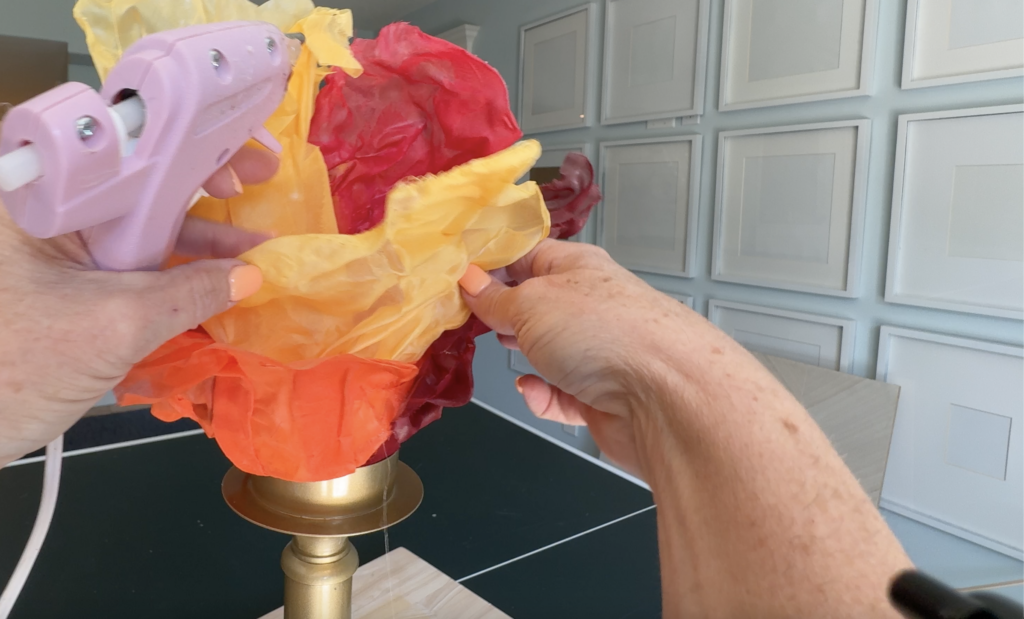
A Few More Tips –
You can easily cut the fabric fire strips with scissors. Use this abilty to help shape your flames and to create smaller pieces as needed.
You only need a tiny, tiny bit of glue to hold the fabric. Don’t get carried away with the glue and create a mess. By using just the tinyest dotes of glue you wont even be able to see where the glue is.
You can use the glue to shape the fire. Find places that look a little wonky and reshape by moving the fabric to shape it. Then secure the new shape with strategically placed dots of glue.
Check out more of my creative Olympic Decor, as well as tutorials for how to make it all yourself.
- Olympic Ring Vases Tutorial HERE
- Woven Ribbon Table Topper HERE
- Olympic Watch Party Ideas HERE
- Studio-5 Olympic Watch Party Episode HERE