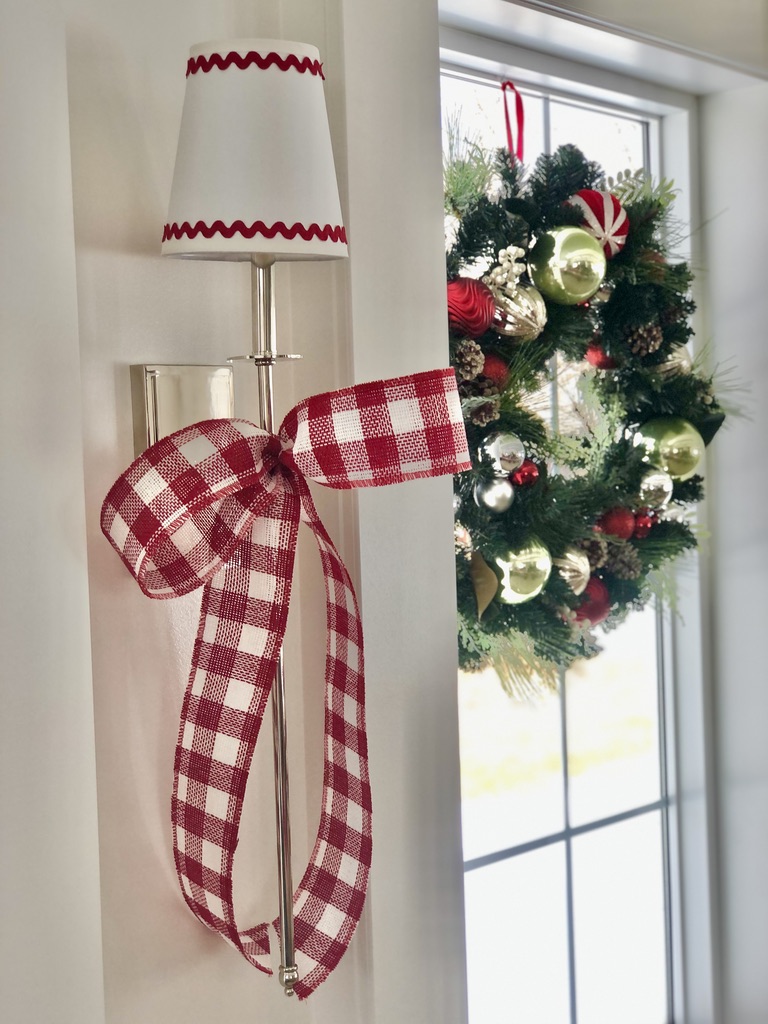
Fabulously Large Display Bows – Made With a. . . Stapler?
Tutorial for making Large Display Bows that I’ve made with a stapler. It can’t get much quicker than this.
When decorating our Huntsville home for Christmas I have to be quick about it. Typically I have only a handful of hours up there alone to throw it all up before family and holiday overnight guests start to arrive.
Adding a few new bows should be pretty fast, right? Hmmm, you’d think so, but often it takes longer than I think it should. Tying the perfectly pretty bow is a skill.
As my grandmother would often say, there’s more than one way to skin a cat.” On a side note; I’ve wondered my whole life why this is even an expression? I mean who skins cats? Why wouldn’t it be “there’s more thanone way to skin a rabbit?” or a racon? I actually experienced skinning rabbits when I was kid, my Dad took me with him to help a farmer friend harvest rabbits one time. I think I’ve been scarred for life from that experience! Yikes. But I digress. . . .
Okay, back to our regurallry scheduled program. There’s more than one way to skin a “rabbit”. . . Well the same can be said for tying, or in this case “making” bows. I say “making” because actually, there’s no real tying happening with this particular bow.
There’s definitely a lot more than one way to make a great bow. I utilize lots of those different ways for making bows. And I’m always on the lookout for new and better ways to do it! Which method I use, and when to use it, is very much dependent upon both the application as well as the kind of ribbon I’m using.
This is just one of many ways to make a great bow.
For details and a tutorial on a quick and clean way to fix those tippy candles click HERE
The Application
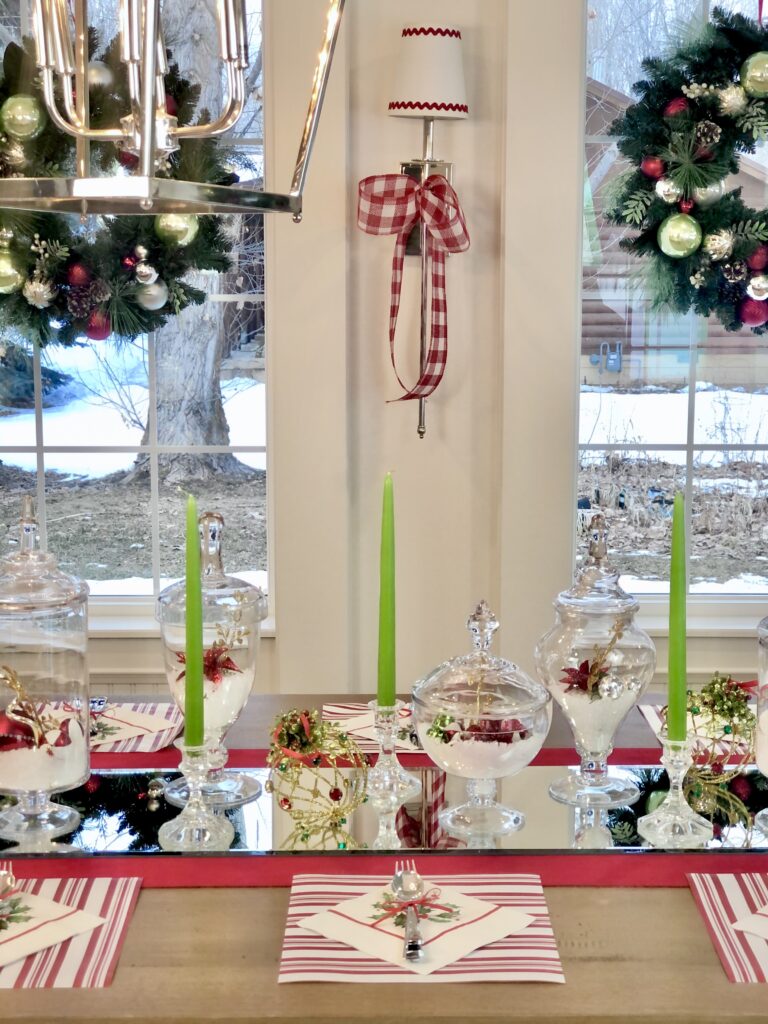
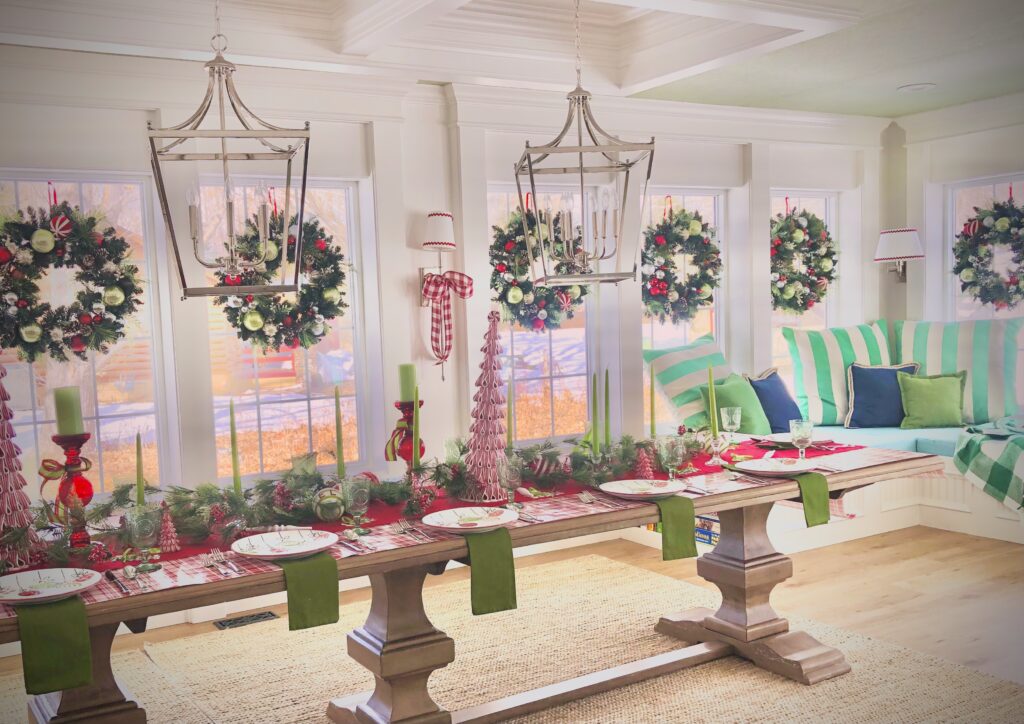
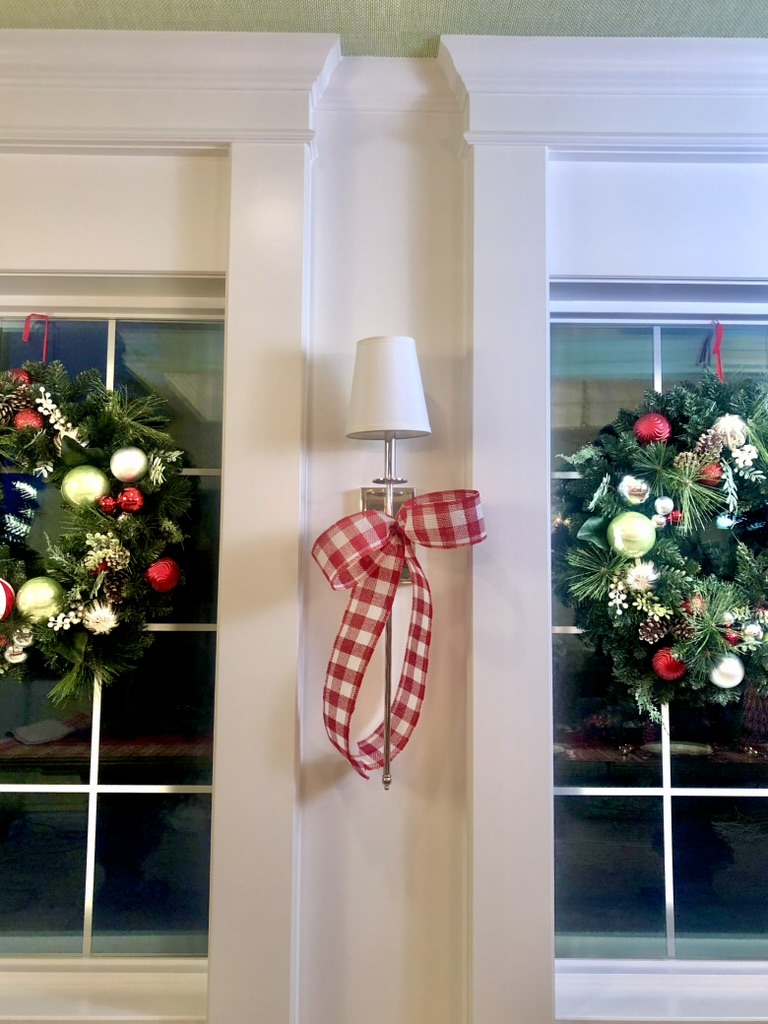
This particular bow I’m using on the long, silver, polished nickel wall sconces in the dining-room of our Huntsville House. I wanted them to be BIG. The bigger the bow and the wider the ribbon, the more difficult they can be to make.
I don’t want to just tie the bows directly on the scones because I don’t want that much bulk on them. Also, I want to perfect them just once. Then I want to be able to detach and reattach them again each year without having to re-make/re-tie them every year. All I want to have to do is pull them out of the box and quickly re-fluff them before moving onto the next thing!
The Kind of RIbbon
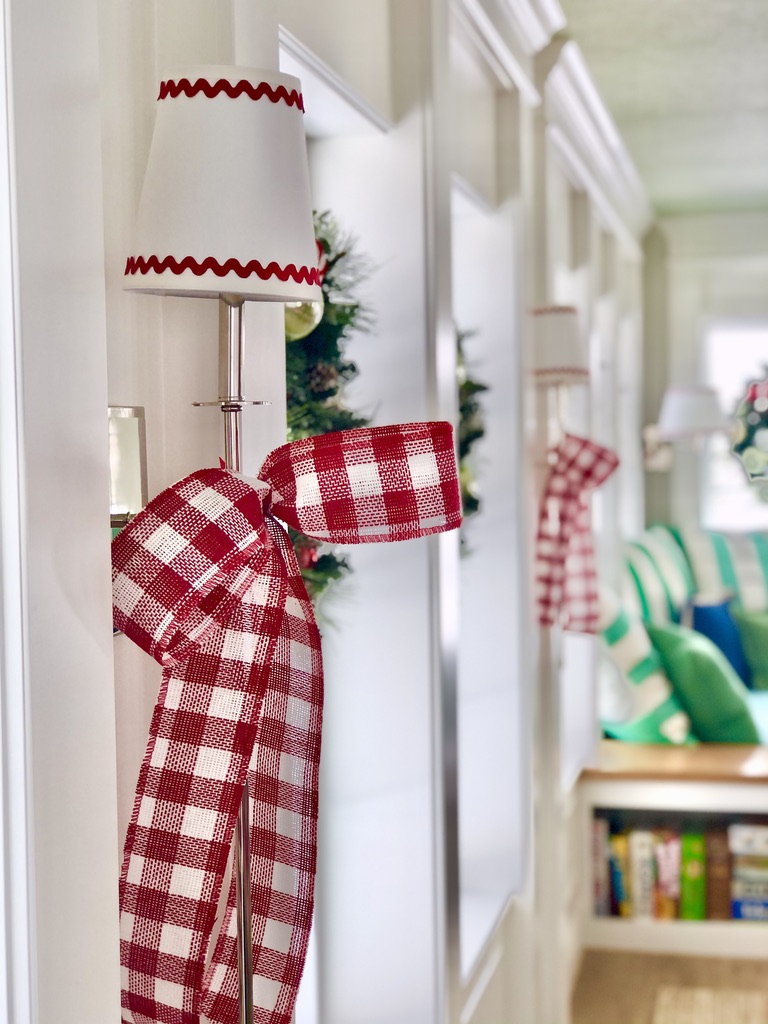
This buffalo check plaid ribbon is wide and kinda stiff, which is really good for my application, since I want them to have a lot of body and not droop. But stiffer ribbon can be hard to handle as the bow is being made. Also, the stiffer ribbon doesn’t fold and tie as neatly. It tends to get too bulky and can look cumbersome.
The Stapler Solution
My solution to the problems of bulk and stiffness is a stapler. Instead of tying the bow, I create a ring with the ribobn and staple it together. This keeps the center simple and clean, eliminates bunching and any excess tails while making it easy for me to handle and manage the ribbon as I’m creating.
Why a Separate Satin RIbbon
Youll notice in the video tutorial that I also use a small, narrow satin ribbon. I twist this ribbon into the wire that I’m going to use to hold my Bow all together. The purpose for this ribbon is simple. I do not want to use wire on my polished nickel sconces. Wire could easily scratch up my sconces. That would make me sad.
Rather than attaching the bows to the sconces with the wire I’ve used to hold all the ribbon together, I tie it to the sconce with the soft, satin ribbon.
When I am not attaching the bow to something I need to protect from scratches, I will skip this step. In this case I will just use the wire I used to make the bow for also holding it onto whatever it is I’m putting it onto!
Video Tutorial
Supplies for Stapled Display Bows:
- Wide Ribbon (A stiffer ribbon with a lot of body will work best.)
- Stapler Small gage wire
- Scissors
- Optional: Narrow Satin Ribbon for tying bow to metal sconces or wood bannisters that you don’t wish to scratch with wire.
