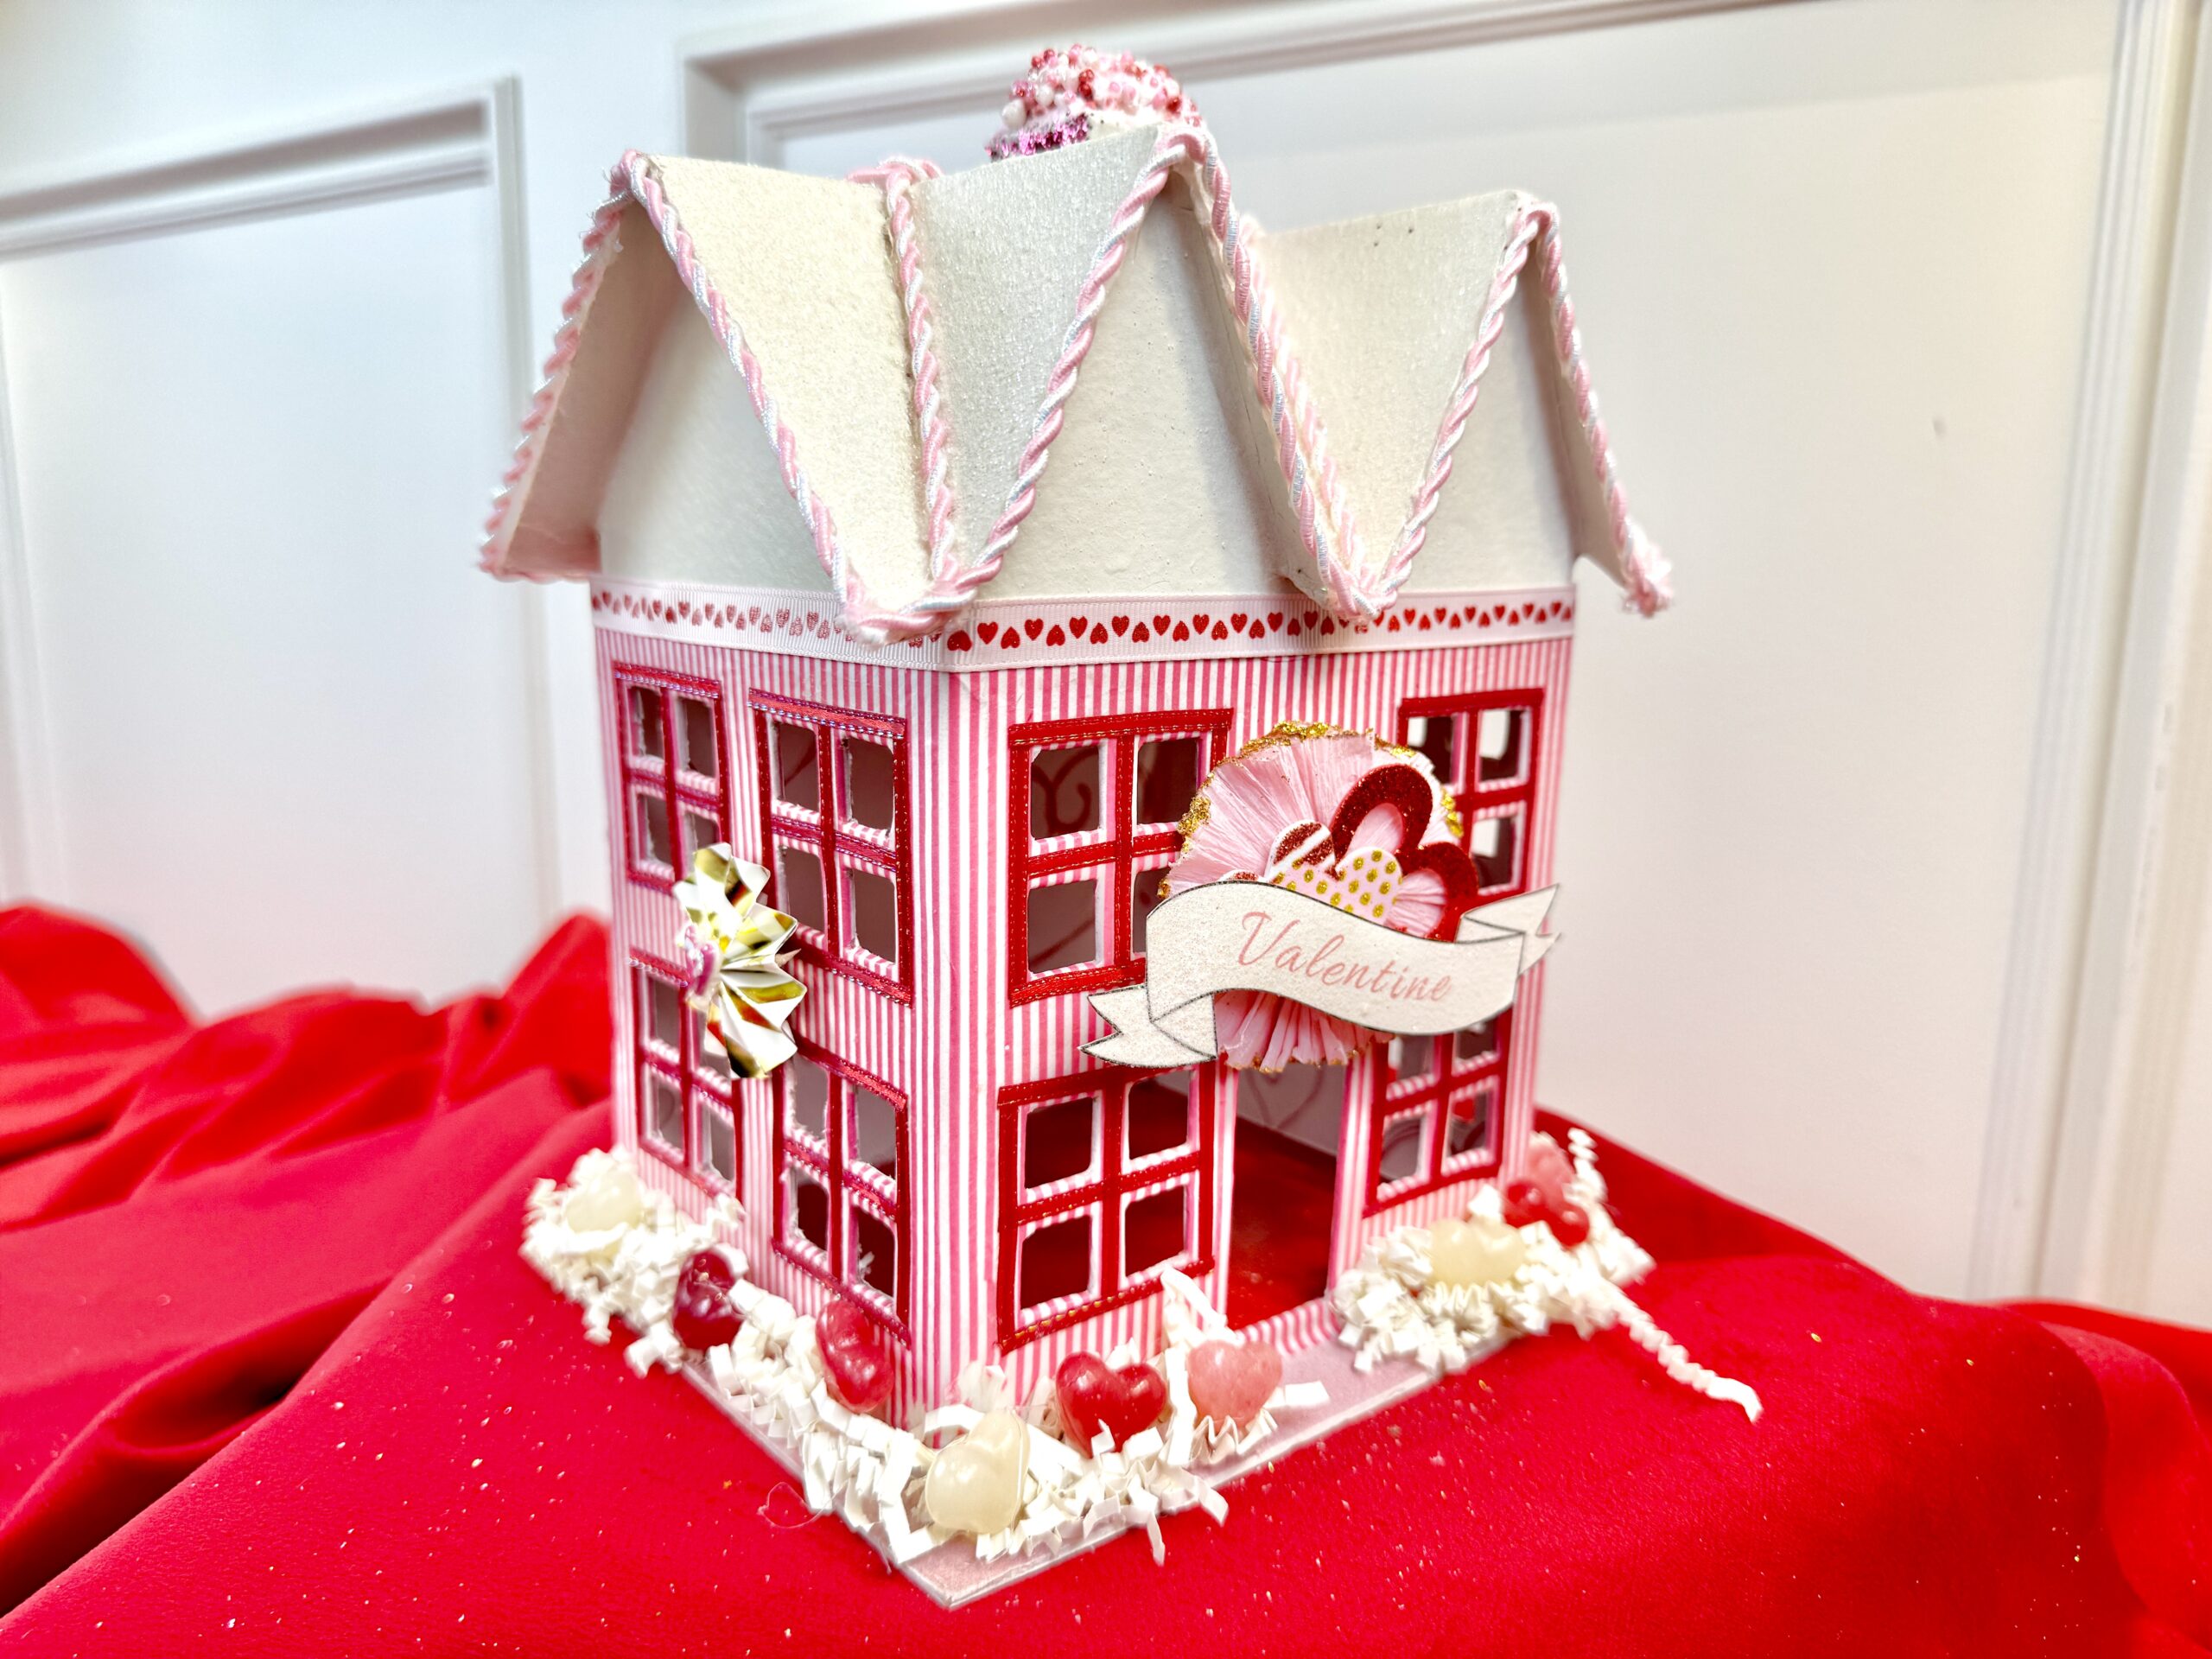
Valentine “Putz” Houses
These gorgeous handmade confections are a special Valentine treat for the eyes. Now creating miniature Paper Mache”’ houses and villages isn’t just for Christmas.
First word that comes to your mind when I say “Putz?” Okay, go. . .
Be honest. . . what did you think of?
I always thought the word “putz” was for when you really, really want to call someone a not so nice word. . . but then exercise restraint by calling them a “putz” instead. It’s not a bad word – but still makes a point. Right?
I was confused when I first heard the term “Putz House.” Turns out a “Putz House” is an artistic miniature 3-D house, not a reference to the place where a jerk lives. Who knew?
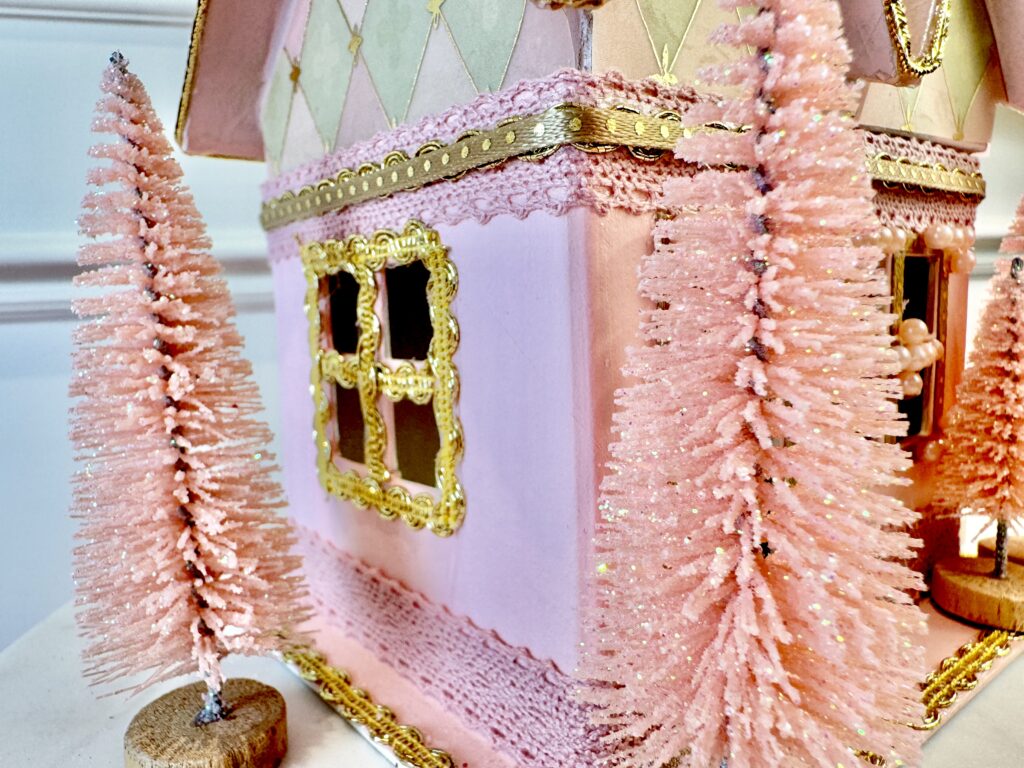
We’re all familiar with these 3-D miniature houses. They’re especially popular at Christmas time, all set up as little village holiday scenes. We just maybe didn’t know the official name for them, at least I didn’t.
The creativity behind these little houses is an art form that still thrives today. The miniature houses first made their appearance just after the turn of 19th century. Originating in Germany, their popularity grew throughout Europe and the US. In the mid-1920’s Japanese artists began mass producing and exporting them, making the houses both more available and more affordable. You can learn more about Putz Houses here.
They have never really gone out of style, but differing variations or trends of the art form have come and gone over the decades.
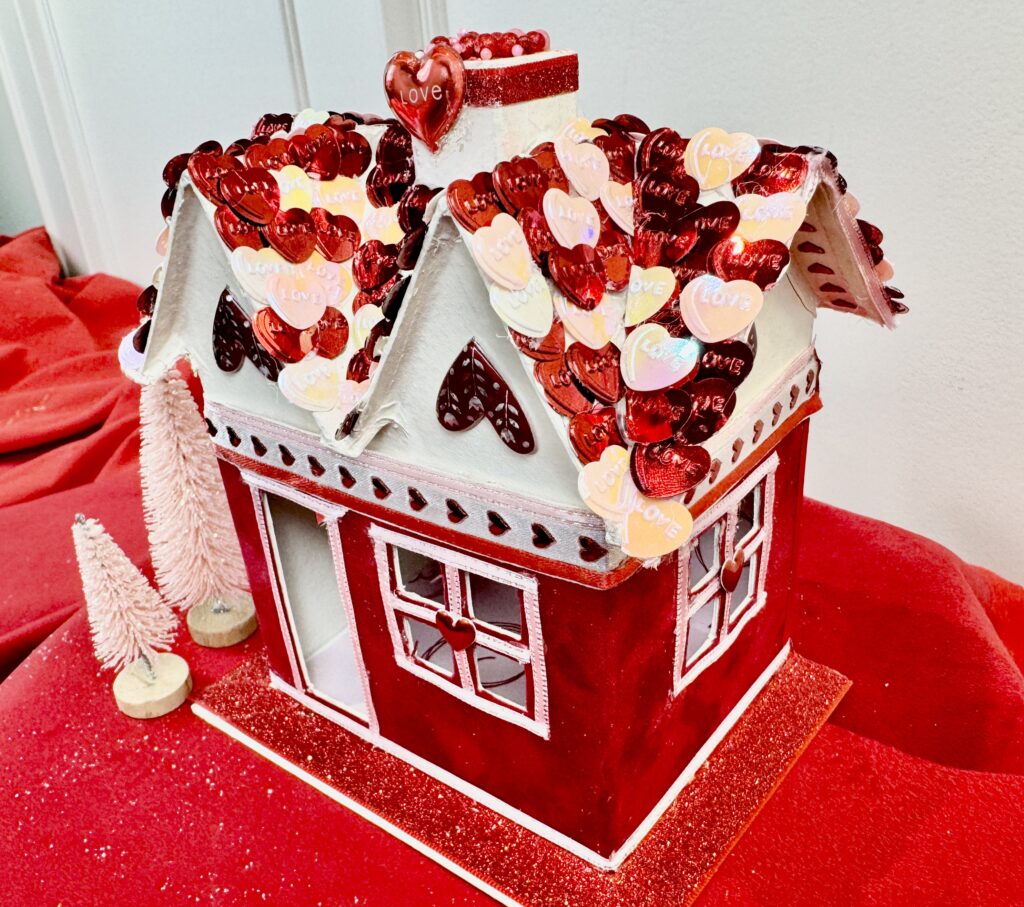
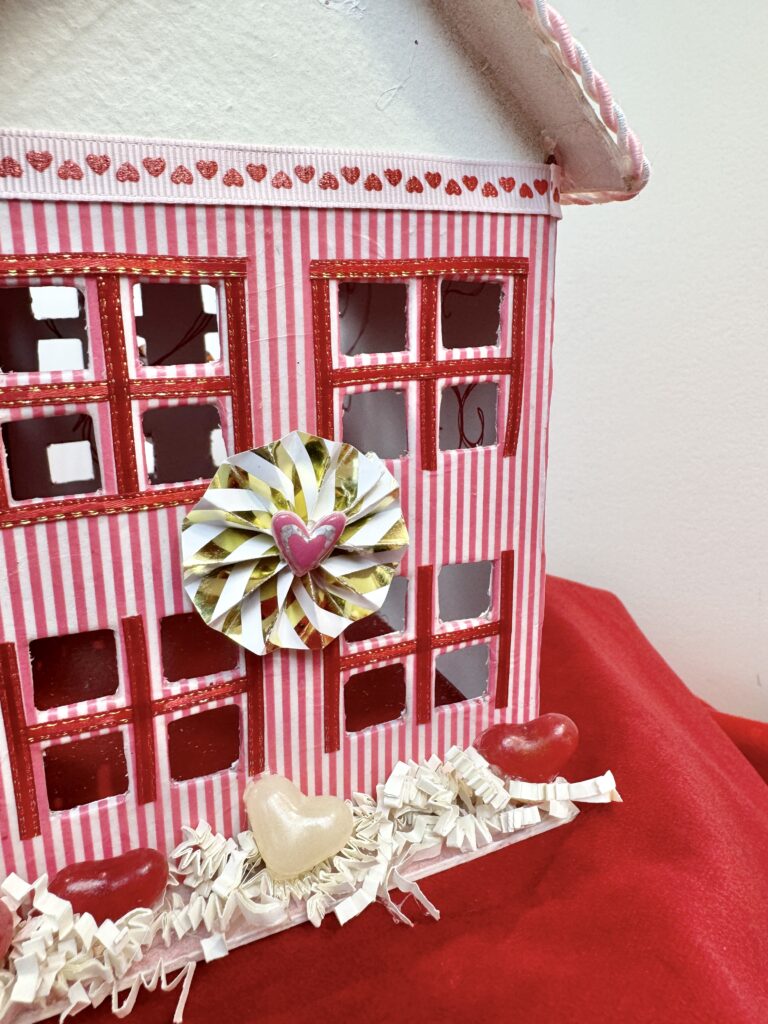
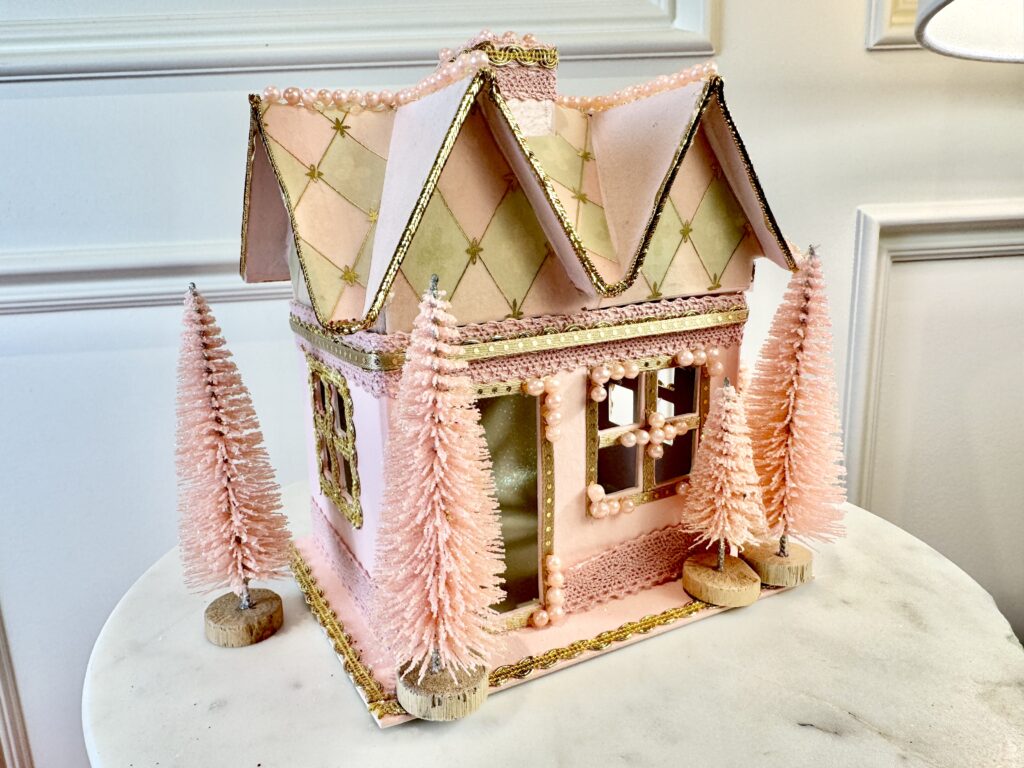
Now once again Putz houses are BACK and having another BIG moment in a new fun and ultra creative way! These hand made paper mache”’ confections are intended to be “ultra-extra,” – the more over the top they are the better. . . and the more expensive to buy.
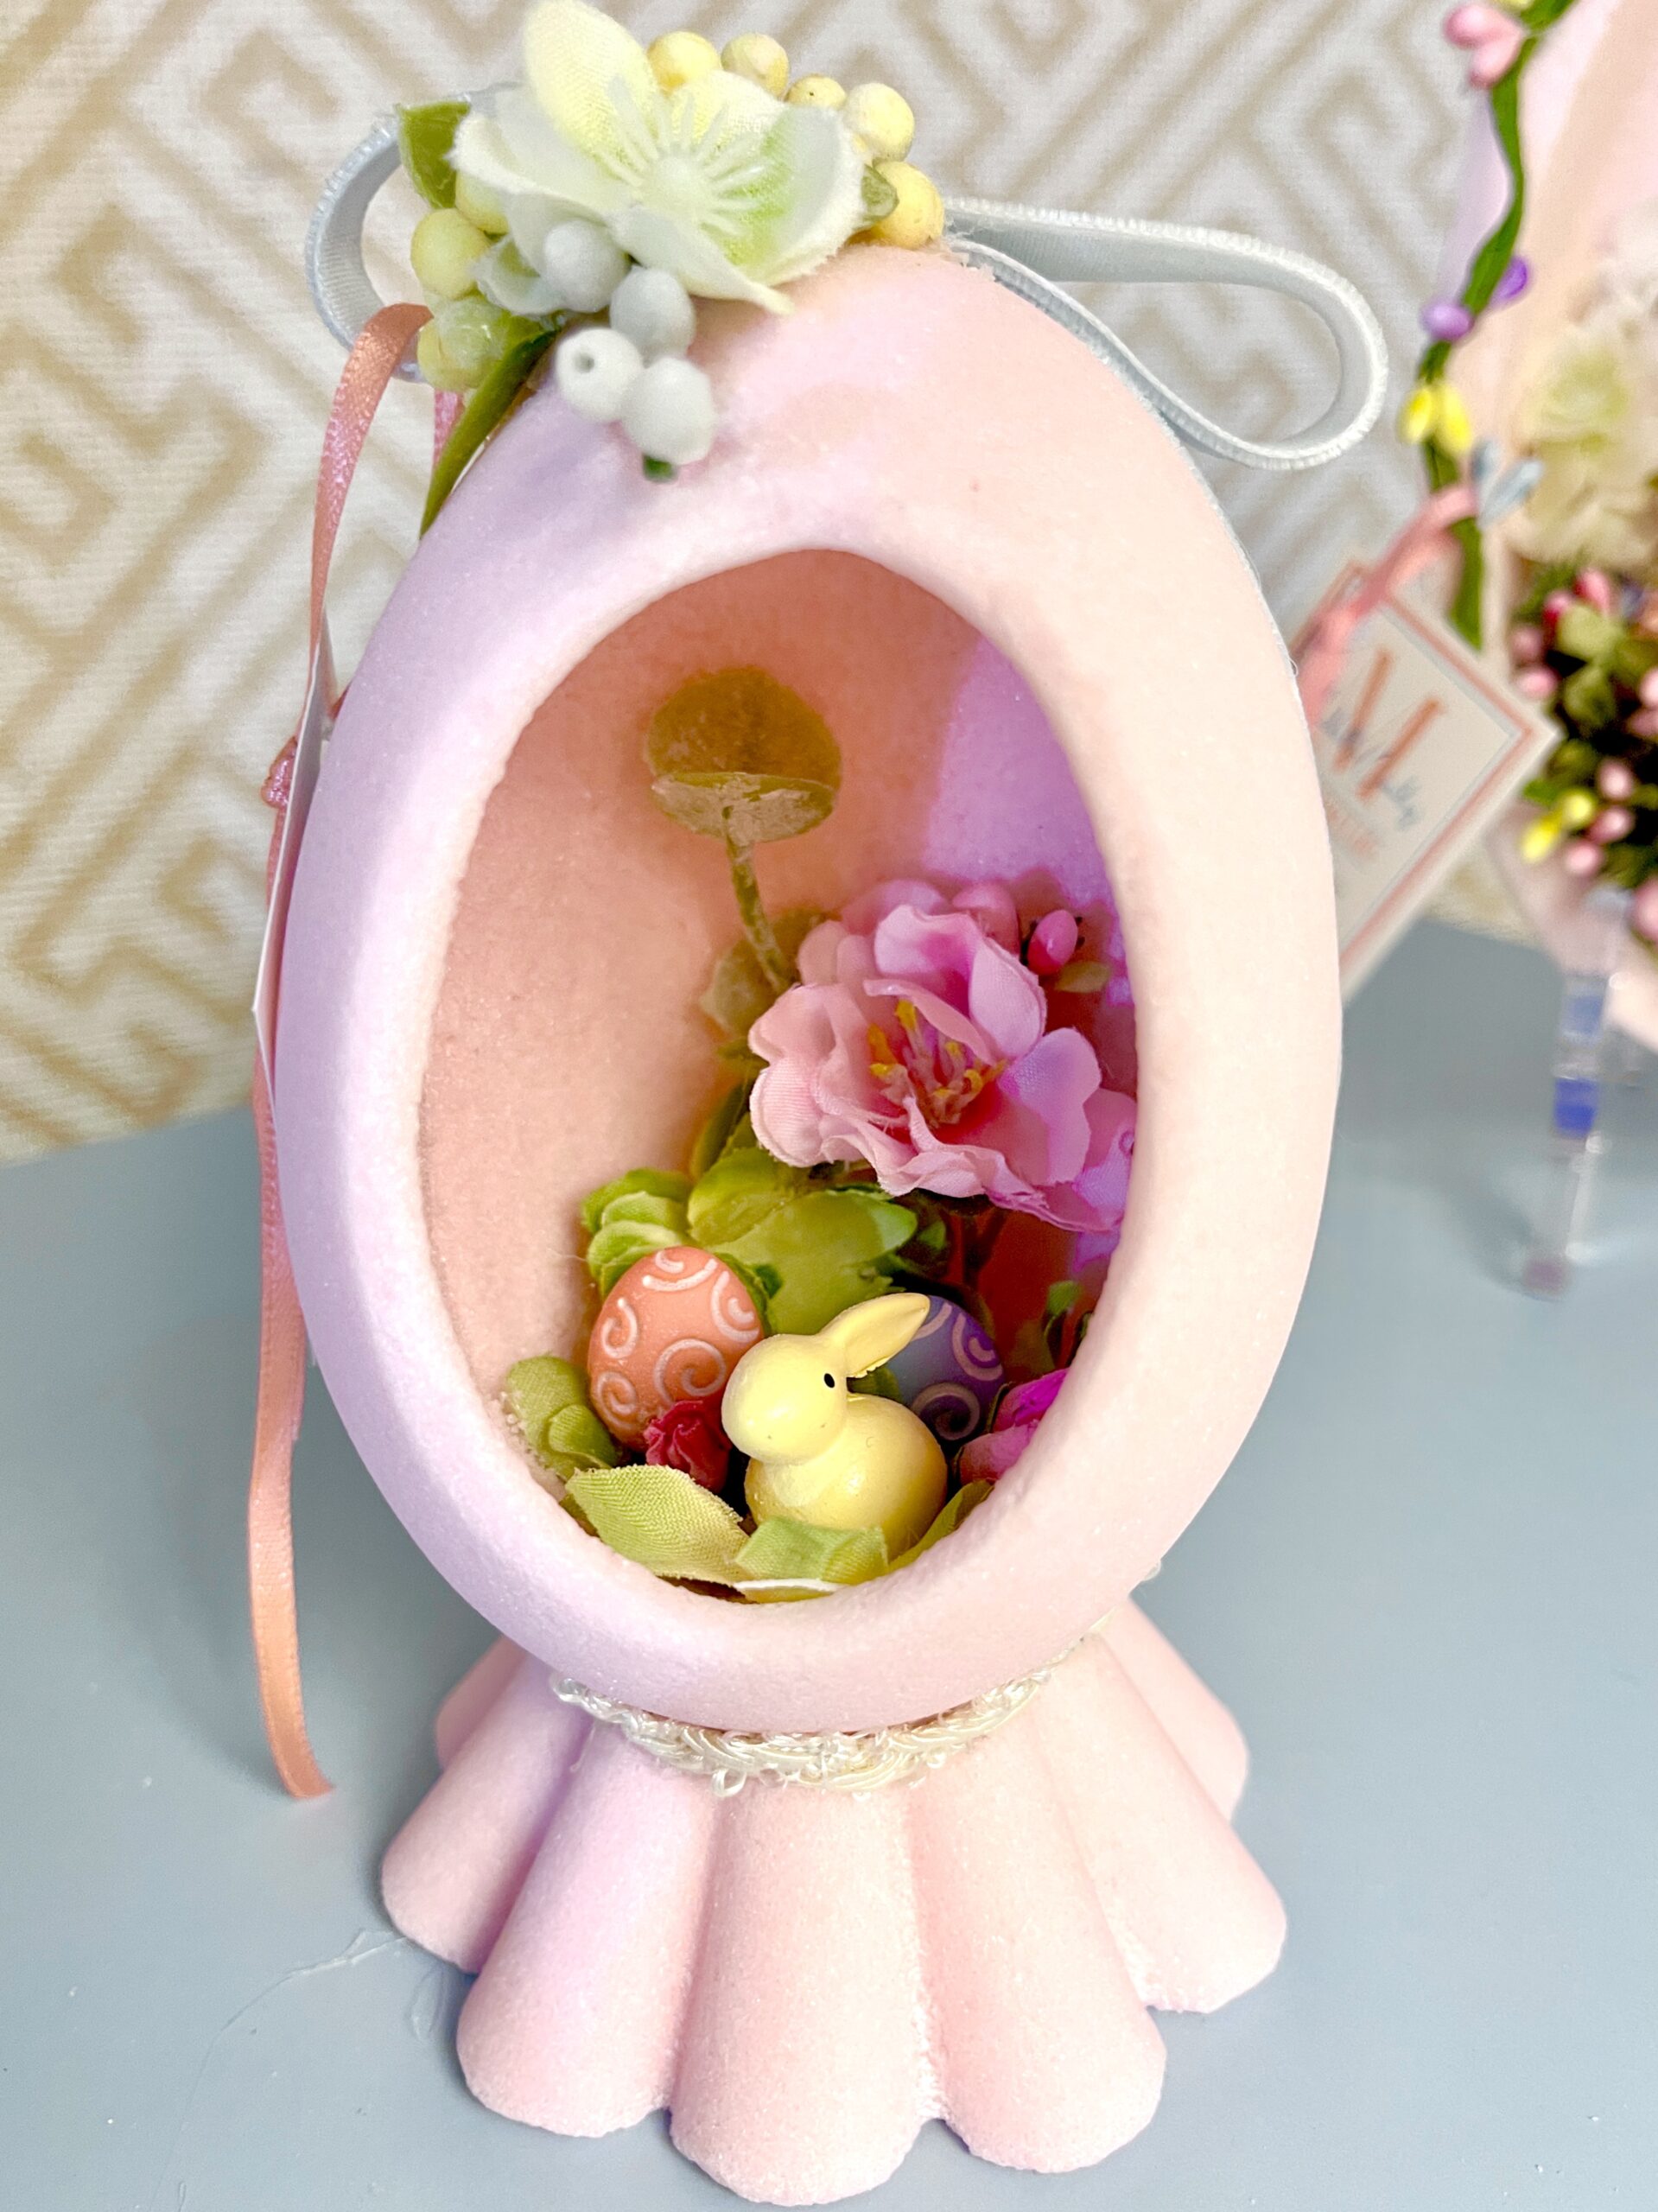
These little paper mache” houses are bedecked in paper, ribbon, candy, sprinkles and sparkles and are most often created around a holiday theme. You’ll find them at holiday and art markets for Christmas, Easter and of course. . . Valentines Day.
I’ve been wanting to make my own since they started appearing at craft and art markets a couple of years ago. They can be rather expensive, and for good reason. Each one takes hours to create. But aside from the cost – I just wanted to exercise my own creative muscles by making my own.
Now, I feel like I’m usually telling you, “this is SO fast and SO easy. . . “
Not this time. . . sorry. This one is NOT fast, there’s no instant gratification with this project. This one does require a bit of patience. BUT – I can say this, it is one of the most fun and rewarding creative projects I’ve worked on in a long, long time!
And it IS easy. Literally anyone can do this. It requires nothing more than kindergarten level art skills. This is basic painting, cutting and gluing. IT really doesn’t get more basic than this. And it’s a really terrific activity for practicing creativity.
Love Is In The Details
It’s things like wallpapered interior walls, the bitty trim along the edge of the windows, the hearts between the window sashes, the roof tiled in candy hearts cut to precision, these are the details that take time, and also the details that make these houses so fun to make and so fun to look at.
For me this has been a great way to use up some of the old scrapbooking supplies I bought back in the day but never actually used on scrapbooking. I later realized my hobby wasn’t really scrapbooking, my hobby was buying pretty scrapbooking supplies for the scrapbooks I never actually made.
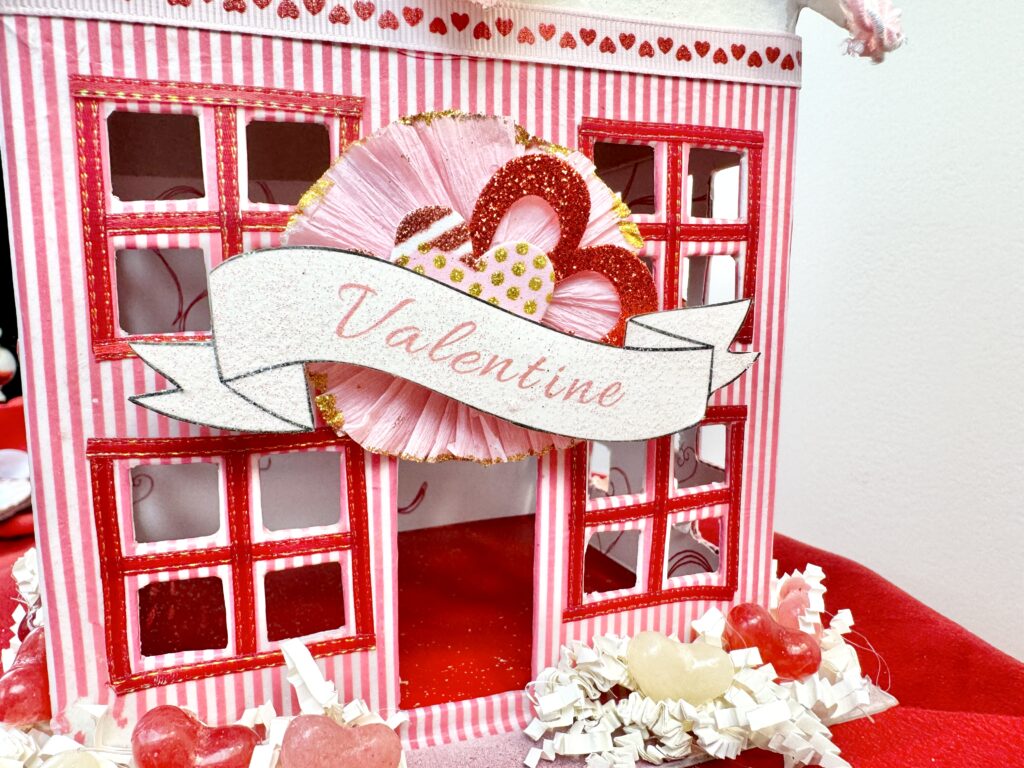
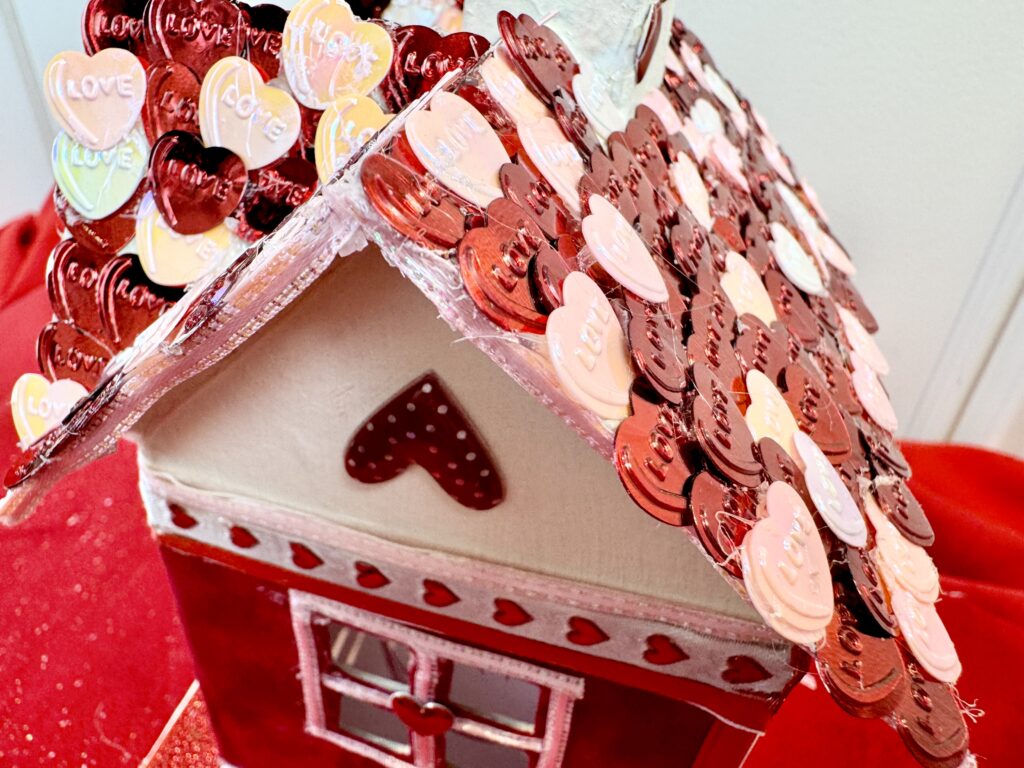
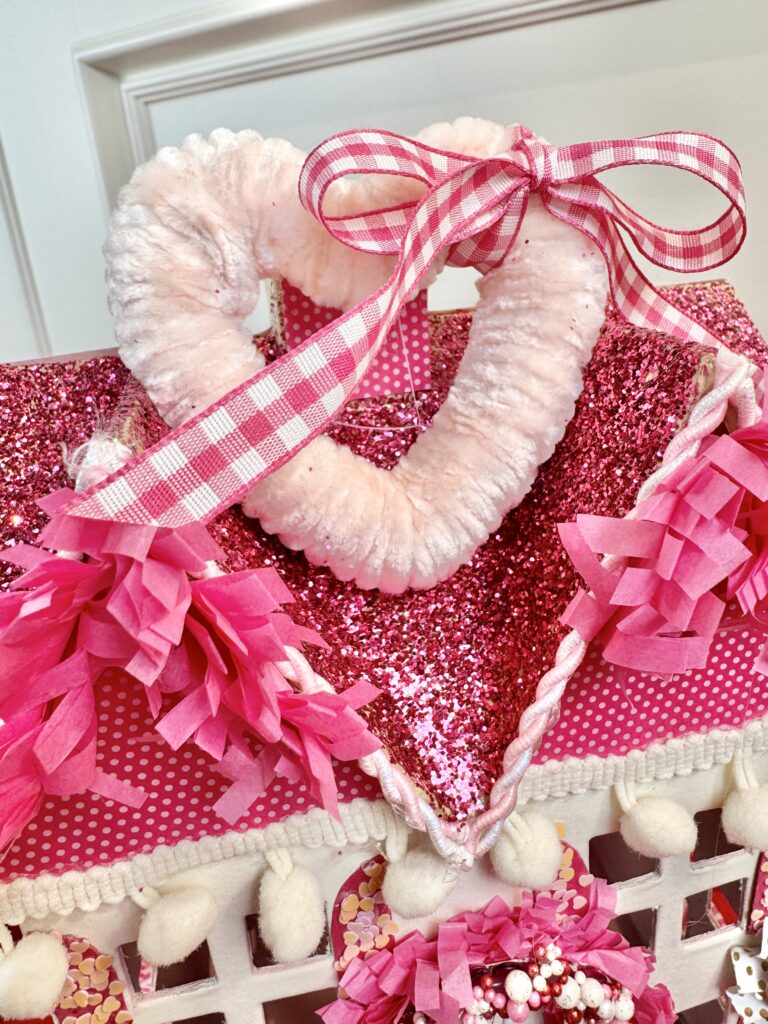
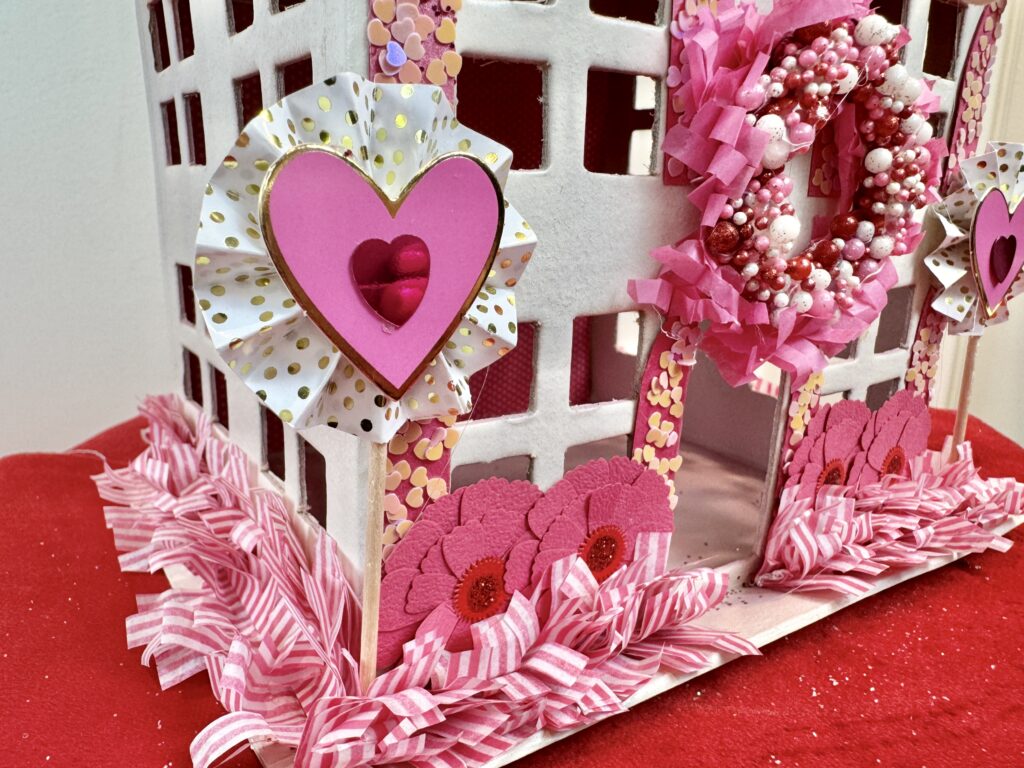
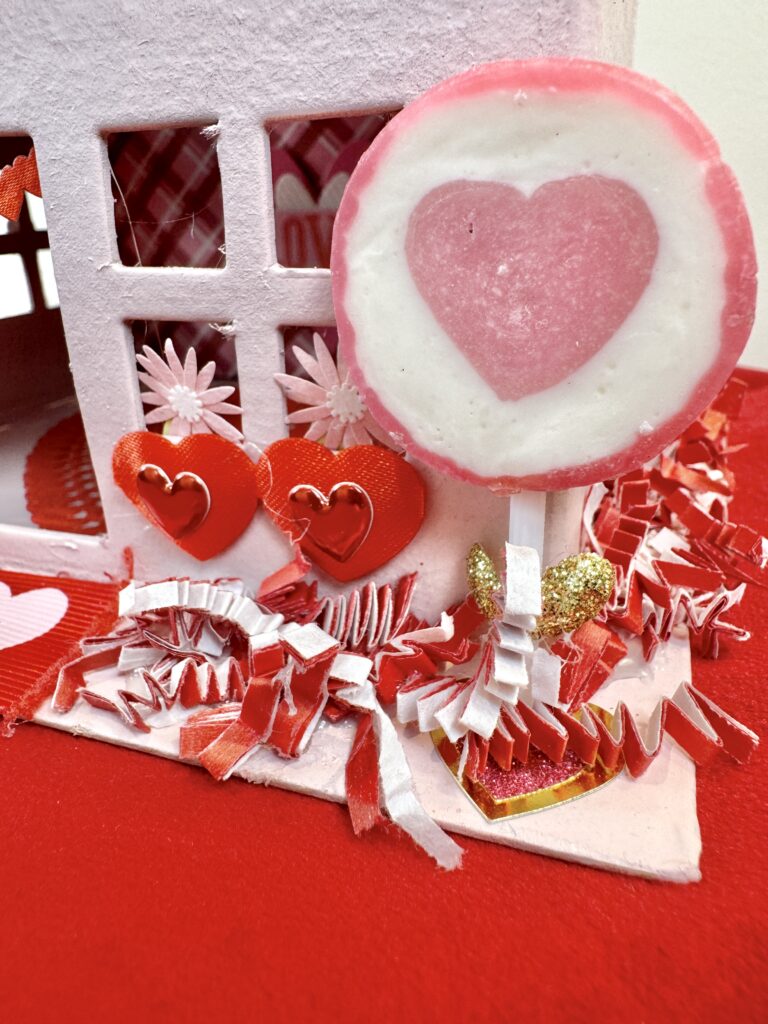
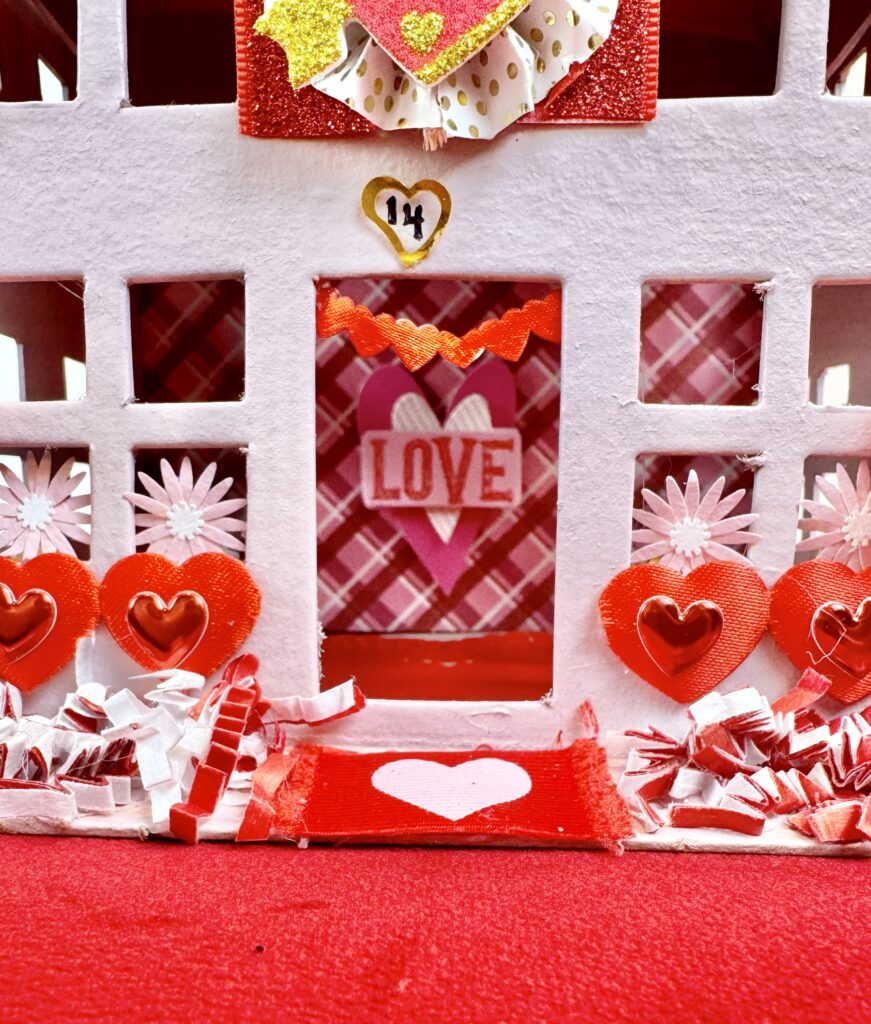
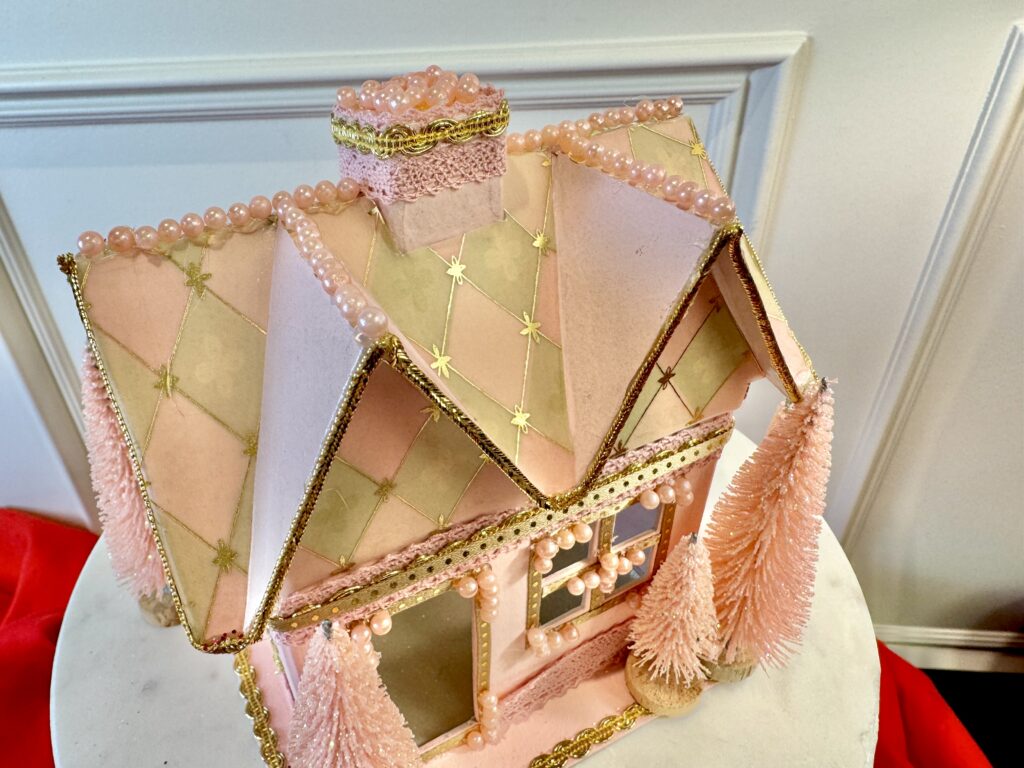
The extra bonus – Think of making your own Putz House as a great form of cheap therapy! Doing little, detailed hand work like this is known to calm the mind and is it’s own form of effective mediation.
Later this week you’ll find the Crafting Tips n’ Tricks I’ve utilized in the actual creation of my little houses HERE. Also, the Paper Mache” houses I like are from Factory Direct Craft and come as a nested set of three (small, medium & large). You can get them HERE.
Everything’s Fun with Friends
I really wanted to demonstrate how limitless the creative possibilities are with this art form. But I also knew there was no way I had the time to make so many all by myself.
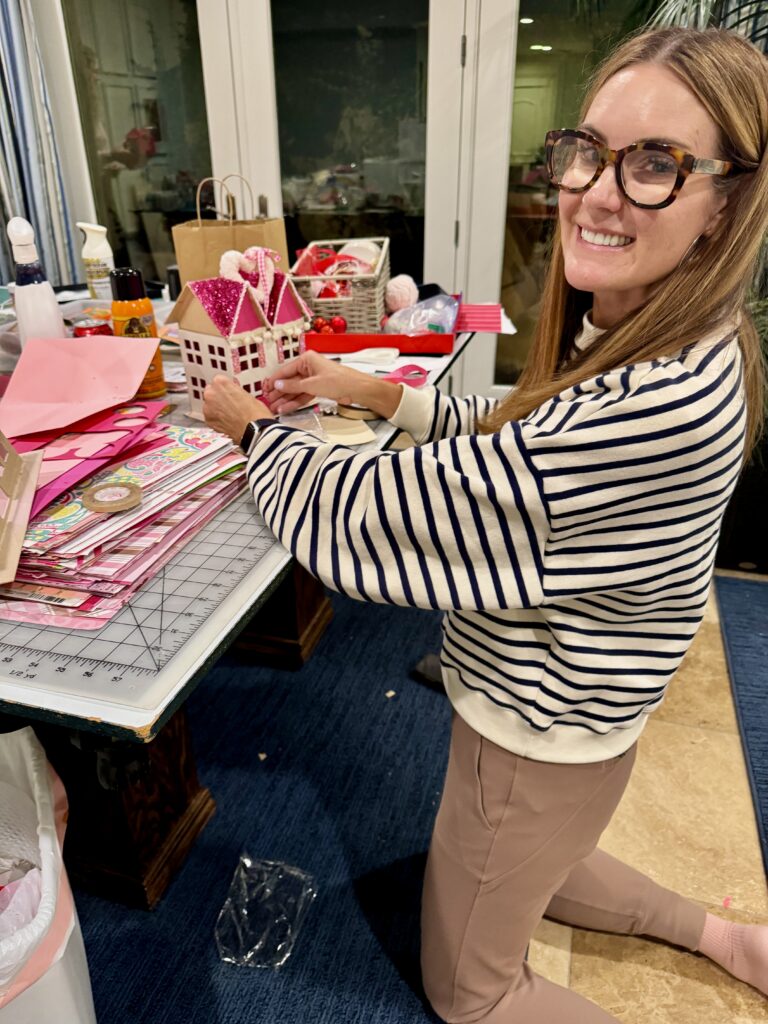
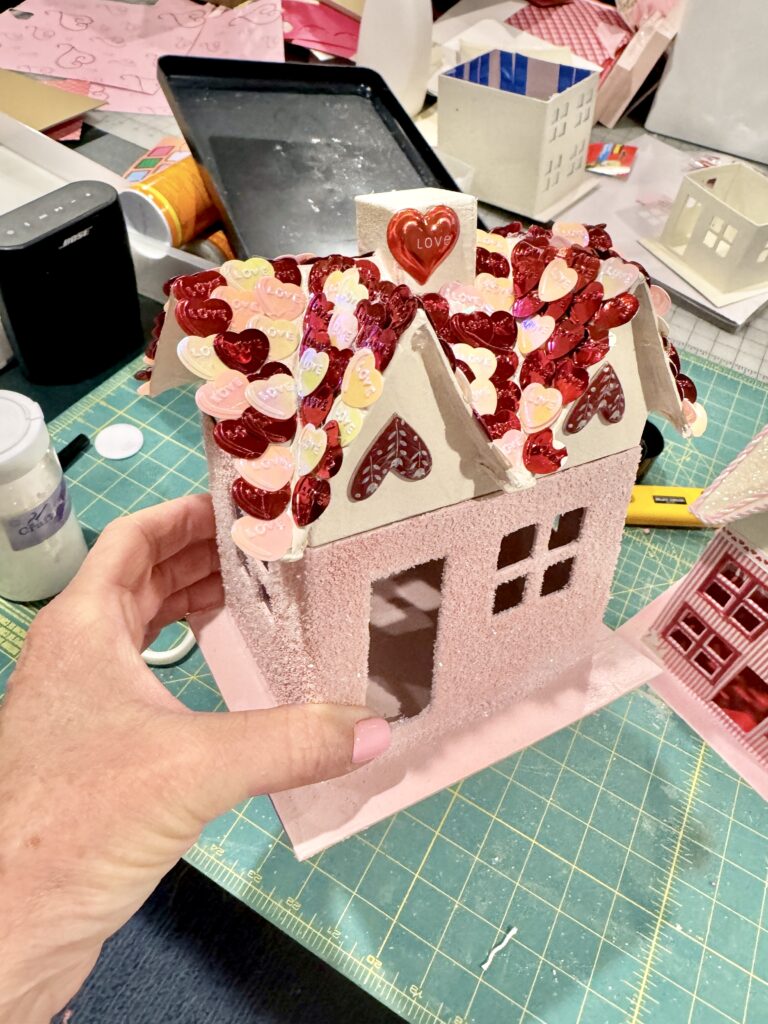
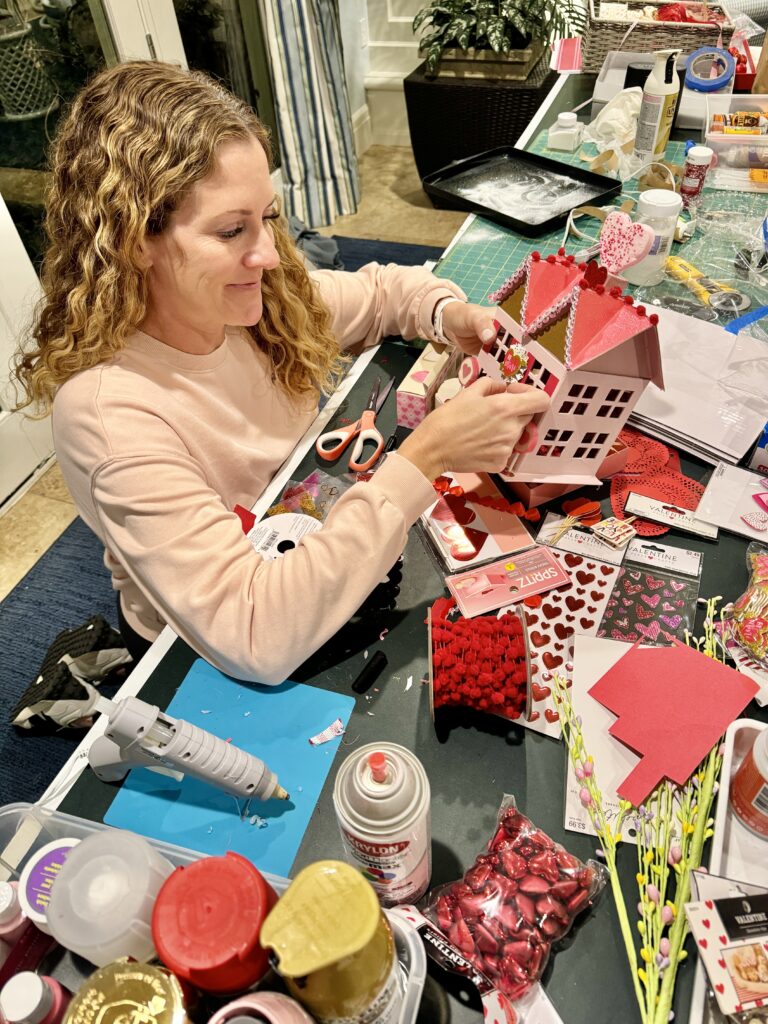
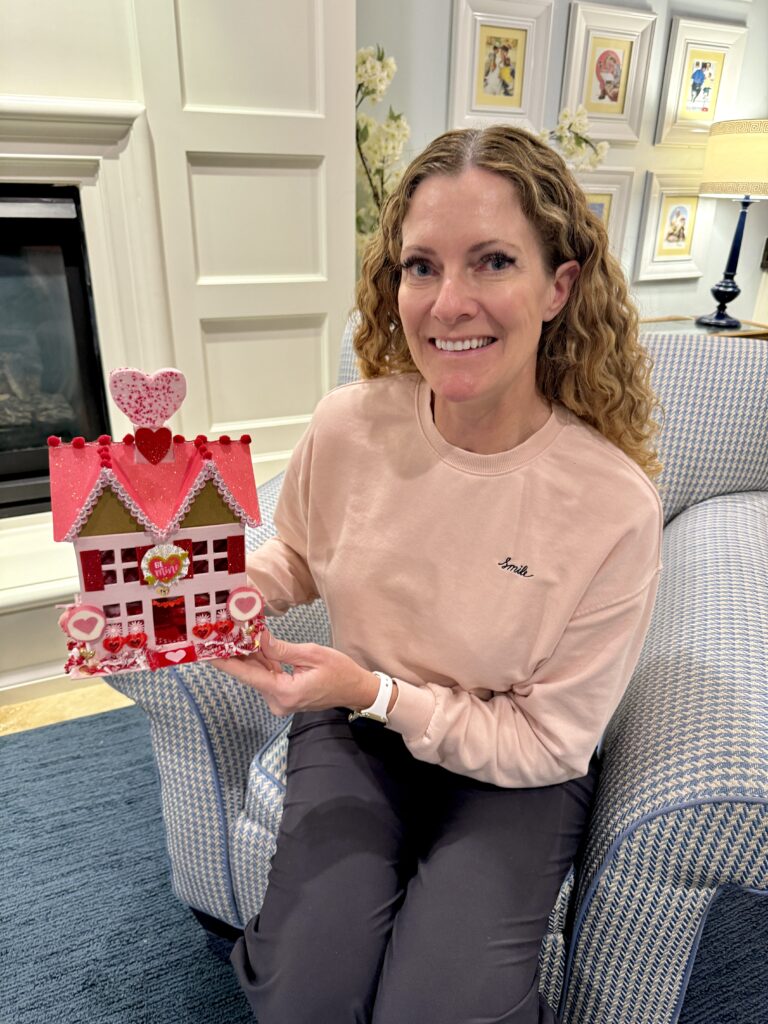
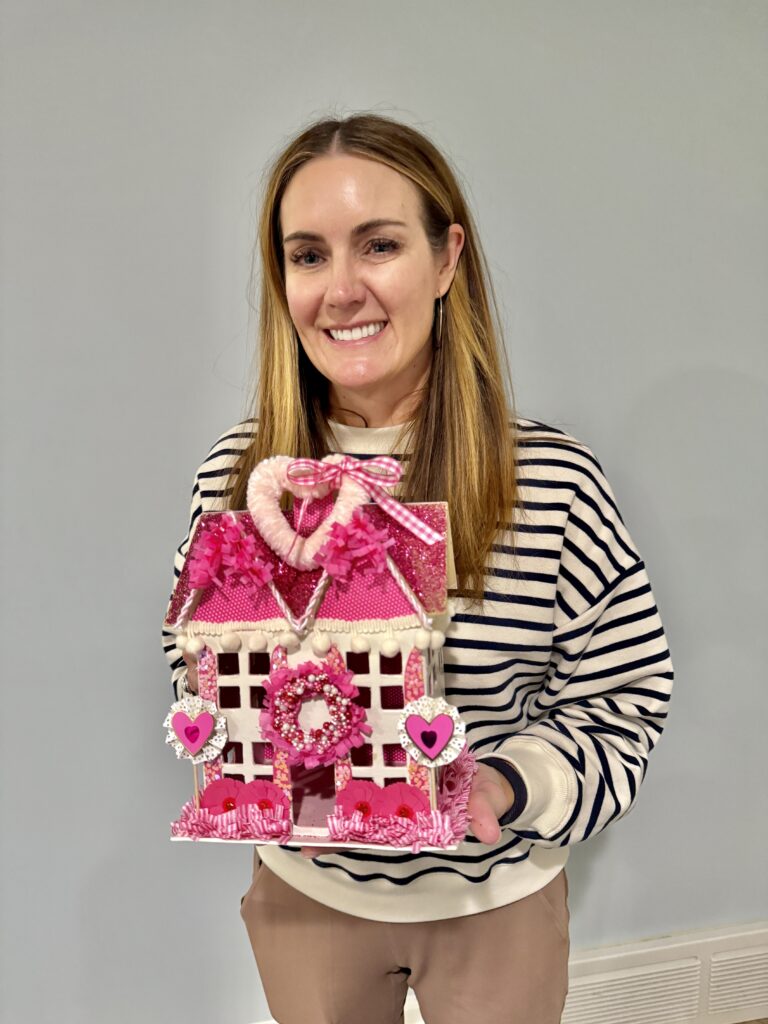
So I made it a party of it! I invited girlfriends to come and make them with me. This was so much fun! We talked and laughed, and snacked for hours while we created. It’s so amazing to see what each of us came up with and how different each one is!
The extra bonus of doing this with friends is that you can share the supplies and cost. You will want a good collection of items to choose from, but you’ll only need just a tiny amount of the items you’ve collected.
My deal was that I’d provide the venue and the supplies if they’d agree to loan me their concoctions to share on my Studio 5 TV segment this week!
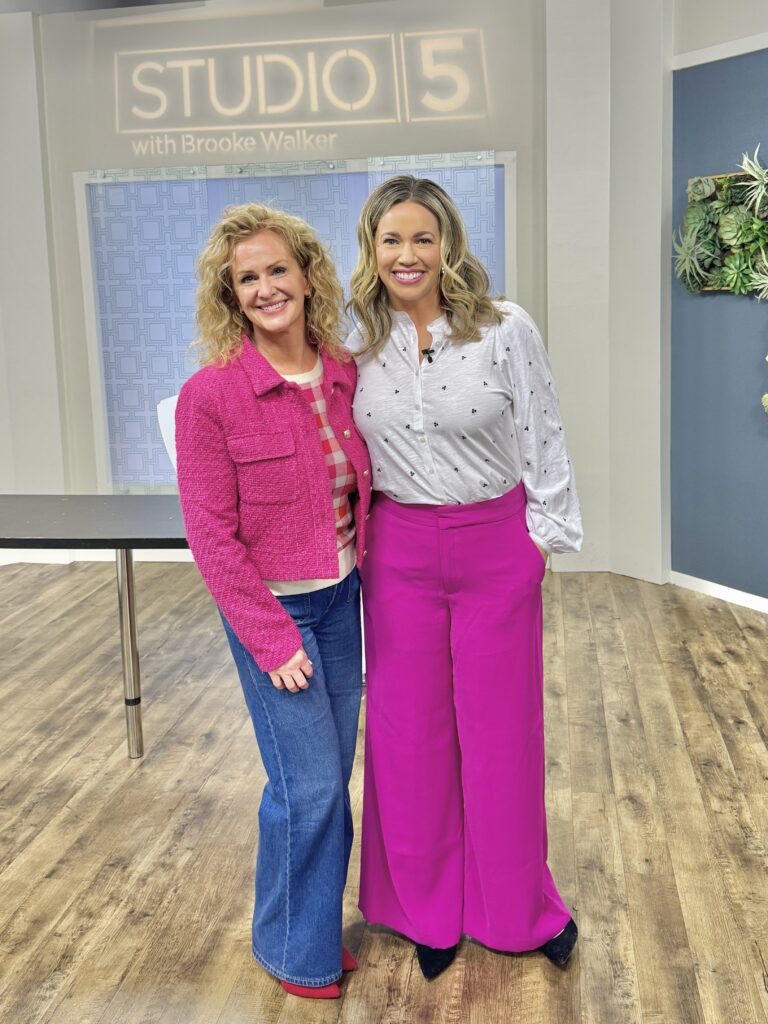
On a side note; you can see my Valentine House segment on Studio 5 with Brook Walker on their website here. I just have to point out that Brook and I did not call each other to plan out our outfits for the day! 😉 That’s what’s called serendipitous. . .
Getting Past Creative Paralysis
By far the very, very hardest part of this project is getting started. Figuring out what you want your house to look like and what you want to put on it! Having limitless options can actually cause brain freeze. Here are my 7 Tips for how to get past creative paralysis.
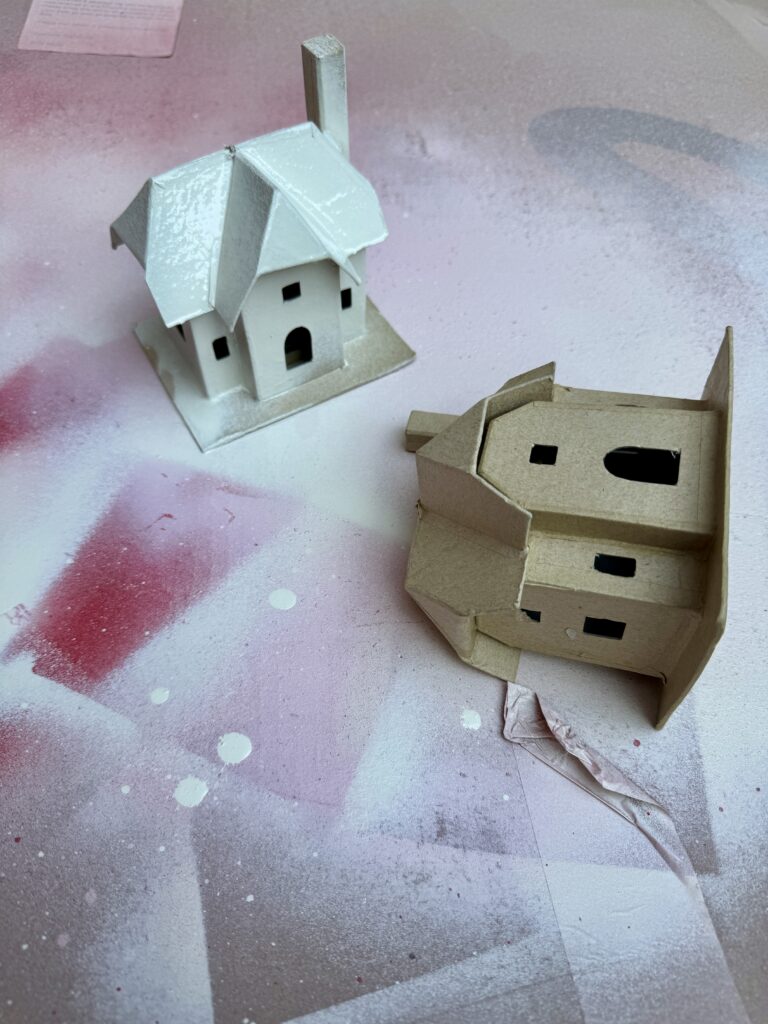
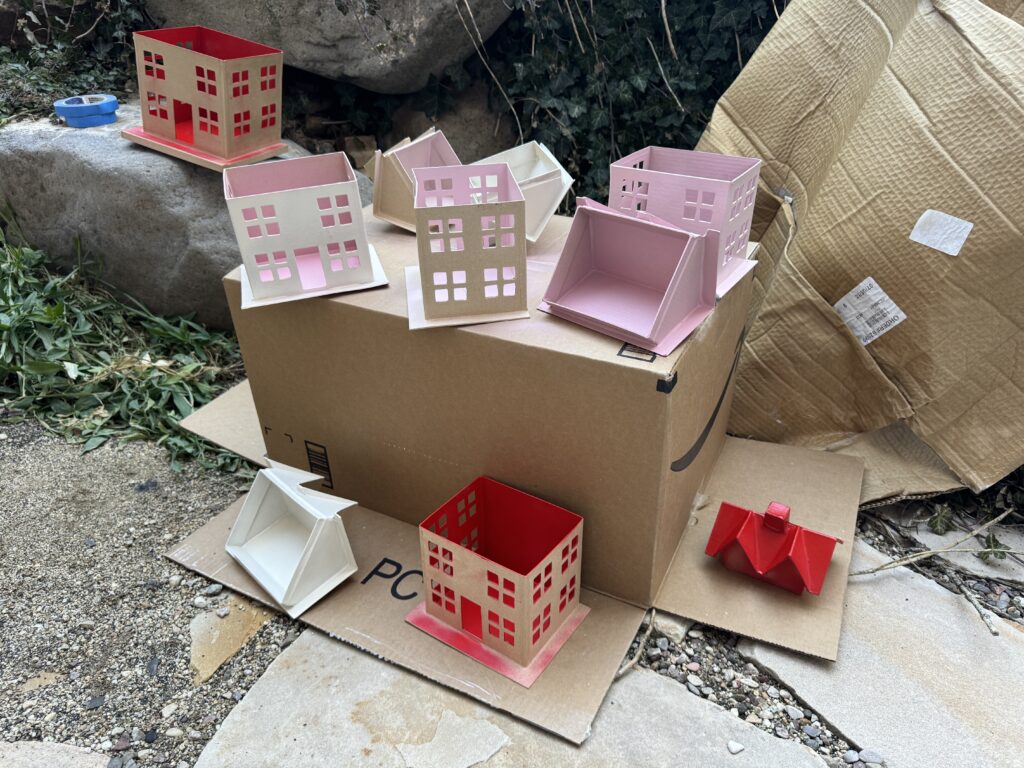
7 Tips for Creative Progress
- Don’t try to know the end at the beginning. Just relax and let the end result come out of the process, not a pre-determined destination.
- First, before you can start you’ll need to collect your possibilities. These are papers, ribbons, glitter, candy, jewelry, little bubbles, stickers, and any embellishment you can find. Don’t limit yourself, think outside of the craft isle, look through your jewelry box, random junk drawers – what pretty little items can you find? Don’t try to pre-design the house standing in the craft store – collect random items that you personally find pretty and know that in the end you won’t use them all.
- To begin, choose just ONE element that you love. It could be a paper, a ribbon, a little embellishment. . . Choosing just one little thing to start with helps in cutting through the clutter and overwhelm of too many options.
- Once you have your one favorite thing, select another single item you like and go with it. Begin actually putting these two things together on your house, making and executing on just one choice at a time. This is a process of choice & elimination, over and over again.
- Try out lots of different options, try a variety of items together. Experiment to discover what resonates in you, using what does and letting go of what doesn’t.
- Don’t be afraid of mistakes. Remember that all art is subjective – there is no right or wrong. Creating something that YOU like and that feels good to YOU is the key to a beautiful end result.
- Don’t just copy the person next to you. BUT. . . for sure collect inspiration and great ideas from others. Then take those ideas and use them in your own unique way to create your own unique vision of the idea.
For me a process emerged as I worked. In hindsight, I noticed that on every house I made, I completely designed one single large surface first. So that was either the roof or the outside walls. I would totally complete one section at a time before moving on to the next. The end result simply evolved as I worked.
P.S.. Don’t forget to watch for my whole tutorial on all the little Tips n’ Tricks for creating these fun Valentine House confections! Coming later this week HERE

