7 Sneaky Secrets for Fabulous Balloon Displays

Michelle’s Seven Secrets for Creating “Stop ‘Em In Their Tracks” Balloon Displays
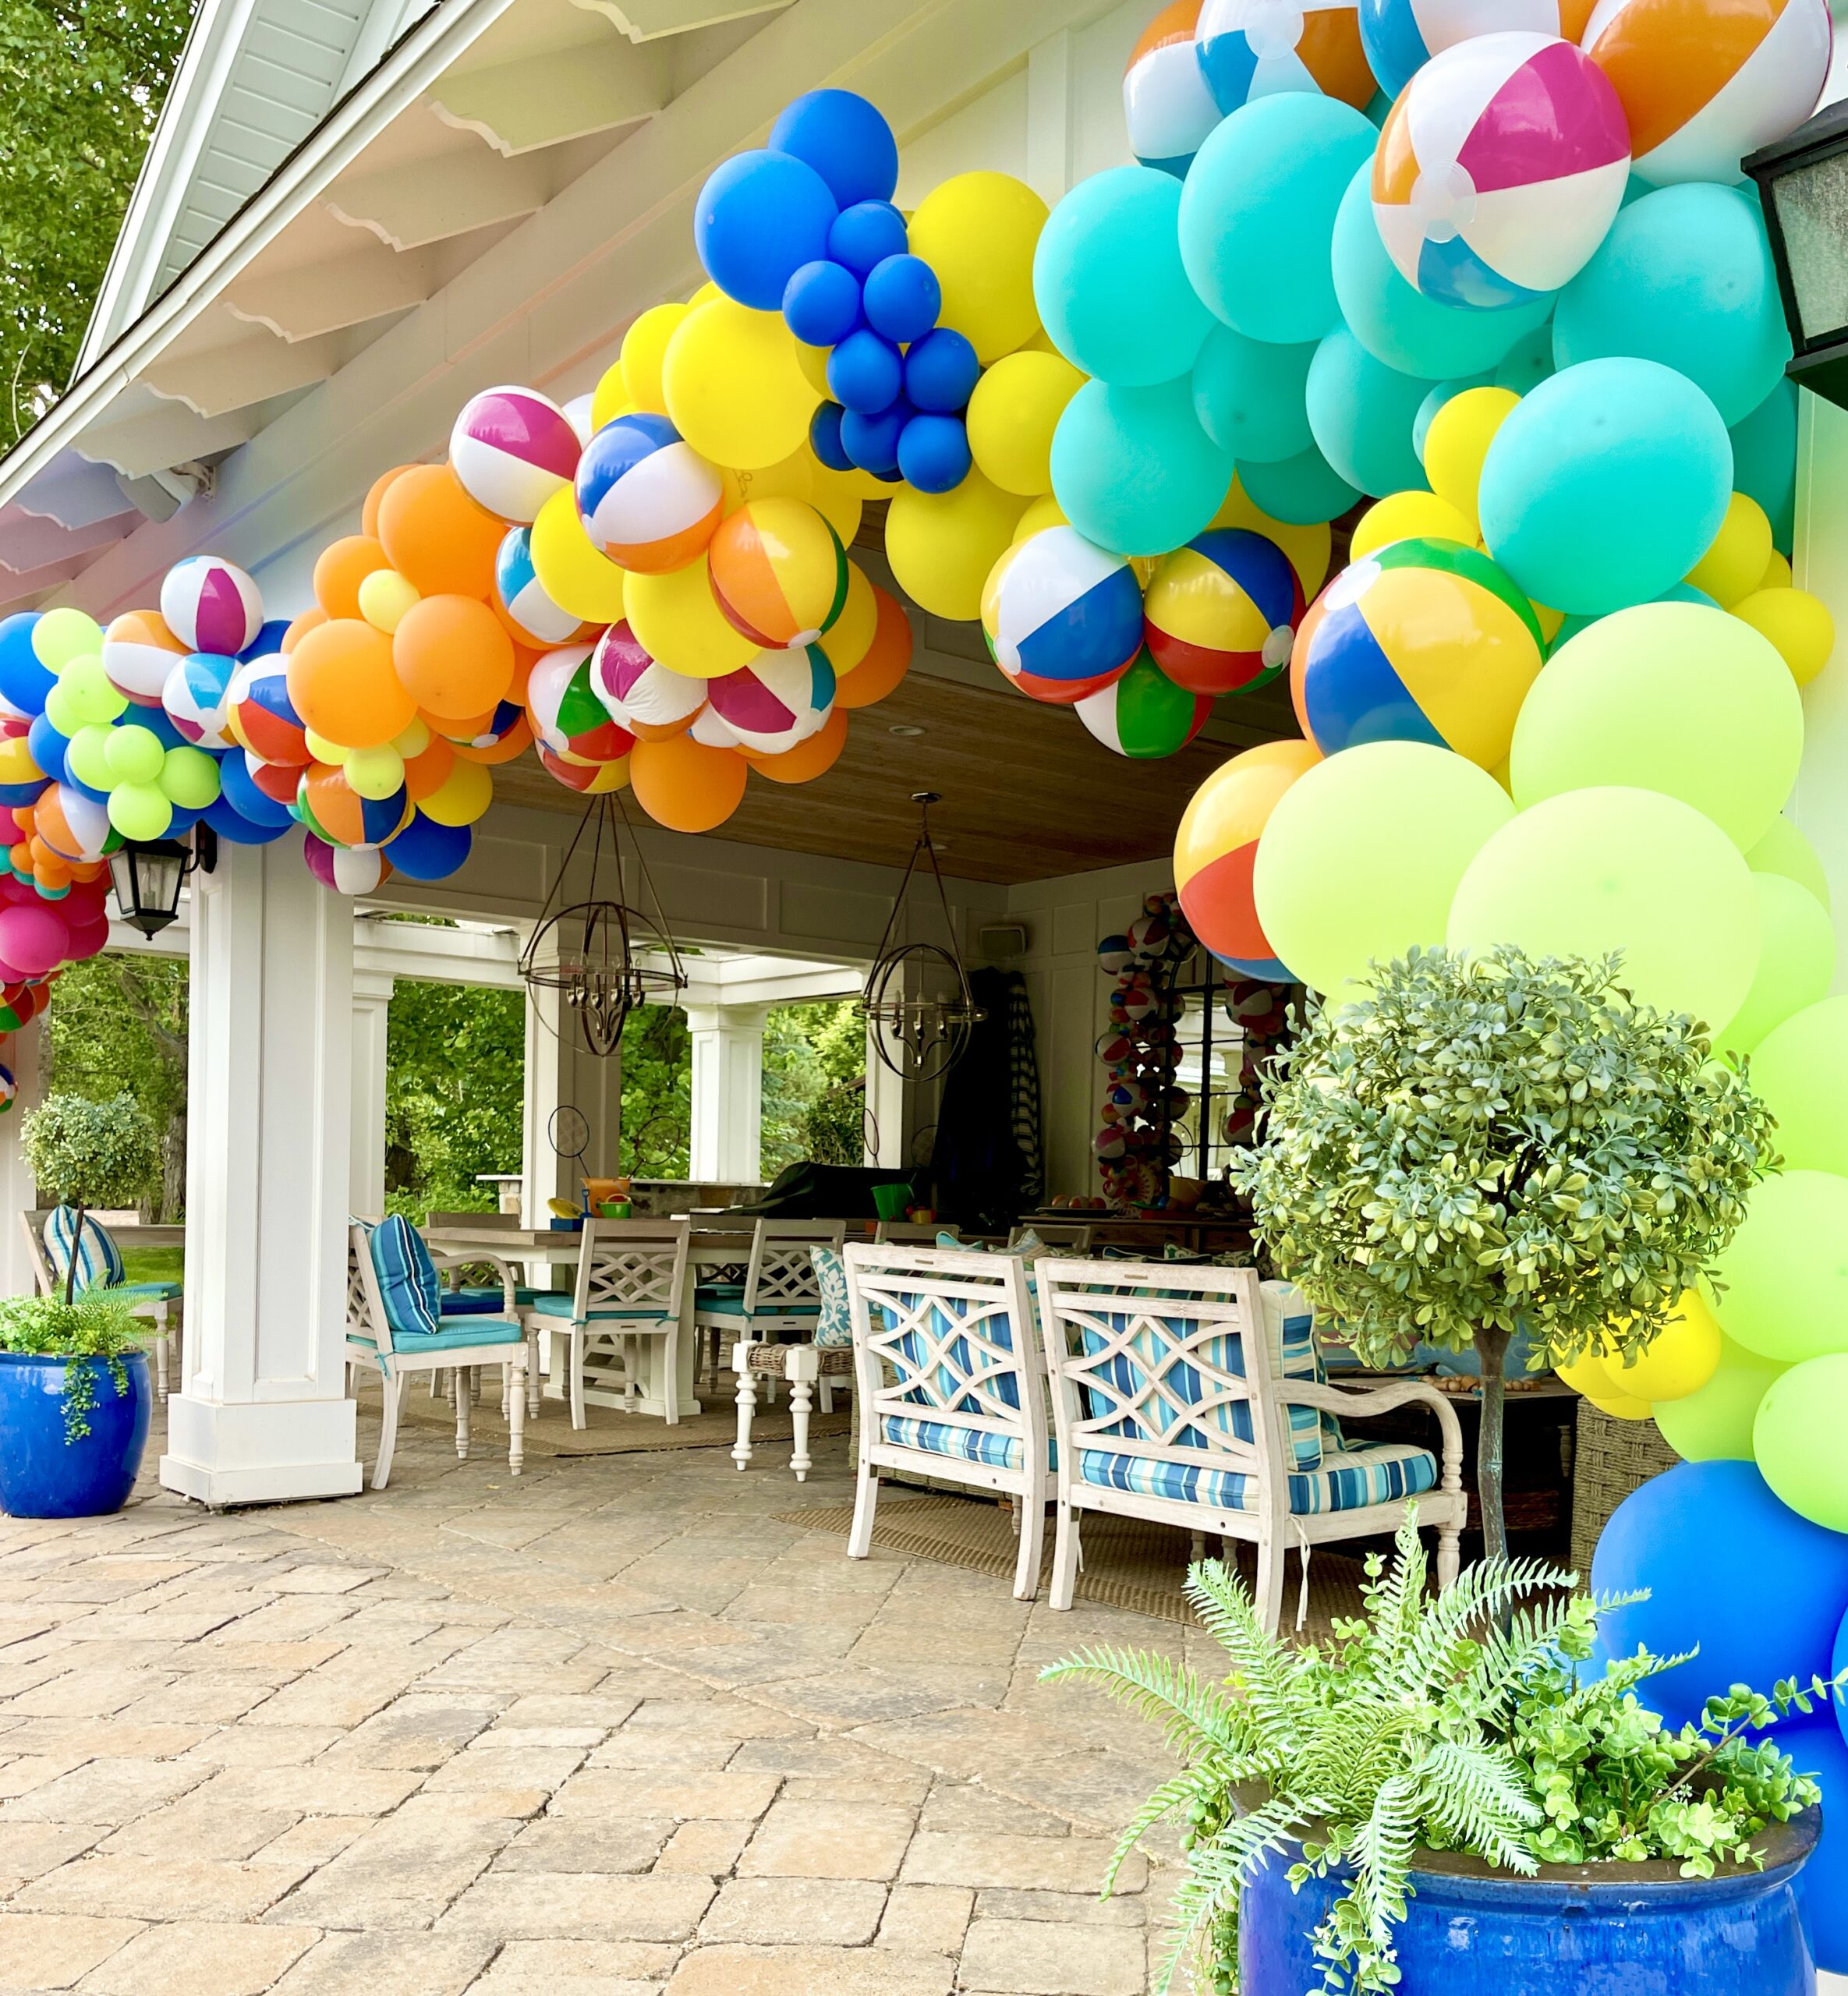
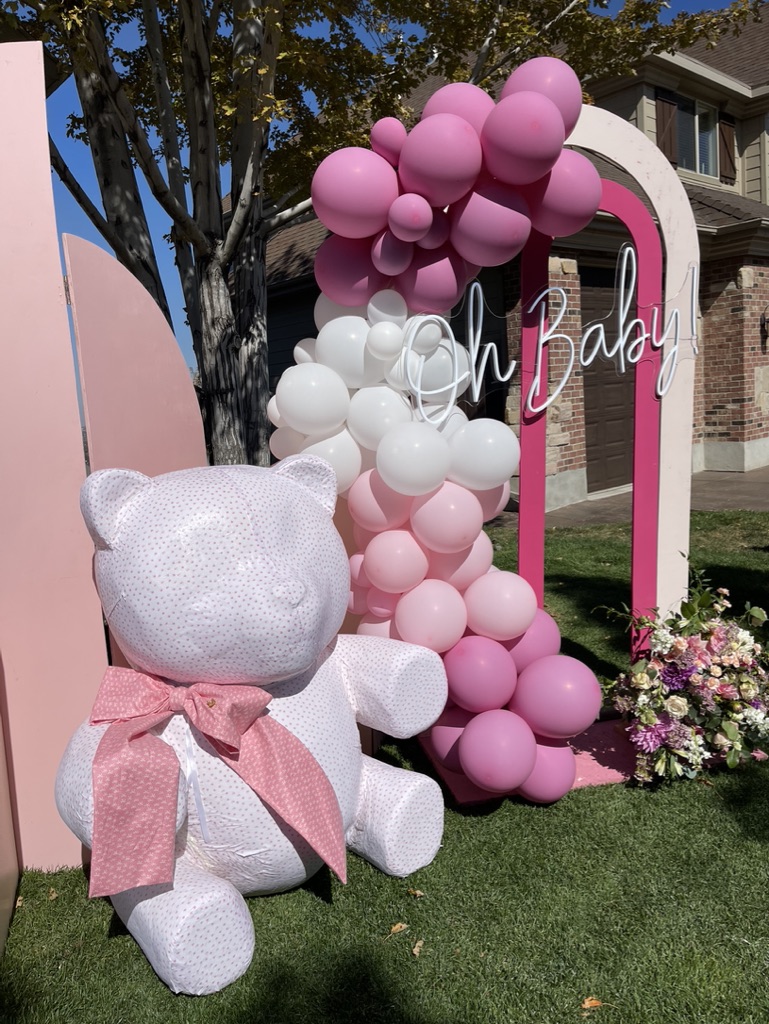
Massive, over the top Balloon Displays are a fantastic way to add major impact to any special event. It may feel daunting to DIY it, but don’t shy away! These are fun to create and not as hard as you think. For me the very hardest part is just having the patience to blow up all the balloons. If you have kids still living at home to help you with the blowing up part then you’re a lucky duck!
Over the years, through lots of trial and error, I’ve discovered a variety of techniques that make building balloon displays so much easier and so much faster. . . and I’ve also discovered what doesn’t work so well. I’m here to share, you can benefit from my experience and significantly shorten your own learning curve. Here are my 7 Secrets for creating amazing balloon displays! All I ask is that when you try them out and make your own, shoot me a photo so I can see how great yours turned out!
#1- Don’t overfill those balloons
🎈The best technique I’ve found is to fill the balloons ALL the way full, then let some air out before tying them off. This technique stretches out the balloon material making it more squishy so they won’t pop as easily. It’s a bit like stretching your muscles before a workout. Stretching them makes them more loose and pliable so they don’t get over strained. Same concept.
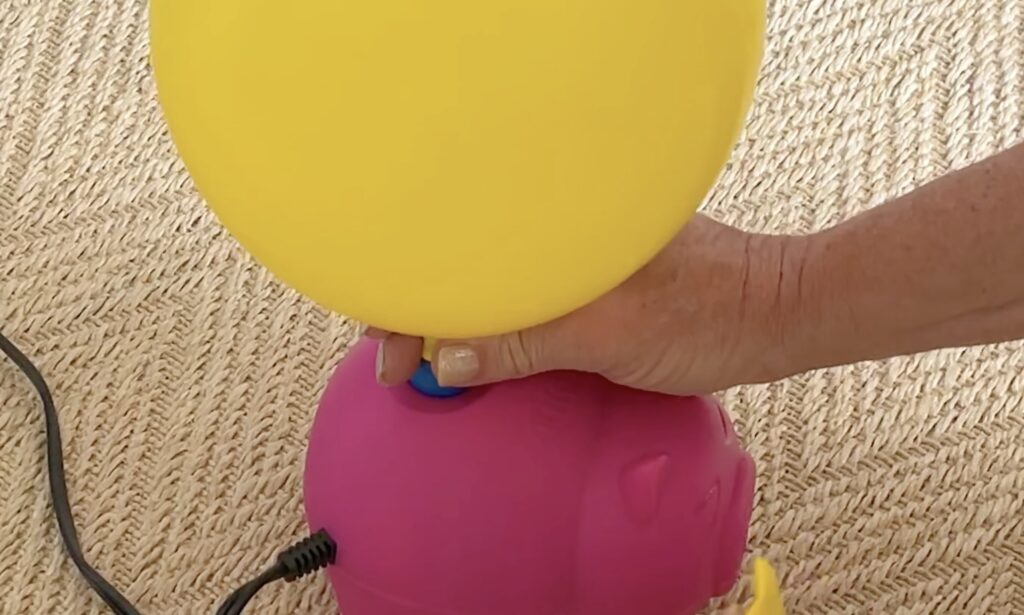
using a mini-compressor.
inflated balloons before tying
them together in a double knot.
larger than the other.
🎈 They pop easily when they’re all the way full. Take note that balloons will expand or contract with fluctuations in temperature. If your display is going to be outside in the sun, or in a warmer place than where they were originally blown up they may begin popping in the middle of your event if they are over filled!
🎈Also, when balloons are not over-full they will snug up to each other more easily for a better looking display. As an added bonus – less full balloons also have a more rounded, prettier shape!
PRO-TIP 💥
DO NOT try to blow up all these balloons by mouth 🤪 Yikes – you’ll pass out for sure!!! Mini Balloon compressors are inexpensive and much-much quieter than a big compressor. They’re also way easier to tote around. This is the one I like and use HERE
BONUS PRO-TIP 💥💥
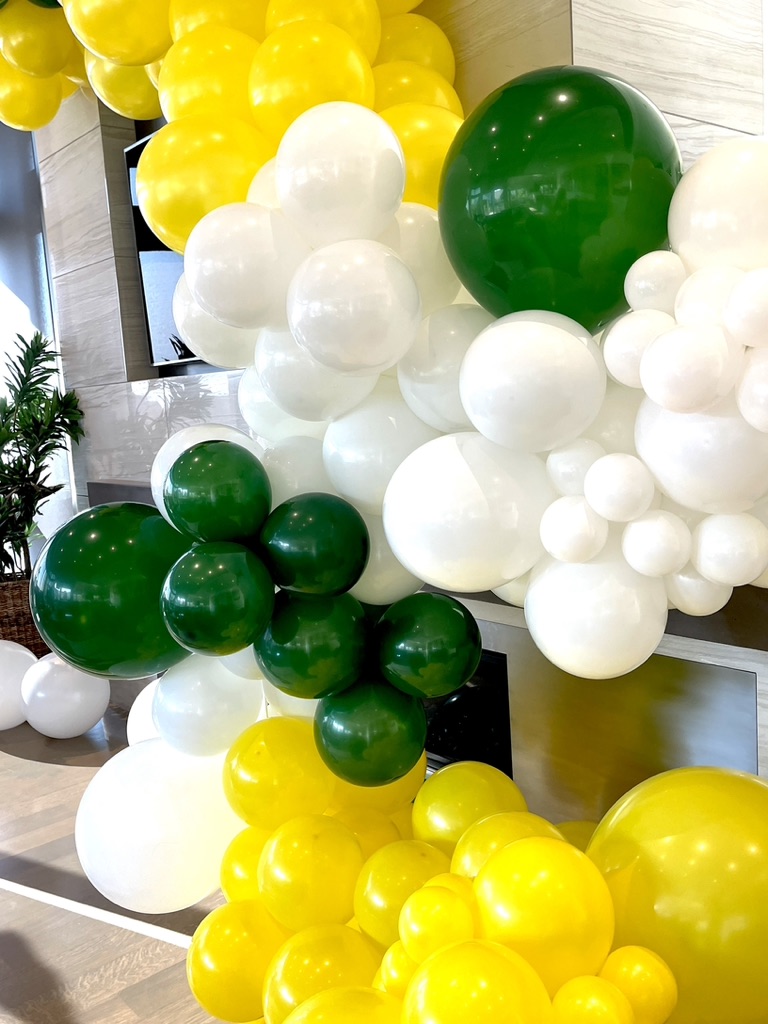
You may be able to better achieve the look you want while saving some $$$ by just buying one or two balloon sizes of each color (rather than 3 to 5 sizes of the same color). Create variety of sizes by just controlling how much you inflate them. I often purchase just 10″ or 12″ balloons and vary the size by the amount of air I use. Then for extra fun I’ll also order a few extra-extra large 16″-32″ balloons to add to mix as well

one is just inflated more than the other to vary the sizes in the display.
#2 – Tie Balloons Into Little Clusters of 2’s & Then 4’s 🎈
Tie 2 Balloons Together into a Little Cluster of 2
Tying your balloons together in little clusters of 2’s and then twisting them into groups of 4’s will save you SO much time. More importantly, this will also make building your structure a 1,000 times easier (you’ll learn why in a minute 😀).
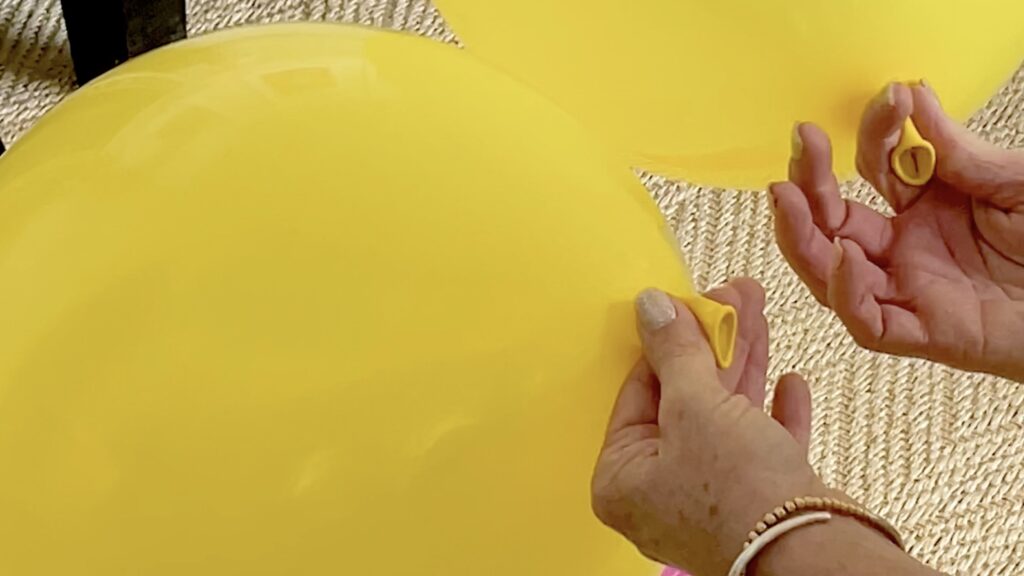
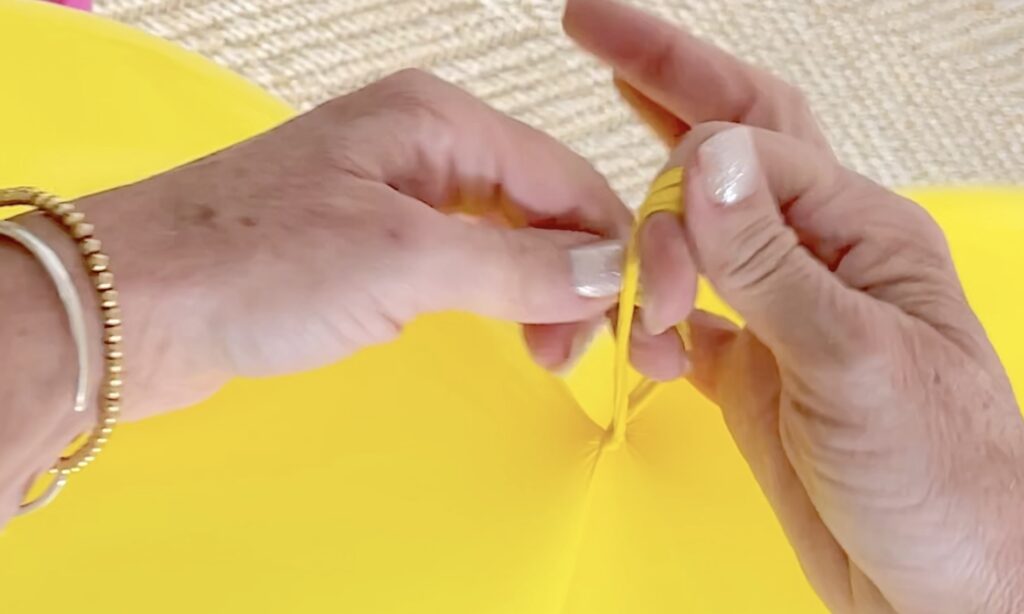
🎈 Blow up one balloon, don’t tie it off yet! Hold it pinched between your fingers while you blow up a second balloon. Honestly, this little bit can be the trickiest part of the whole endeavor!
PRO-TIP 💥
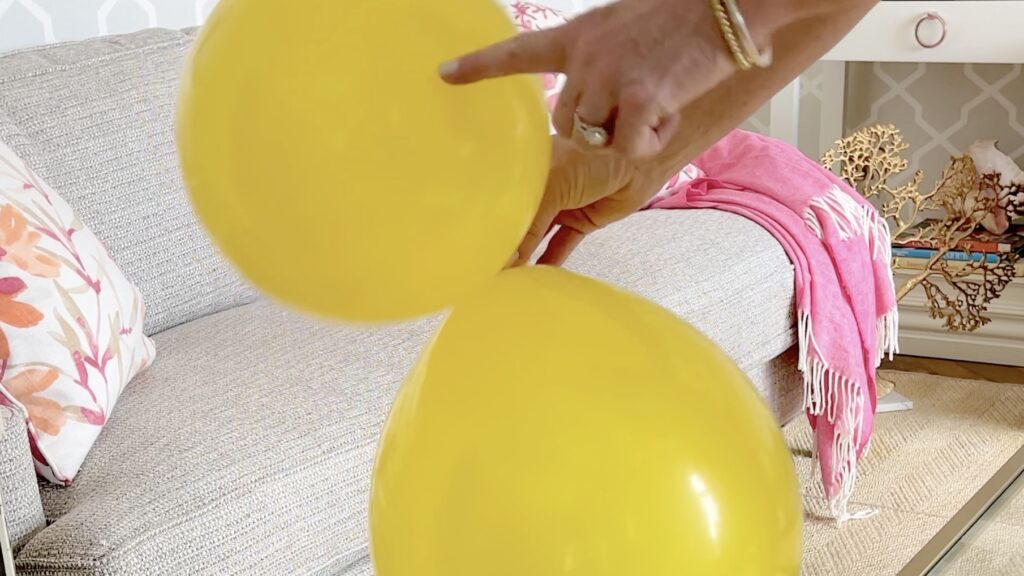
Let a little air out of each balloon before you tie them up. I’ve discovered that the structure will come together so much more nicely by inflating the balloons so that in each set of 4, two balloons are a bit smaller and two balloons are a bit bigger – you’ll see why in a bit.
🎈Once you have both balloons the size you want them to be, tie them together to hold the air in and also to combine the two balloons into one little bundle.
This part is little tricky at first, but with a little practice you’ll get the hang of it. To see how I tie the balloons together, watch the video a few times and practice a bit. Once you get it down it goes so fast.
I’ve slowed this video so you can study and duplicate how I do it.
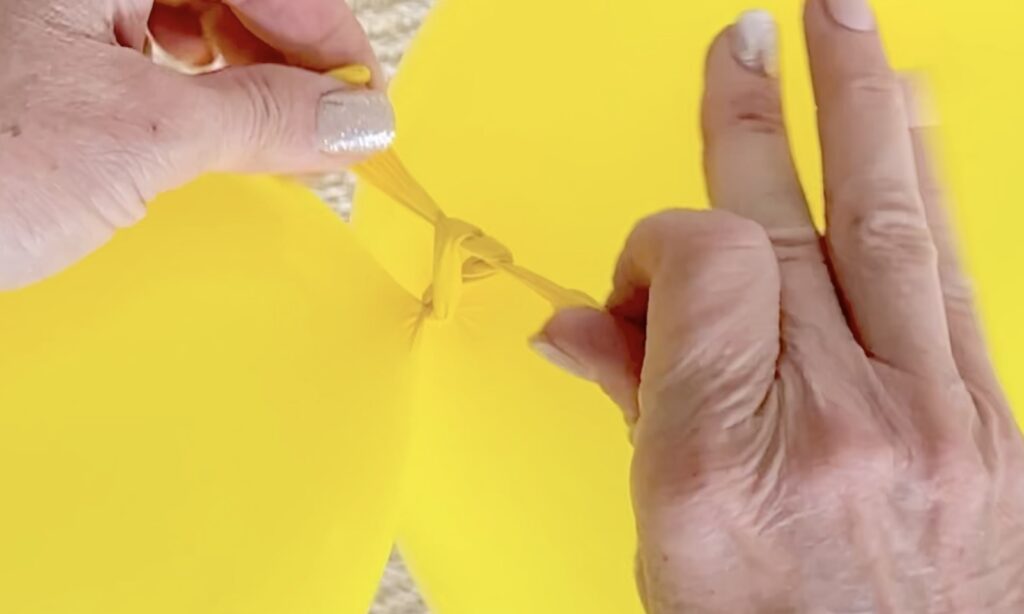
Tying Step By Step Instructions:
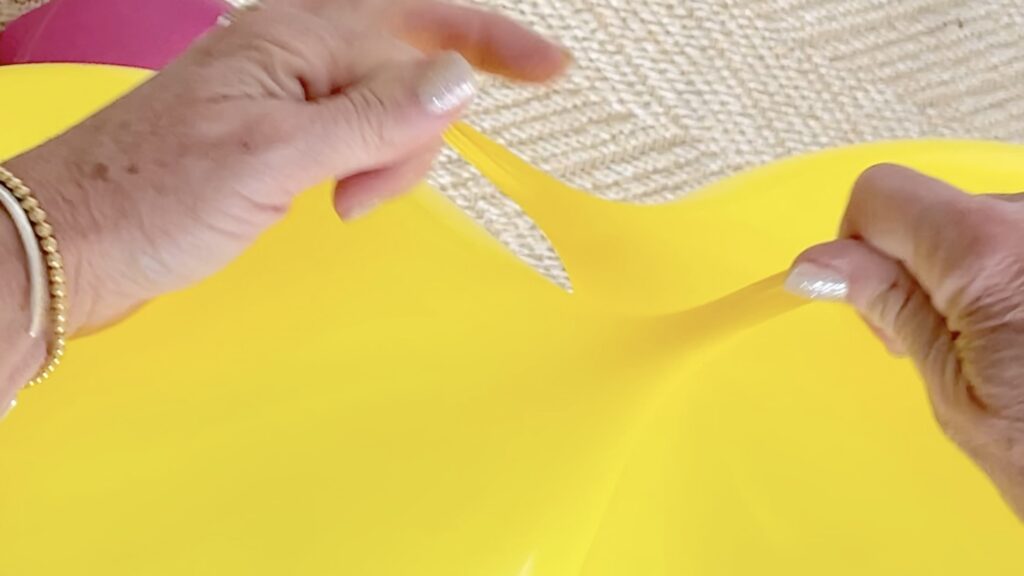
- Pinch the end of each balloon with your fingers, one balloon end in each hand. . .
- I trap the balloons against floor or against my body with my elbows. . .
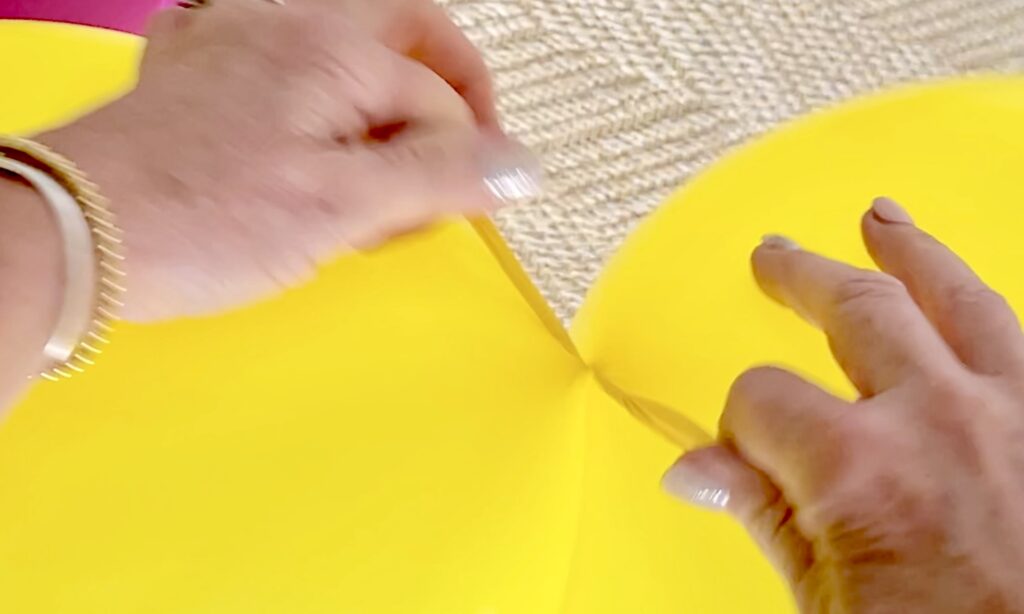
- Stretch and cross the balloons so the ends make an X over each other. . .
- Flip one balloon over and around the stretched X . . .
- Now tie the balloon ends together in a knot.
the stretched and x-crossed balloons.
now been tied together with a double knot.
If you just can’t get the hang of it, you can of course just tie a knot in each balloon individually and then tie them together into bundles of two, however this takes twice as long and makes the knots big and unsightly. I’ve also found that they tend to come apart using this method. Its much more ideal to master a technique for knotting them together with one, single, clean knot.
Twist Clusters of 2 into Clusters of 4
🎈 Next take two of the bundles of 2 balloons and twist them around each other to make a bigger cluster of 4 balloons!
This Video will show you how.
#3 – Build Your Balloon Swags or Balloon Arches on a Long Thin Cord 🎈
🎈 First things first, ditch those little plastic strips that come in the kit for hooking the balloons to . . . This cord method is SO much easier, and looks so much better!
🎈 I prefer to use a long thin rope or a strand of curling ribbon to build my balloon displays onto.
Warning; I also DO NOT recommend using the curing ribbon or cord that sometimes comes in a balloon kit. I’ve learned from very sad experience that they are thin and cheaply made and break super easy. No one wants our balloon displays falling apart in the middle of our event! It’s not worth the risk. I highly recommend purchasing a long spool of quality curling ribbon or use a thin cord or rope.
🎈 Take one of your bundles of 4 balloons and tie the cord securely to the center of the balloon bundle, the center where all the knots are.
🎈 Next take another bundle of 4, pulling the cord tight and pushing the balloons down snuggly into each-other, wrap the loose end of the cord around the balloons in a figure 8 like motion, this will secure the balloons together.
🎈 Keep adding bundles of 4 in whatever color combination you prefer until you get the length you want.
🎈If you prefer a more organic, asymmetrical swag then twist and move the cord around to create the shape and effect you want. One of the nice things about using a cord is, once the swag base is constructed, you’ll be able to twist and move the balloons around to get the look you want as you hang it to a wall or structure. Note that the shape can be manipulated and modified as you hang the display.
PRO-TIP 💥
This is the reason I suggested in the first steps to blow up 2 balloons a bit smaller and 2 balloons a bit bigger in your bundles of 4. And also another reason you won’t want your balloons blown up all the way tight. When the balloons are all big, all the same size and all tight so they don’t have any squishiness to them, so they won’t sung into each-other as well and then you’ll have lots of unsightly little gaps where you can see the cord 😬 You don’t want that!
BONUS PRO-TIP 💥
If you are going to move your balloon display to anther location; instead of building the structure on one single, long cord – you can build the balloons in shorter sections and just tie-off each section. Leave a longer bit of cord on the end of each section for combining the sections when ready.
This will make it all easier and more manageable to move. You can combine all the shorter sections together into one long one when you get it all to your event venue. To attach the sections together you’ll just use the length of cord that you left long at the end of each section, using the same figure 8 wrapping method.
#4 – Hang your balloon display one of two ways 🎈
🎈I first hang and shape the main structure of balloons on cord BEFORE I begin adding any extra clusters, extra-large balloons or any other embellishments.
To hang on a vertical wall 🎈
🎈When hanging the balloons on the wall or a flat surface I use upside down metal hinged command hooks HERE and long, skinny, un-inflated ”clown balloons.” HERE
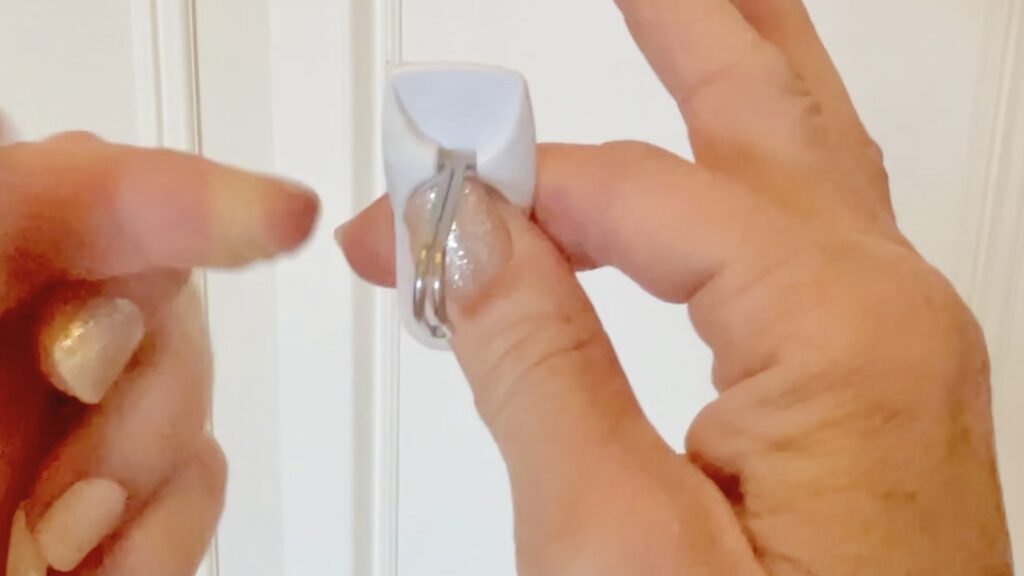
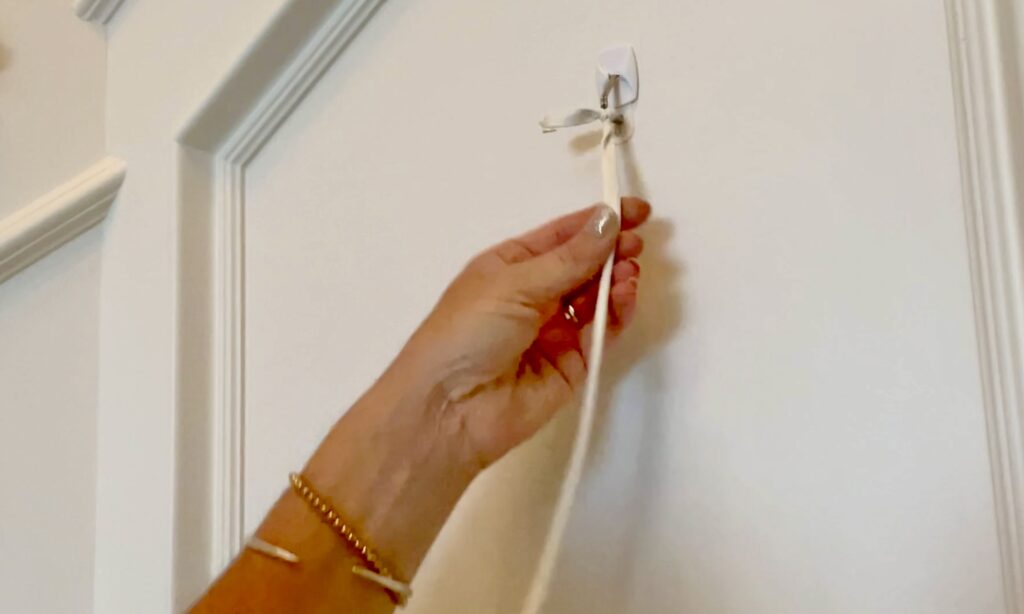
🎈I shape my balloon displays using strategically placed (and upside down) metal hinged Command Hooks. Tying a long thin “clown balloon” to the hook and then the other end of the clown balloon to the main cord inside the balloon structure.
🎈I typically use several hooks along the area I’m installing the balloon display to create the shape and drape I want.
PRO-TIP 💥
I’ve found that the metal hinged Command Hooks work the very best. I hang them upside down because this creates tension between the hook and the wall which helps prevent the balloon from slipping off the hook.
To Hang On a Free Standing Arch 🎈
🎈I place two poles into two sturdy umbrella stands. This way I can space them at whatever distance I want. Sometimes I use an adjustable and easy to store horizontal pole HERE across the top. Often times I shape the balloons freely, depending on the effect I’m going for. I attach them from one vertical pole to the other with no horizontal rod between them.
🎈To attach the string of balloons to the metal stand I typically just twist balloons around the poles in strategic places to create the shape I desire. Or, occasionally I also use the long thin clown balloons. Tie one to the center cord and then to the bars of the metal stand.
I use and really, really like this metal stand. HERE Sometimes I use this adjustable and easy to store horizontal rod too. HERE These Umbrella stands are great because you only need water to create the weight and they have wheels! HERE
#5 – Add Balloon “scrunchies” to create dimension with different sized clusters 🎈
This one happens to be my very favorite balloon display discovery!!! Thanks to my friend and creative buddy Shelly! @shellygoldberg
🎈Blow-up and create bundles of 4 balloons just like you learned in Tip 1. This time blow the balloons much smaller or use small, 5” balloons – about the size of a grapefruit.
🎈 Get some long skinny balloons, I call them “clown balloons.” You know, the ones that clowns use to make balloon animals? Preferably use colors close to the colors of your balloon display, or use clear clown balloons.
I usually cut the long skinny clown balloons in half. I rarely need a full balloon for this.
🎈 Tie a mini balloon bundle of 4 to both ends of the clown balloon.
🎈 Create clusters where you want them by wrapping the bundled clown balloons through your main swag. Because of the elasticity of the clown balloon, you can manipulate the balloon clusters where and how you want them! Brilliant!!!
#6 – Add in a Few EXTRA Large balloons 🎈
I love the look of just a few 16″ or even up to 32″ balloons scattered through the display. I use two methods for doing this.
🎈 Method 1 – Before tieing the knot into the large balloon, place a large, very stretchy rubber-band into the knot. Now we can just slip the rubber-band over another balloon anywhere we want a big, wow factor balloon to go.
🎈 Method 2 – Tie one end of a “clown balloon” to the large balloon. Now tie the other end of the “clown balloon to a cluster of 2-4 mini balloons. Then wrap this “balloon scrunchy” into the main structure, manipulating the balloons into the places you want them.
#7 – Add Another Line of Balloons to Create More Drama with More Dimension 🎈
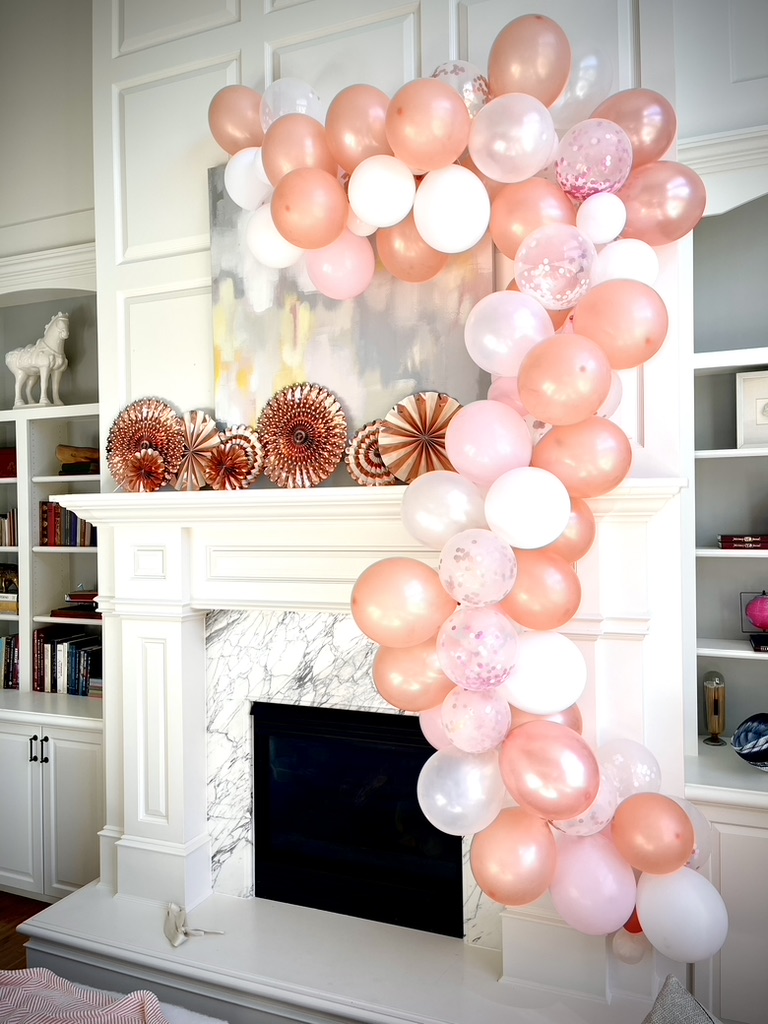
To add “more,” (because I don’t ever mind being “extra” 😉) I often add additional “legs” to a ballon swag. This way I can pile or puddle balloons in different directions.
🎈 Simply create a new structure of balloons on a new cord, using all the steps I’ve already given you. Using a “clown balloon” scrunchy, tie this new line of balloons to the cord of the main structure. Just add them where you want the new leg of balloons to go.
How Many Balloons to Buy? 🎈
How may balloons you’ll need is obviously totally dependent on how large of a display you want to create. For a typical balloon display I shoot for about 450-500 balloons.
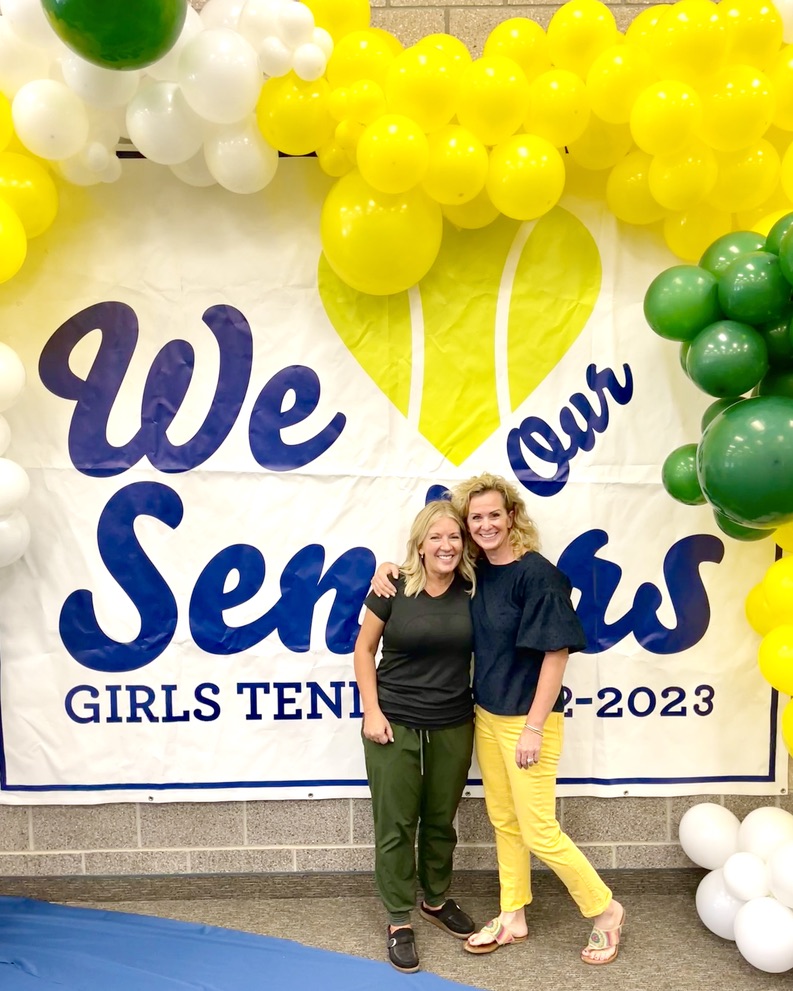
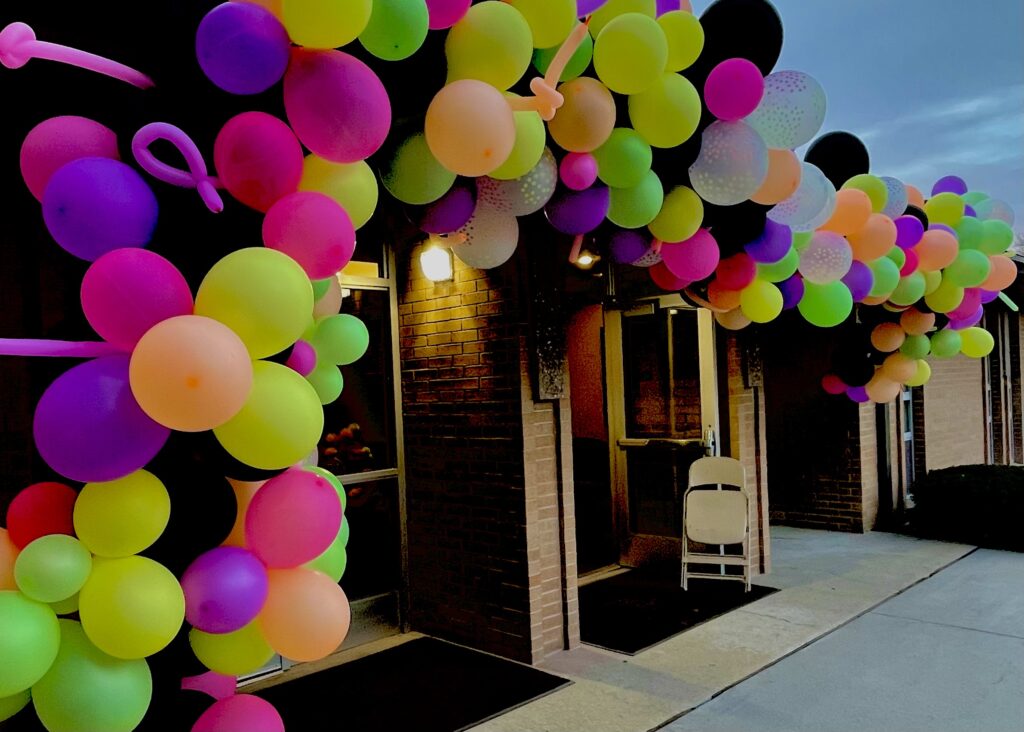
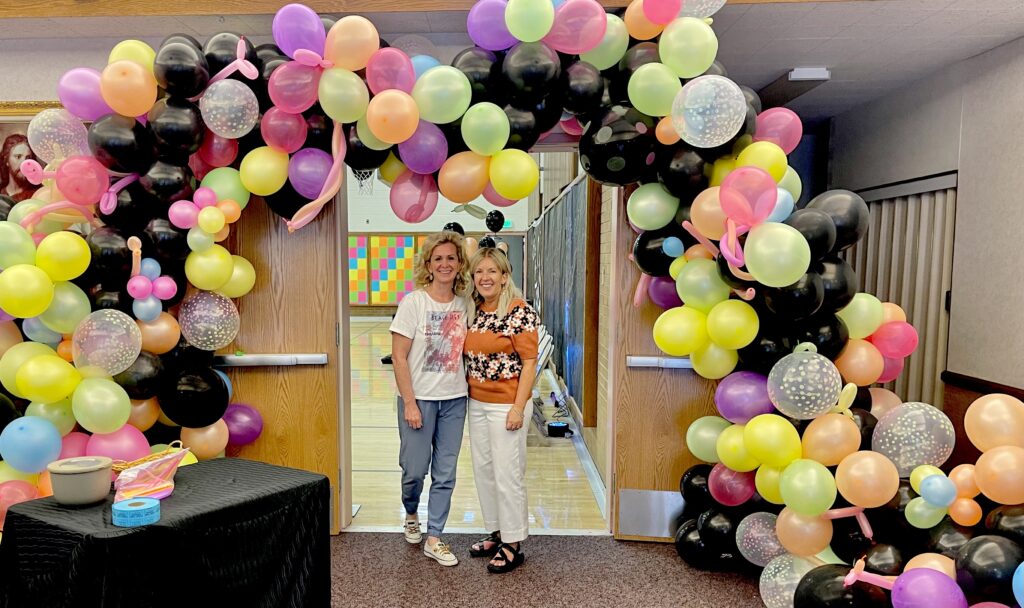
However the “right” number of balloons varies so much, based on what your creating. How over the top are you planning to be? I’ve created ultra large displays that had literally thousands of balloons in them. My friend Shelly and I created these two balloon displays for a local Youth Group’s Neon Glow in the Dark Dance Party. They were pretty darn over the top, especially at night when the balloons glowed in the dark. We actually have no clue how many balloons we blew up for that night – too many to even count!
Where to Buy them From? 🎈
I typically order my balloons from Amazon. Providing you with a single link won’t be super helpful. Color preference will vary depending on the theme and look of your specific event.
I will however provide links for kits I’ve bought recently, in case thats helpful to you. You’ll find the links at the end of the article.
There are two different ways I order balloons, I utilize both depending on my needs for a specific event. Often I buy kits because it’s easy. This way I don’t have to over-think about how many of each size or spend time searching out each color. However, sometimes I want very specific colors. The only way to micromanage this is by purchasing color and size specific individual packs.
If I’m using a Kit I will usually purchase 3-4 full kits. Kits typically will come with 3 or 4 different size balloons in 3 or 4 different colors. Balloon kits average anywhere from 100-180 balloons in each kit. Be sure you notice how many you’re getting in you order so you know you’ll have enough.
Supply List & Links 🎈
- My favorite Mini Air Compressor (Hint, TWO compressors make the work go twice as fast!) HERE
- Vertical Rods for In-Ground or Umbrella Base Use. HERE
- Horizontal Rod for Adjustable Length & Easy Storage. HERE
- Outdoor Umbrella Bases (x2) HERE
- 3M Command Hooks with Metal Hinge Toggle. HERE
- Long Thin Clown/Animal Balloons. HERE